 Fixated on Home
Introduction to DIY Patio Renovation
Revamping a patio in a fixer-upper home can dramatically boost curb appeal, create a relaxing outdoor retreat, and increase property value. Whether your current space is cracked concrete, overgrown weeds, or just outdated, this step-by-step guide walks you through a complete DIY patio renovation. We'll focus on sustainable materials projected for 2026 trends, like recycled composites and permeable surfaces, to keep your project eco-friendly and future-proof. Expect a budget-friendly approach suitable for beginners, with real-world examples and solutions for common pitfalls.
Perfect for fixer-uppers, this renovation assumes a standard 200 sq ft space but scales easily. Total time: 1-2 weekends. Budget: $1,500-$4,000 depending on materials.
Step 1: Assessing Your Current Patio Space
Start by evaluating the existing setup to avoid costly surprises.
- Inspect structure: Check for cracks, uneven slabs, or drainage issues. Use a level and flashlight to spot hidden damage.
- Measure dimensions: Sketch the area, noting slopes, utilities, and adjacent features like doors or fences.
- Soil test: Dig test holes to assess compaction and drainage—aim for well-draining soil to prevent water pooling.
- Sun/shade analysis: Observe light patterns over a day for plant and furniture placement.
Pro tip: Take 'before' photos from multiple angles for motivation and progress tracking.
Planning and Design Ideas
Design with functionality in mind: zones for dining, lounging, and grilling. Incorporate 2026 sustainable trends like biophilic elements (native plants) and modular layouts for flexibility.
- Zoning: 40% seating, 30% pathways, 30% greenery/fire pit.
- Style: Modern minimalist with clean lines or rustic reclaimed wood accents.
Sketch on graph paper or use free apps like SketchUp for 3D visualization.
Sustainable Material List for 2026
Opt for eco-conscious choices that reduce carbon footprints and last decades. Here's a curated list for a 200 sq ft patio:
- Pavers/Base: Permeable recycled concrete pavers (e.g., from recycled tires/aggregates) – 400 sq ft coverage, $3-5/sq ft. Allows rainwater infiltration, reducing runoff.
- Edging: Bamboo or recycled plastic lumber – 100 linear ft, $2/ft.
- Furniture: FSC-certified teak or recycled plastic adirondack chairs/table – $800 set.
- Plants: Native drought-resistant perennials (lavender, sedum) in recycled pots – $200.
- Lighting: Solar LED string lights/path markers – $150.
- Sealant: Bio-based permeable sealer – 5 gallons, $100.
Shop at local suppliers for bulk discounts. For sustainability standards, check the EPA's green building resources.
Essential Tools and Safety Precautions
Gather these tools before starting:
- Shovel/post-hole digger, wheelbarrow.
- Tamper/plate compactor (rent for $50/day).
- Circular saw, level, string line.
- Safety gear: Gloves, goggles, steel-toe boots, dust mask, ear protection.
Safety first—outdoor work risks slips, strains, and UV exposure. Follow OSHA guidelines for DIY: Hydrate, work in pairs for heavy lifting, and secure the area with barriers. Use knee pads for prolonged kneeling.
Step-by-Step Renovation Process
Follow this sequence for pro results.
Demo and Prep (Day 1)
- Clear debris/plants; dispose responsibly (recycle concrete).
- Excavate 6-8 inches deep, sloping 1/4 inch per foot for drainage.
- Install landscape fabric to prevent weeds.
Base Layer (Day 1 Afternoon)
- Add 4 inches crushed gravel; compact in 2-inch layers.
- Top with 1-2 inches sand; screed level.
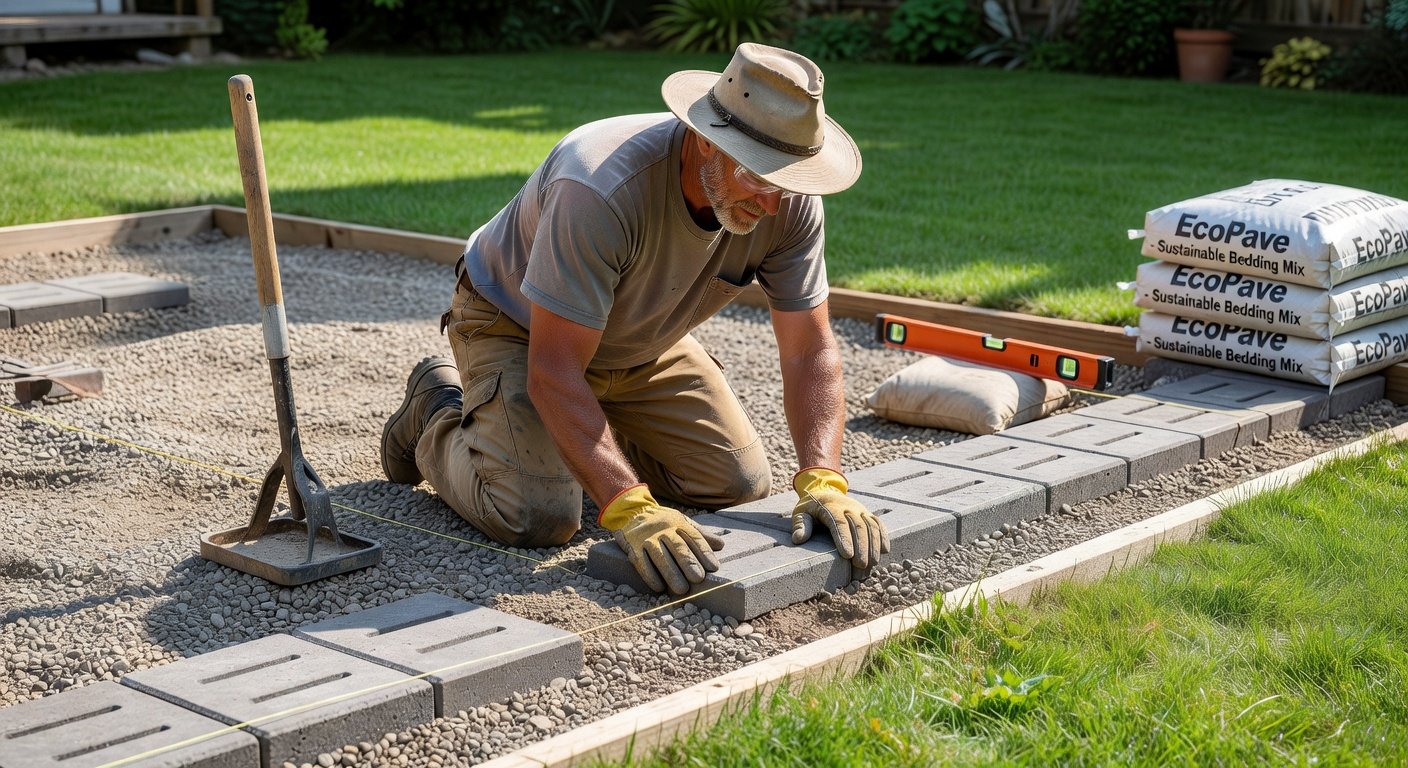
Lay Pavers and Edging (Day 2)
- Dry-lay pavers in pattern (herringbone for stability).
- Cut edges with saw; secure with edging.
- Sweep polymeric sand into joints; mist to set.
Final Touches
Add plants, furniture, and sealant. Install fire pit or pergola if budget allows.
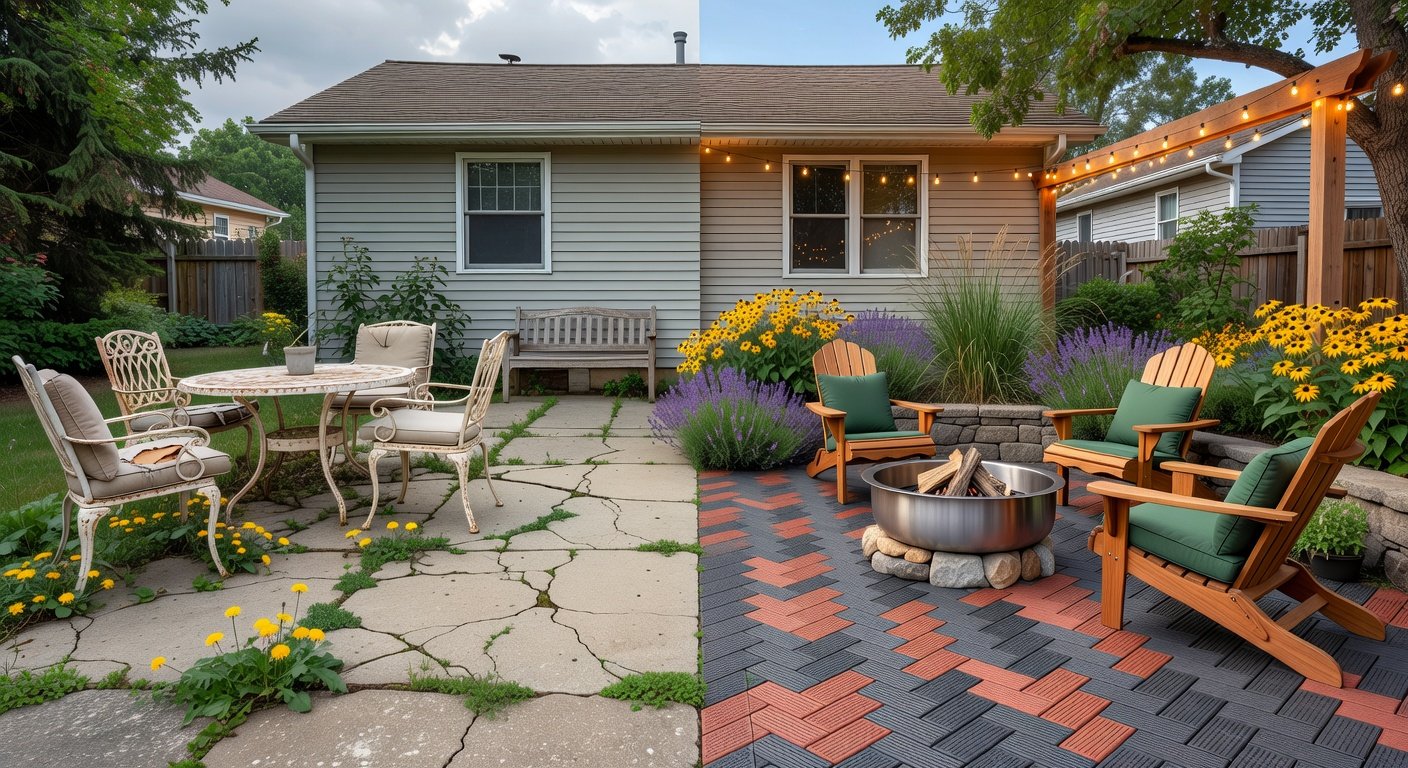
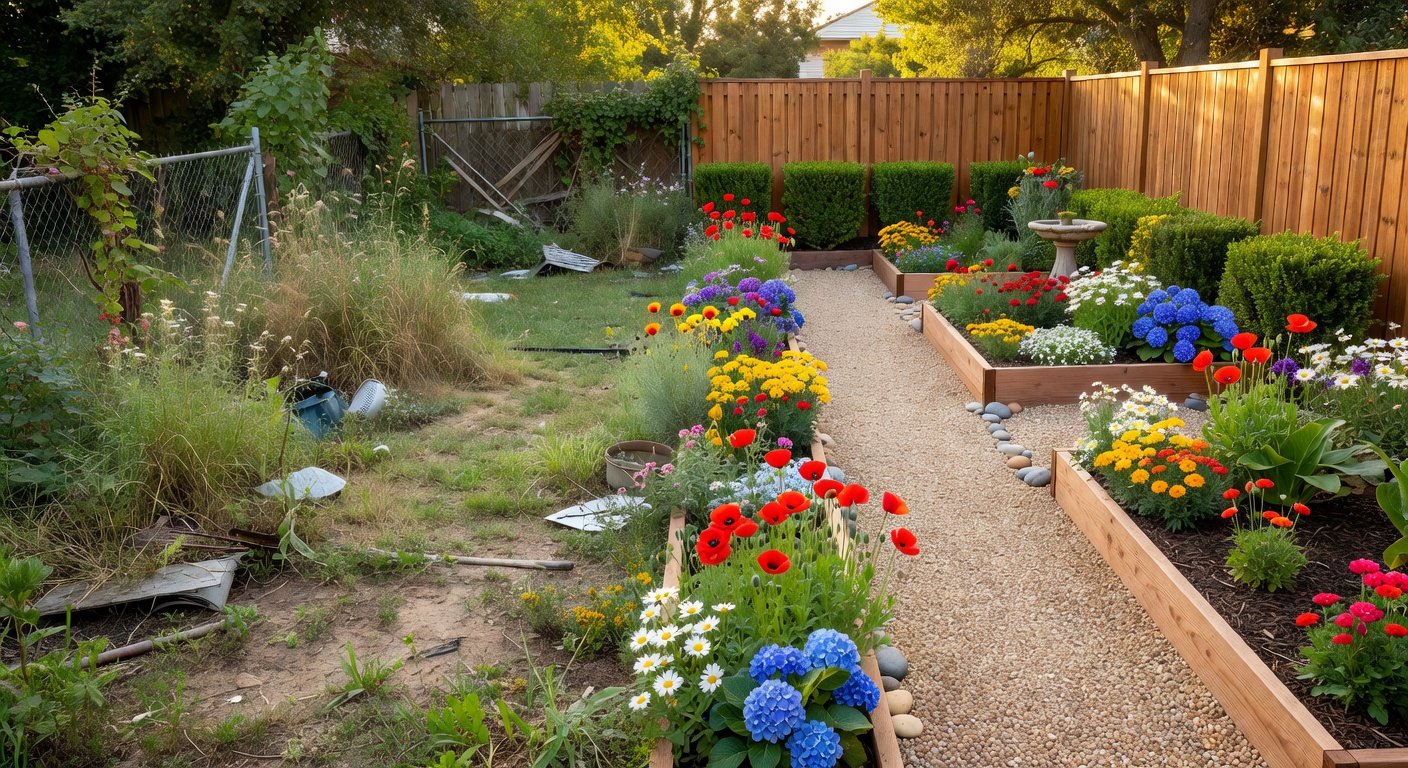
Real-World Before-and-After Examples
Case 1: Sarah's 150 sq ft cracked slab patio (2010s build). Before: Weedy, uneven mess. After: Permeable pavers, native plant borders, solar lights—now hosts weekly BBQs. Cost: $2,200. Transformed usability from 2/10 to 9/10.
Case 2: Mike's shady fixer-upper corner. Before: Muddy pit. After: Bamboo decking over gravel base, hammock zone. Sustainable swap saved 30% water usage. Photos showed 80% value bump per appraisal.
Troubleshooting Common Challenges
Outdoor renovations hit snags—here's how to fix them:
- Weeds returning: Double fabric layer + vinegar spray (non-toxic).
- Uneven settling: Re-compact and add sand; monitor first rain.
- Poor drainage: French drain ($200 DIY) or raise grade.
- Budget overrun: Prioritize pavers over fancy furniture; hunt sales.
- Weather delays: 7-day dry forecast essential; tarp preps.
For material specs, reference Home Depot's outdoor project guides.
Budget Tips for Seamless Execution
Keep costs under control:
- Total breakdown: Materials 60%, tools rental 10%, misc 30%.
- Hack: Source free gravel from construction sites (Craigslist).
- Phased approach: Base first, pavers next.
- ROI: Patios recoup 50-70% on resale.
Track expenses in a spreadsheet; aim 20% buffer.
Conclusion: Enjoy Your New Outdoor Oasis
Your DIY patio renovation is complete—celebrate with a sunset cocktail! This project not only beautifies your fixer-upper but fosters sustainability and self-reliance. Maintain annually: reseal, prune plants. Share your before-afters online for inspiration. Happy renovating!

No comments yet. Be the first!