 Fixated on Home
Introduction to 2026 Bathroom Remodeling Timelines
Planning a bathroom remodel in 2026 requires a clear understanding of the project lifecycle to avoid costly overruns. Homeowners can expect timelines ranging from four to eight weeks or longer depending on scope, permits, and material availability. This guide breaks down each phase with actionable steps, real-world examples, and strategies to maintain momentum while focusing on interior upgrades like tile work, vanity installations, and smart fixtures. Understanding these elements helps create a realistic schedule that accounts for both expected tasks and potential setbacks, ensuring your renovation enhances functionality and aesthetics without unnecessary stress.
Phase 1: Design and Planning
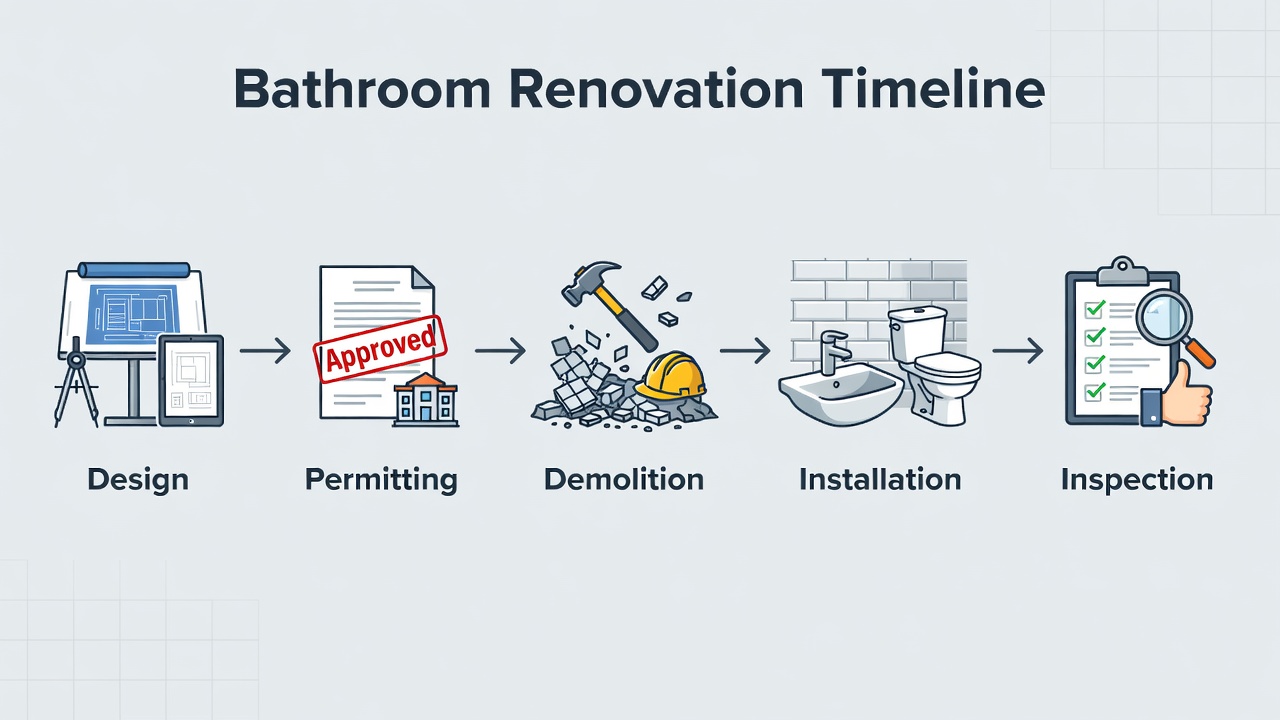
The initial design phase sets the foundation for success. Allocate one to two weeks for selecting layouts, materials, and finishes. Work with an interior designer or use online tools to visualize upgrades such as walk-in showers and heated floors. Key actions include measuring the space accurately, creating mood boards, and finalizing a budget range. Early decisions here prevent later revisions that extend the overall schedule. Consider how elements like lighting placement and storage solutions integrate with daily routines. Research current trends in water-efficient designs to align with long-term sustainability goals. Document every choice in a project binder or digital folder for easy reference during later stages.
Phase 2: Permitting and Approvals
Securing permits typically takes one to three weeks, varying by local regulations. Submit detailed plans to your municipality for plumbing, electrical, and structural changes. Delays often occur if plans require revisions for code compliance. Stay proactive by consulting your local building department before demolition begins to streamline this step. Review official housing resources for guidance on residential renovation standards that may apply in your area.
Phase 3: Demolition and Site Preparation
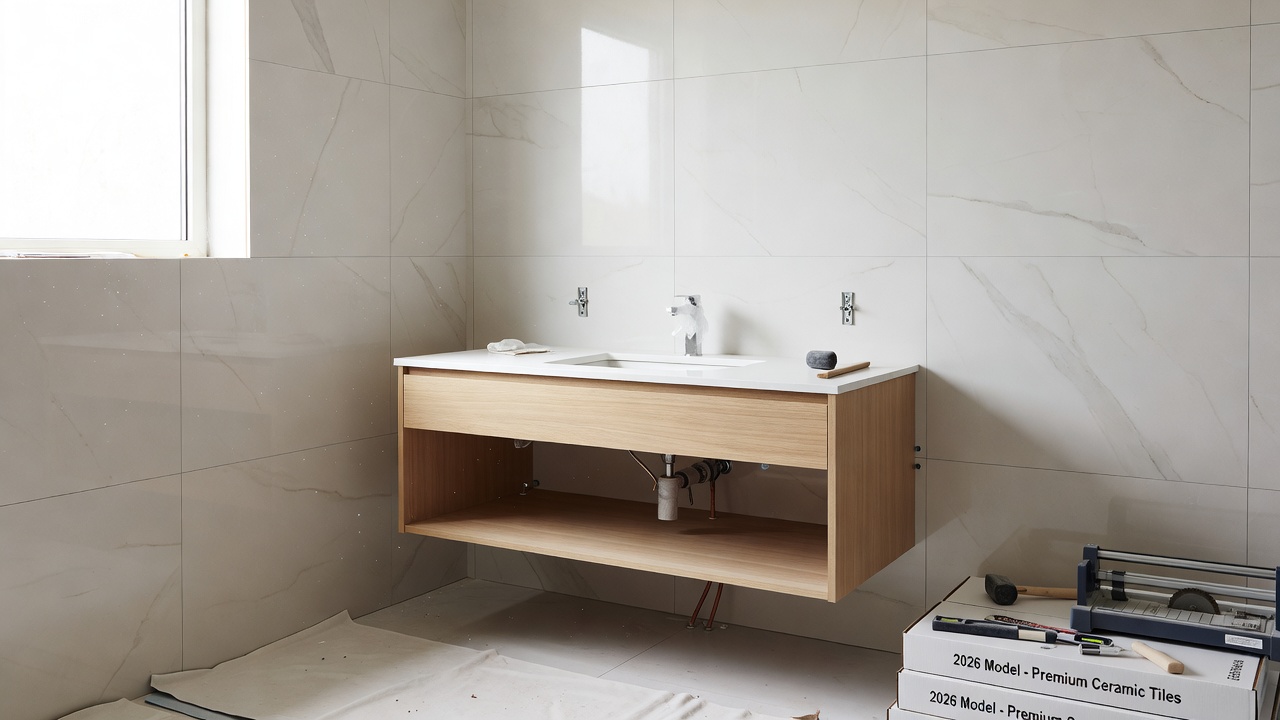
Demolition usually lasts two to five days. Remove old fixtures, tile, and drywall while protecting adjacent areas from dust and debris. This phase reveals any hidden issues like outdated plumbing that could impact the timeline. Proper preparation ensures a smooth transition to installation. Use protective sheeting and negative air machines to contain mess, and have a disposal plan ready for debris removal to keep the workspace efficient.
Phase 4: Installation of New Elements
Installation is the most time-intensive phase, often spanning two to four weeks. Focus on sequential tasks: rough-in plumbing and electrical first, followed by drywall, tiling, and fixture placement. Interior upgrades such as new vanities, lighting, and ventilation systems require precise coordination to avoid bottlenecks. Begin with framing adjustments if needed, then proceed to waterproofing membranes before tiling begins. Install energy-efficient windows or exhaust fans next to improve air quality. Test all systems incrementally, such as checking water pressure after rough-ins, to catch issues early. Coordinate deliveries so materials arrive just in time, reducing storage hassles in smaller bathrooms.
Phase 5: Final Inspections and Cleanup
Schedule inspections for plumbing, electrical, and overall compliance, which can add three to seven days. Address any punch-list items immediately. Final cleaning and touch-ups complete the project, typically within one week after approvals. This includes sealing grout, calibrating smart controls, and verifying all finishes meet your original design vision.
Factors That Cause Delays in 2026 Projects
- Material shortages due to supply chain fluctuations
- Unexpected structural issues discovered during demolition
- Weather impacts on deliveries for outdoor-sourced items
- Permit backlogs in high-demand areas
- Contractor scheduling conflicts
- Custom order lead times for specialty tiles or fixtures
Anticipating these allows for built-in buffers that keep the project moving forward smoothly.
Tips for Staying on Schedule
Choose finishes early and order materials with buffer time. Maintain open communication with your team through weekly check-ins. Build contingency days into each phase for minor adjustments. Focus on interior upgrades that can proceed independently, such as painting or cabinetry, to keep progress visible. Create a master checklist that includes daily tasks, vendor contacts, and milestone deadlines. Review progress against this list each evening to identify slippage quickly. Incorporate flexibility for design tweaks without halting work entirely. Explore energy efficiency guidelines to select upgrades that may qualify for incentives and speed approvals.
Real-World Examples: 4-Week Versus 8-Week Remodels
A streamlined 4-week project might involve a simple cosmetic update with pre-selected materials and no major plumbing changes. In contrast, an 8-week remodel could include full gut renovation, custom tile work, and new electrical circuits for smart features. The difference often hinges on permitting speed and scope complexity. For instance, a 4-week timeline suits a powder room refresh where existing layouts remain intact, allowing rapid fixture swaps and quick paint applications. An 8-week example often features expanded square footage, integrated storage solutions, and multiple trades working in sequence, such as electricians followed by plumbers then finish carpenters. Tracking these examples shows how early material procurement can shave weeks off longer projects.
DIY Versus Contractor-Led Timelines
DIY approaches extend timelines significantly, often doubling durations due to learning curves and tool limitations. Contractor-led projects benefit from experienced crews and established vendor relationships, typically completing faster with fewer errors. Weigh your skills against the benefits of professional oversight for complex interior upgrades. Homeowners handling their own demolition may save time on small jobs but face challenges coordinating inspections or sourcing specialized tools. Professionals manage these logistics seamlessly, often incorporating value-added details like custom niches or LED integrations that enhance the final result. Evaluate your availability and expertise honestly before deciding which path aligns with your 2026 goals.
Common Mistakes to Avoid
Skipping detailed measurements leads to mismatched fixtures and rework. Underestimating permit requirements causes mid-project halts. Ignoring ventilation needs results in long-term moisture issues. Always double-check electrical loads when adding smart devices to prevent future failures.
Common FAQs About Costs and Contingencies
How do contingencies affect timelines? Setting aside 10-15% extra time accounts for unforeseen issues without derailing the schedule. What interior upgrades add the most value? Prioritize water-efficient fixtures and durable surfaces for long-term returns. How does material selection influence duration? Pre-ordering specialty items prevents waiting periods. Always verify local requirements before starting. Should I include smart home elements? These can extend installation by several days but improve daily usability significantly.
Conclusion
A well-planned 2026 bathroom remodel balances thorough preparation with flexible execution. By understanding each phase and potential hurdles, homeowners can achieve efficient results tailored to their interior renovation goals. Start with detailed planning to ensure your project stays on track from concept to completion. Refer to authoritative sources such as environmental protection resources for additional ideas on sustainable upgrades that support both timelines and performance.
No comments yet. Be the first!