 Fixated on Home
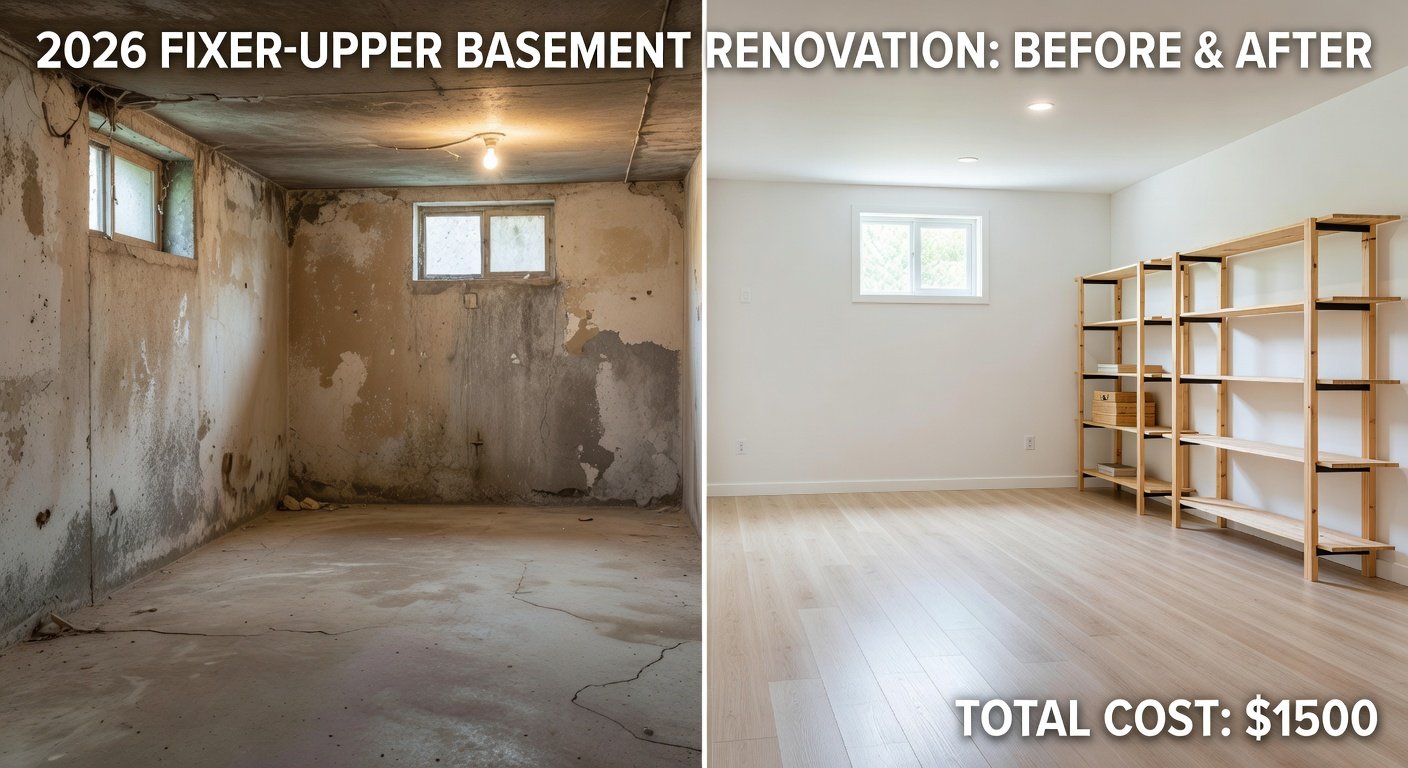
Introduction: Creating a Productive Home Office on a Budget in 2026
Hybrid work arrangements remain a dominant trend in 2026, prompting many homeowners to convert underused or damaged spaces in older properties into efficient home offices. Fixer-uppers present unique opportunities for creative, low-cost renovations that blend functionality with personal style. This comprehensive guide targets DIY enthusiasts seeking to stay under an $800 total budget as of May 2026, focusing on sustainable practices that reduce waste and promote upcycling. By addressing common challenges in older homes such as uneven walls, limited electrical outlets, and poor ventilation, you can build a workspace that supports productivity while aligning with eco-conscious values. Practical remodeling tips emphasize assessing limitations first, then layering affordable upgrades like multifunctional furniture, strategic lighting, and versatile wall treatments.
Assessing Your Space Limitations in Older Homes
Before any purchases or construction, conduct a thorough evaluation of the available area. Measure dimensions accurately, noting ceiling height, window placements, and existing fixtures. In older homes, common issues include drafty windows, cracked plaster, and awkward alcoves that limit standard desk setups. Create a simple diagram highlighting traffic flow and potential zones for focused work versus storage. Test natural light at different times of day to identify dim spots that may require supplemental illumination. For sustainability, inventory reusable items already present, such as built-in shelving or salvageable wood trim. This step prevents costly mistakes and ensures the final design fits your specific constraints, whether transforming a 10-by-10 spare bedroom or a narrow hallway nook.
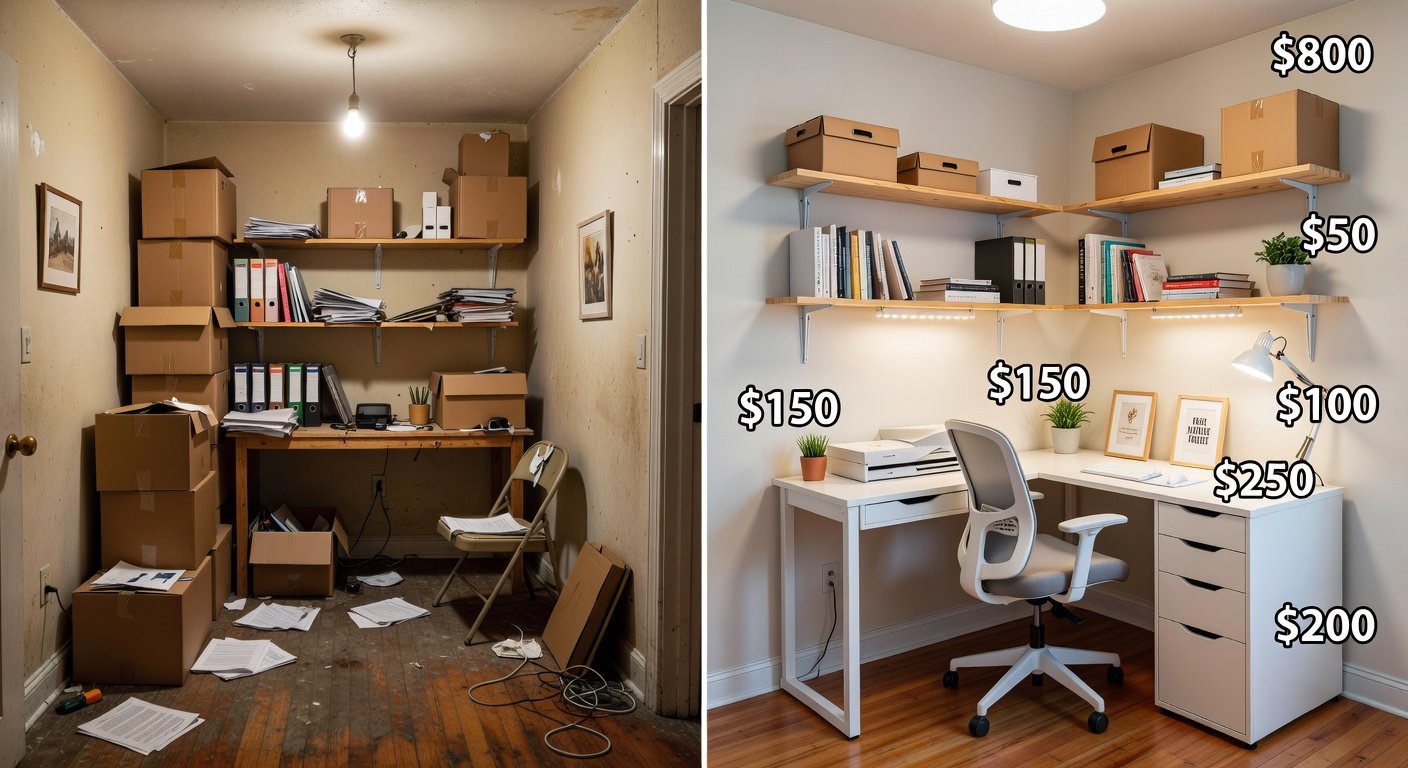
Step-by-Step Renovation Plan with Detailed Cost Breakdowns
Implement the project in clear phases to maintain control over spending and timeline. Phase one involves deep cleaning and minor repairs using basic tools like spackle and sandpaper, typically costing under $50. Phase two focuses on wall preparation and treatments. Phase three covers furniture assembly and arrangement. Phase four adds finishing touches like organization systems. Throughout, track expenses against the $800 cap as of May 2026 by prioritizing multi-use items. For example, allocate roughly $150 for wall treatments, $250 for furniture hacks, $100 for lighting, and $200 for storage solutions, leaving room for unexpected needs. Always compare prices at multiple outlets to maximize value.
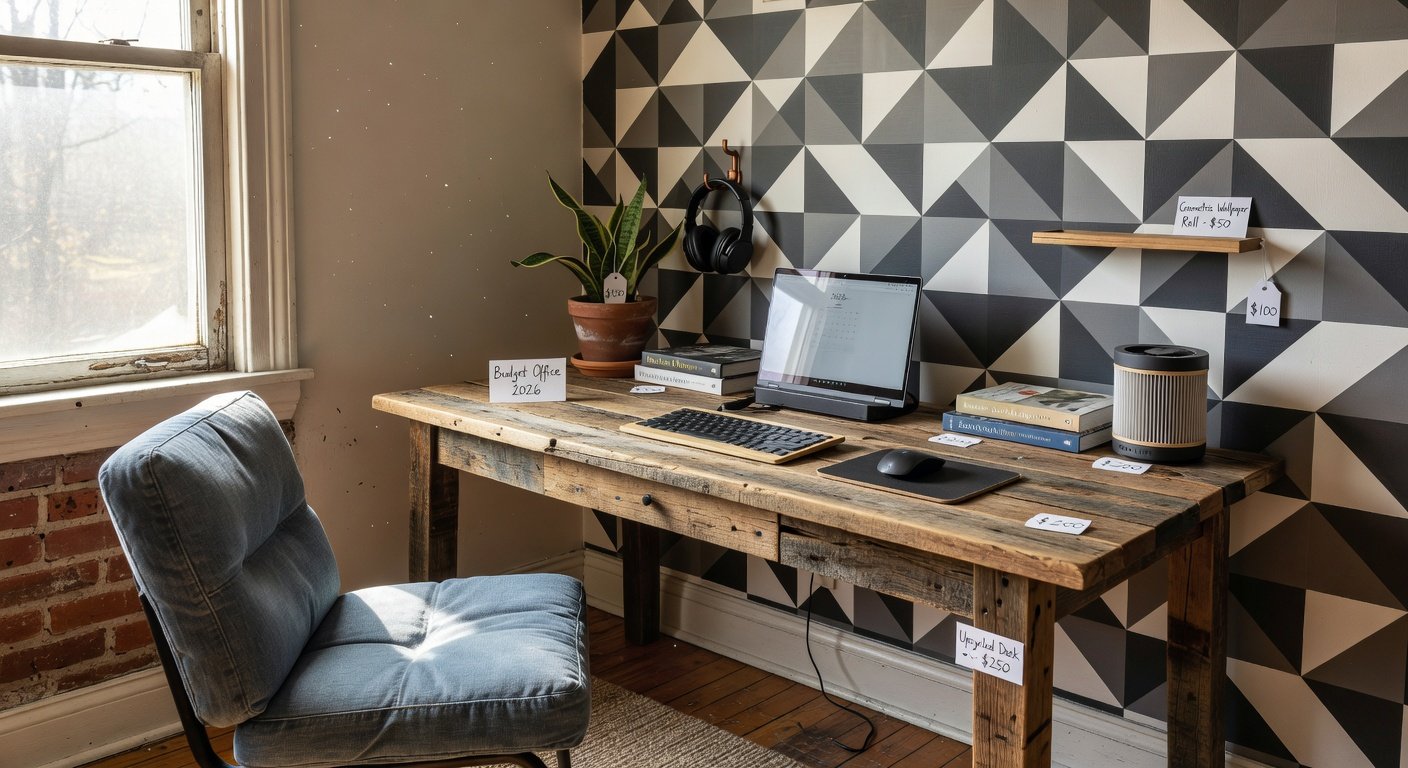
Multifunctional Furniture Hacks and Real-World Examples
Select furniture that adapts to changing needs, such as a rolling cart that doubles as a printer stand and extra workspace. Thrift store desks can be elevated with affordable legs from discount retailers, creating ergonomic height without custom builds. Upcycle an old dresser into a filing cabinet by adding dividers made from cardboard boxes covered in fabric remnants. Before-and-after transformations often reveal how a cluttered corner becomes a sleek station with a fold-down table mounted on the wall for space-saving. Material comparisons show thrift finds frequently outperform new discount options in character and longevity when refinished properly. Source inspiration from community forums and test arrangements virtually using free design apps before committing.
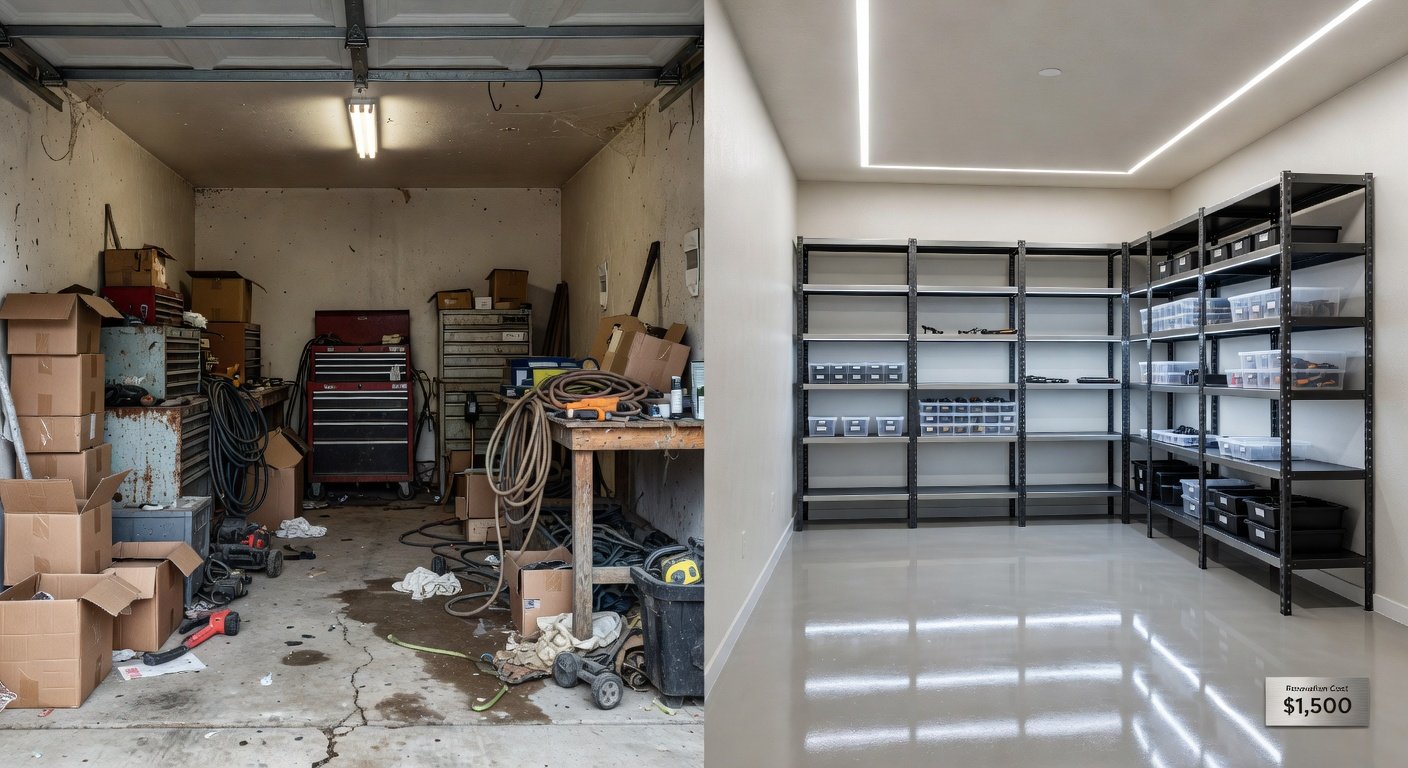
Low-Cost Lighting and Storage Upgrades for Better Productivity
Effective lighting transforms any space, starting with maximizing existing windows through sheer curtains and strategic mirror placement. Supplement with energy-efficient LED bulbs and clamp lamps positioned for task work. Consider a mix of overhead, ambient, and focused lighting to reduce eye strain during long remote sessions. For storage, build vertical solutions using reclaimed lumber from local salvage yards or simple tension rods with hanging organizers. Baskets woven from recycled materials keep supplies tidy while adding texture. These upgrades not only improve workflow but also lower long-term energy costs. Explore options at major home improvement retailers for bulk LED packs that fit tight budgets.
Peel-and-Stick Wall Treatments: Application and Design Tips
Peel-and-stick wallpaper or decals offer damage-free customization perfect for rental situations or future moves. Choose light-reflecting patterns such as subtle geometrics or nature-inspired motifs to brighten older interiors. Begin application on a clean, dry surface by aligning the first panel carefully and smoothing out air bubbles with a plastic tool. Overlap seams slightly for seamless results and trim excess with a sharp utility knife. Sustainable choices include brands using recycled vinyl or paper backings. This treatment can dramatically update dated paneling or stained walls in a single afternoon, providing visual interest without the mess of traditional painting.
Sustainable and Upcycled Ideas for Eco-Conscious Renovations
Incorporate upcycling throughout to minimize environmental impact and stay within budget. Repurpose shipping pallets into a monitor riser or wall art, sanding and staining them for a polished finish. Collect glass jars from your kitchen to serve as pen holders or plant propagators on the desk. Partner with local recycling programs to source free or low-cost materials like fabric scraps for bulletin boards. These approaches not only cut expenses but also create unique pieces that reflect your values. Resources from the EPA highlight best practices for reducing construction waste during home projects. Similarly, checking Energy Star guidelines ensures lighting choices contribute to overall efficiency.
Material Comparisons: Thrift Stores Versus Discount Retailers
Thrift shops yield one-of-a-kind items like vintage lamps or solid wood crates at fractions of retail prices, though they require cleaning and possible repairs. Discount chains provide consistent quality and warranties on new items such as modular shelving units. Weigh factors including durability, aesthetic match, and shipping costs. For instance, a secondhand filing cabinet might need only paint while a new equivalent offers assembly ease. Blend both sources for optimal results, starting with thrifted statement pieces and filling gaps with budget buys. Always inspect items for structural integrity before purchase to avoid hidden expenses.
FAQ: Addressing Common Pitfalls and Questions
- How can I improve poor natural light without major construction? Layer reflective surfaces, install sheer window films, and position mirrors opposite light sources for amplified brightness throughout the day.
- What are the best upcycled storage solutions on a tight budget? Convert wine crates into modular shelves or use old suitcases stacked as side tables with hidden compartments for files and supplies.
- Is peel-and-stick wallpaper suitable for textured walls in fixer-uppers? Yes, but test a small section first and opt for thicker, forgiving patterns that hide minor imperfections effectively.
- How do I avoid overspending during the project? Create a detailed shopping list in advance, set weekly spending limits, and repurpose household items before buying new ones.
- Can these changes support long-term hybrid work needs? Absolutely, by focusing on ergonomic setups, cable management, and flexible layouts that evolve with your routine.
Conclusion: Building Your Ideal Workspace Sustainably
Following this detailed approach allows you to renovate a fixer-upper into a comfortable, productive home office that meets 2026 demands while respecting both your wallet and the planet. Focus on thoughtful assessment, phased execution, and creative reuse of materials to achieve professional results. With persistence and these practical strategies, your upgraded space will enhance daily work life for years ahead.
No comments yet. Be the first!