 Fixated on Home
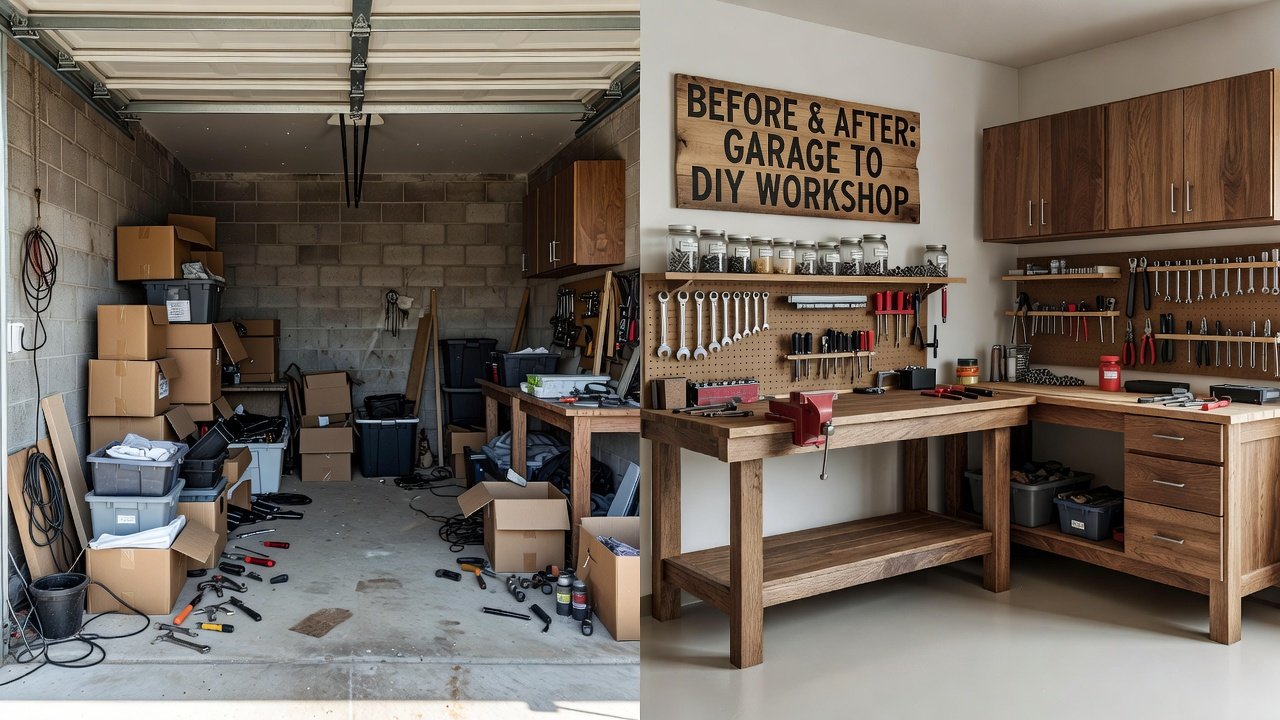
Introduction to Budget Workshop Renovations
Homeowners often overlook unused spaces like garages, basements, or spare rooms that could become productive workshops. This guide provides practical, affordable strategies for transforming these areas into functional DIY spaces in 2026. Whether you're a beginner seeking fixer-upper ideas or looking to optimize for budget reno projects, the focus remains on actionable steps that deliver real results without overspending. Effective workshop conversions start with assessing your available space and prioritizing needs. By following proven remodeling tips, you can create organized environments for woodworking, repairs, or hobbies while enhancing home value. Many people find that dedicating time to planning upfront saves money and prevents frustration during the build phase. The goal is a versatile area that supports multiple activities safely and efficiently over the long term.
Assessing Your Space for a Workshop Conversion
Begin by measuring the dimensions of your chosen area and noting existing features such as electrical outlets, windows, and flooring. Identify potential issues like moisture or poor access that could affect usability. This initial evaluation helps determine if the space suits light crafting or heavier tool use. Walk through the area at different times of day to observe natural light patterns and temperature fluctuations. Check for structural concerns including load-bearing walls or foundation cracks that might require attention before any modifications begin. Consider how the space connects to the rest of the home for convenient material transport and noise control. Document everything with photos and notes to reference during later planning stages. This thorough assessment forms the foundation for all subsequent decisions and helps avoid costly surprises midway through the project.
Step-by-Step Layout Planning
Effective layout planning prevents wasted effort later. Sketch a basic floor plan dividing the space into zones for work, storage, and safety equipment. Place heavy tools near power sources and keep frequently used items within easy reach. Start by identifying the primary activity zones based on your main projects. Allow adequate clearance around each station for movement and material handling. Incorporate flexible elements such as rolling carts that can adapt to changing needs. Review the plan from multiple angles to ensure no dead zones form where tools become inaccessible. Test the arrangement using cardboard cutouts or tape outlines on the floor before purchasing any fixtures. Adjust for ergonomic considerations like workbench height and reach distances to reduce strain during long sessions. This methodical approach ensures the final setup supports efficient workflows from day one and accommodates growth as your skills or collection of equipment expands.
Sourcing Materials on a Tight Budget
Focus on reclaimed and discounted supplies from local suppliers or online marketplaces. Prioritize durable options like plywood for benches and metal shelving that withstand daily use. Repurposing existing furniture or fixtures further reduces expenses while maintaining quality. Explore salvage yards, community reuse centers, and clearance sections at home improvement stores for hidden gems. Compare prices across several sources and consider bulk purchases for common items like fasteners or paint. Look for opportunities to trade or barter with other DIY enthusiasts in local forums. Always inspect materials carefully for defects before committing to a purchase. This resourceful approach allows creation of customized spaces that feel complete without exceeding financial limits. Sustainable choices also contribute to an environmentally responsible project that aligns with modern values.
OSHA guidelines offer additional insights on selecting safe materials for home workshops.
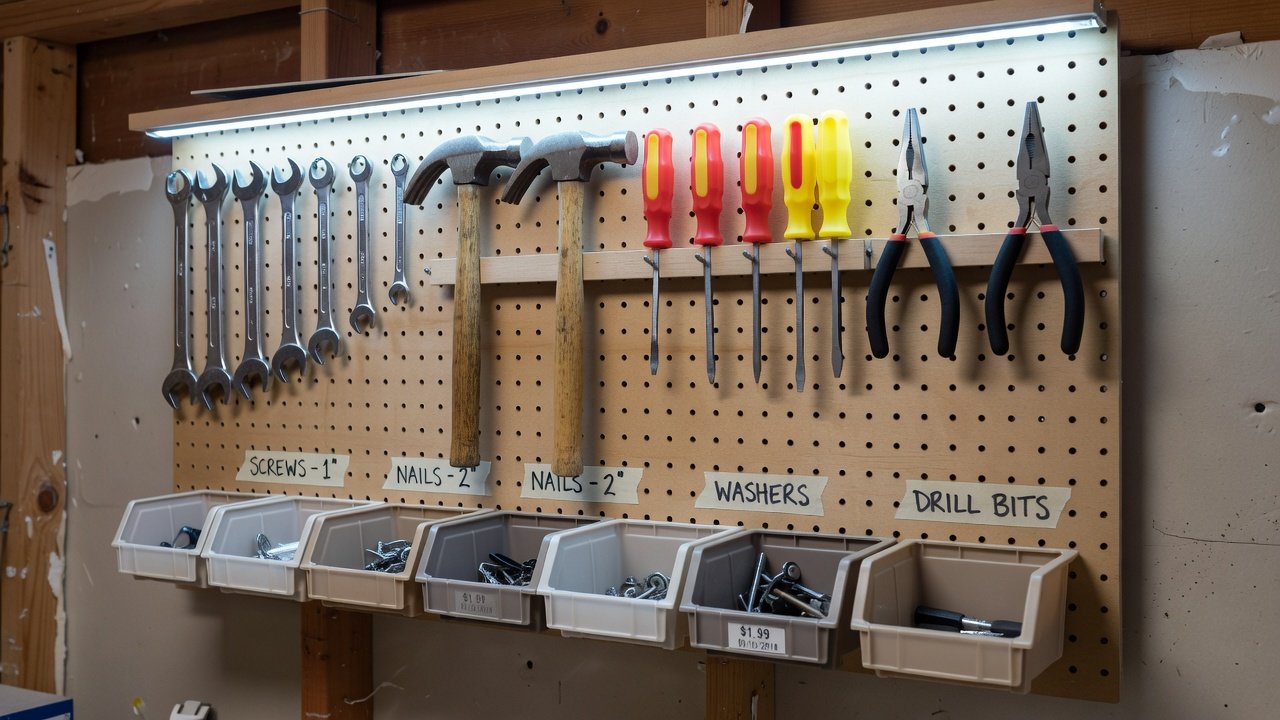
Tool Organization Hacks for Maximum Efficiency
Smart organization transforms cluttered areas into streamlined workshops. Use pegboards for hand tools, labeled bins for hardware, and shadow boards to track inventory at a glance. Vertical storage maximizes floor space while keeping essentials visible and accessible. Group similar items together and establish designated homes for each tool to speed up project starts and cleanups. Incorporate drawer dividers and magnetic holders for small parts that might otherwise scatter. Create a master inventory list that you update whenever tools are added or removed. Rotate seasonal equipment to secondary storage areas during off periods. These systems reduce time spent searching and minimize the risk of misplacing valuable items. Over time, consistent organization habits lead to smoother operations and greater enjoyment of the space.
- Install magnetic strips above workbenches for quick retrieval of metal tools.
- Group items by project type in clear, stackable containers.
- Implement a rotation system so seasonal tools stay stored out of the way.
- Label everything clearly to avoid searching during projects.
Safety Upgrades: Ventilation, Lighting, and More
Proper ventilation prevents buildup of dust and fumes, making the workshop healthier for extended use. Install exhaust fans or openable windows where possible. Upgrade lighting with LED fixtures positioned to eliminate shadows over work areas. Add task lighting at each station for precision work and general overhead illumination for overall visibility. Consider motion-sensor options for convenience and energy savings. Ground all outlets properly and install ground-fault circuit interrupters in wet or high-risk zones. Place fire extinguishers at accessible locations and maintain clear exit paths. Secure rugs or mats to prevent slips and consider anti-fatigue mats near standing work areas. These improvements protect both users and property over time while supporting comfortable, productive sessions. Regular inspections of safety equipment keep everything in reliable working order.
EPA resources provide helpful details on indoor air quality improvements relevant to home workshops. Energy efficiency recommendations can guide lighting and ventilation choices that lower ongoing operating costs.
DIY Versus Budget Professional Help: A Comparison
Many tasks suit solo DIY efforts, such as painting, basic shelving, and organization. However, electrical or structural work often benefits from licensed professionals to meet codes. Weigh time, skill level, and long-term reliability when deciding. DIY routes build personal skills and allow full customization but require careful research to avoid errors. Professional assistance ensures compliance and quality but adds expense. Hybrid approaches work well by handling cosmetic and organizational elements yourself while outsourcing specialized installations. This balances cost control with quality outcomes and lets you learn while benefiting from expert input where it matters most. Evaluate each phase of the project individually to determine the best mix of self-reliance and outside support.
Real-World Before-and-After Transformations
One homeowner converted a damp basement corner into a compact woodworking shop by adding sealed flooring, improved lighting, and modular storage. The result provided a dedicated hobby area that increased daily productivity and reduced clutter throughout the rest of the house. Another example involved turning a single-car garage section into a multi-use repair station. Simple wall reinforcements, tool racks, and ventilation upgrades created a versatile space used year-round for vehicle maintenance and crafts. A third transformation saw an underutilized spare room become a sewing and crafting studio with custom shelving and bright, adjustable lighting. Before the changes the room felt cramped and disorganized; afterward it supported multiple ongoing projects simultaneously. These examples demonstrate how targeted, budget-conscious changes yield impressive functional improvements that enhance daily life.
Actionable Checklist for Your Workshop Project
- Measure and photograph the space thoroughly.
- List required tools and storage solutions.
- Source materials from at least three suppliers.
- Install safety features before full setup.
- Test layout with mock arrangements.
- Document progress with photos for future reference.
- Review local building codes and obtain necessary permits.
- Plan for waste disposal and recycling of old materials.
Frequently Asked Questions
What common cost pitfalls should I avoid?
Overlooking permits or underestimating material waste often inflates budgets. Always add a contingency for unexpected repairs and verify local requirements before starting. Poor planning around electrical capacity can lead to later upgrades that prove expensive. Rushing material purchases without comparing options frequently results in overpaying or selecting unsuitable products.
How long does a typical budget conversion take?
Most beginner projects span two to four weekends when focusing on modular upgrades rather than major construction. More complex layouts with custom built-ins may require additional time spread across several weeks to allow for curing, drying, and adjustments.
Can I expand the workshop later?
Yes, design with modular elements so additional benches or racks integrate easily as needs grow. Planning for future expansion during the initial layout phase prevents the need for disruptive rework down the road.
What maintenance keeps the space functional long-term?
Regular cleaning, tool inspections, and ventilation filter changes maintain performance. Seasonal reviews help identify wear on flooring or lighting that should be addressed promptly.
Conclusion
Creating a budget workshop through fixer-upper DIY methods delivers lasting value for homeowners. By emphasizing careful planning, smart sourcing, and essential safety features, you achieve a functional space tailored to your needs. Start small, follow the checklists, and enjoy the satisfaction of a well-organized workspace that supports ongoing projects. Continued refinement based on actual use will further optimize the area over time, turning an initial investment of effort into a rewarding home asset.
No comments yet. Be the first!