 Fixated on Home
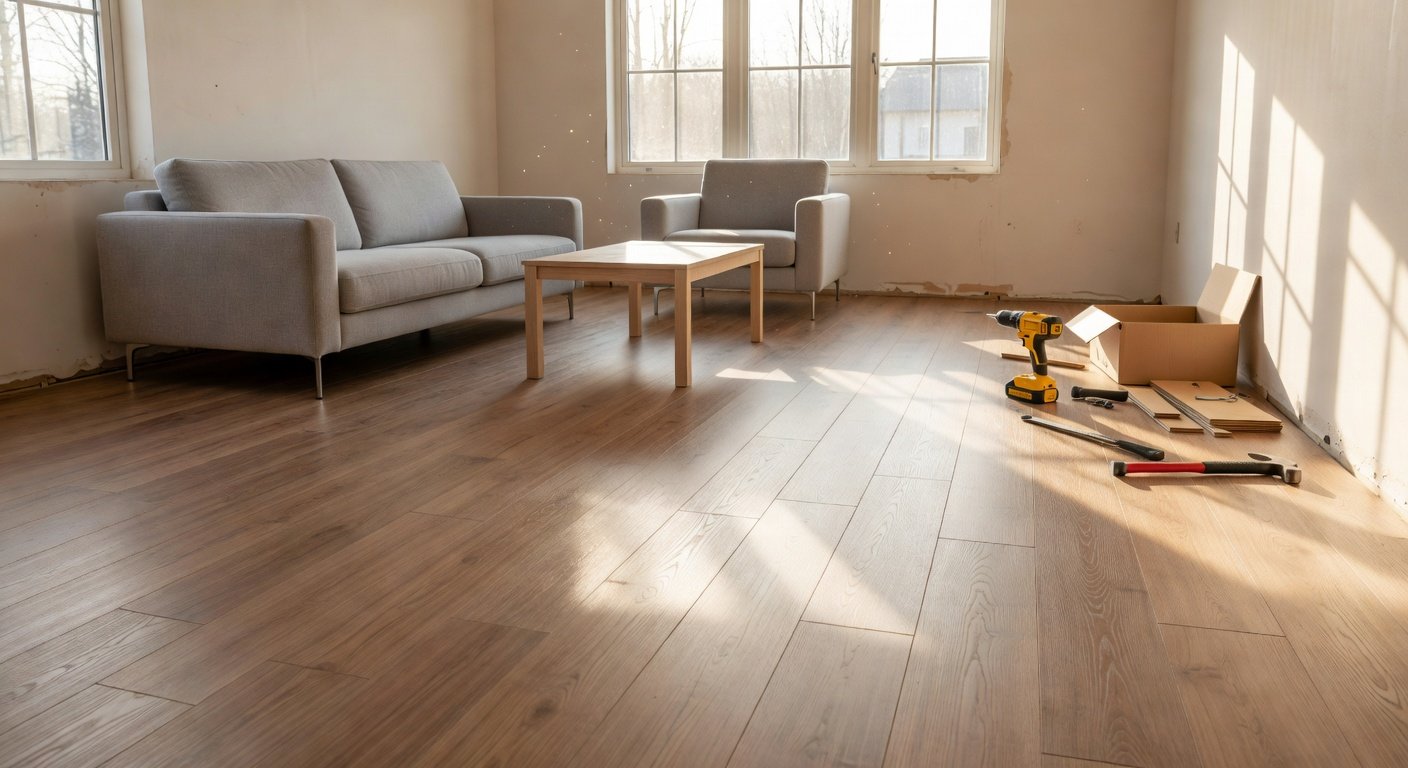
Introduction to Budget DIY Flooring for Fixer-Uppers
Fixer-upper homes offer incredible potential for value enhancement through strategic renovations. In 2026, homeowners are turning to budget-friendly DIY flooring solutions to transform dated interiors without breaking the bank. These projects focus on materials that deliver durability, style, and ease of installation, making them ideal for those tackling older properties with uneven subfloors or worn-out surfaces. Choosing the right flooring can significantly impact a home's appeal to buyers while keeping costs manageable. This guide explores practical options, comparisons, and techniques tailored for real-world fixer-upper scenarios. Homeowners often discover that flooring updates provide one of the highest returns on investment among all renovation categories because they immediately improve the look and feel of multiple rooms at once.
Whether you are dealing with a mid-century ranch or a historic Victorian, the principles remain consistent: select moisture-resistant materials where needed, prioritize ease of DIY installation, and focus on longevity to minimize future repairs. The following sections break down everything from material selection to long-term care, giving you the knowledge to complete a successful project from start to finish.
Why DIY Flooring Makes Sense in 2026 Renovations
DIY approaches empower homeowners to control timelines and expenses. Popular choices include laminate and vinyl, which mimic high-end looks at a fraction of professional installation fees. These materials resist moisture, scratches, and daily wear, suiting high-traffic areas in older homes. Real 2026 projects demonstrate how quick updates like these can refresh entire spaces. For authoritative guidance on home improvement standards, refer to resources from HUD. Beyond cost savings, DIY flooring allows creative freedom in mixing patterns and colors across different zones of the house. Many renovators report that completing the work themselves builds valuable skills for future projects and fosters a deeper connection to their living space.
Material Comparisons: Laminate Versus Vinyl
Selecting between laminate and vinyl depends on your home's specific needs. Laminate offers a wood-like aesthetic with strong scratch resistance, making it suitable for living rooms and bedrooms. Vinyl excels in waterproofing, ideal for kitchens, bathrooms, and basements prone to humidity. Laminate typically features a photographic layer that replicates natural wood grains or stone textures, while rigid core vinyl provides enhanced stability on imperfect subfloors common in fixer-uppers. Consider traffic levels, exposure to sunlight, and cleaning routines when deciding. In sunny south-facing rooms, vinyl may hold color better over time, whereas laminate can feel warmer under bare feet during colder months.
- Laminate Pros: Easy click-lock installation, wide variety of textures, good for pets and families, quick to replace individual planks if damaged.
- Laminate Cons: Less water-resistant, can swell if exposed to spills for extended periods, requires careful acclimation before installation.
- Vinyl Pros: 100% waterproof options, softer underfoot, lower maintenance, excellent for multi-level homes with temperature fluctuations.
- Vinyl Cons: May show dents from heavy furniture over time, edges can curl if not installed on perfectly flat surfaces.
Many 2026 fixer-upper transformations combine both materials across different rooms for optimal performance and cost savings. Test samples in your actual lighting conditions before committing to large quantities.
Preparing Your Subfloor for Long-Lasting Results
Before any flooring goes down, thorough subfloor preparation is essential. Start by removing all existing coverings and inspecting for rot, loose boards, or significant dips. Use a long level to identify high and low spots, then apply self-leveling compound where necessary. Clean thoroughly to remove dust and debris that could prevent proper adhesion. In older homes, check for asbestos or lead-based materials and follow local safety protocols if remediation is required. Proper preparation prevents future squeaks, uneven wear, and premature failure of the new floor.
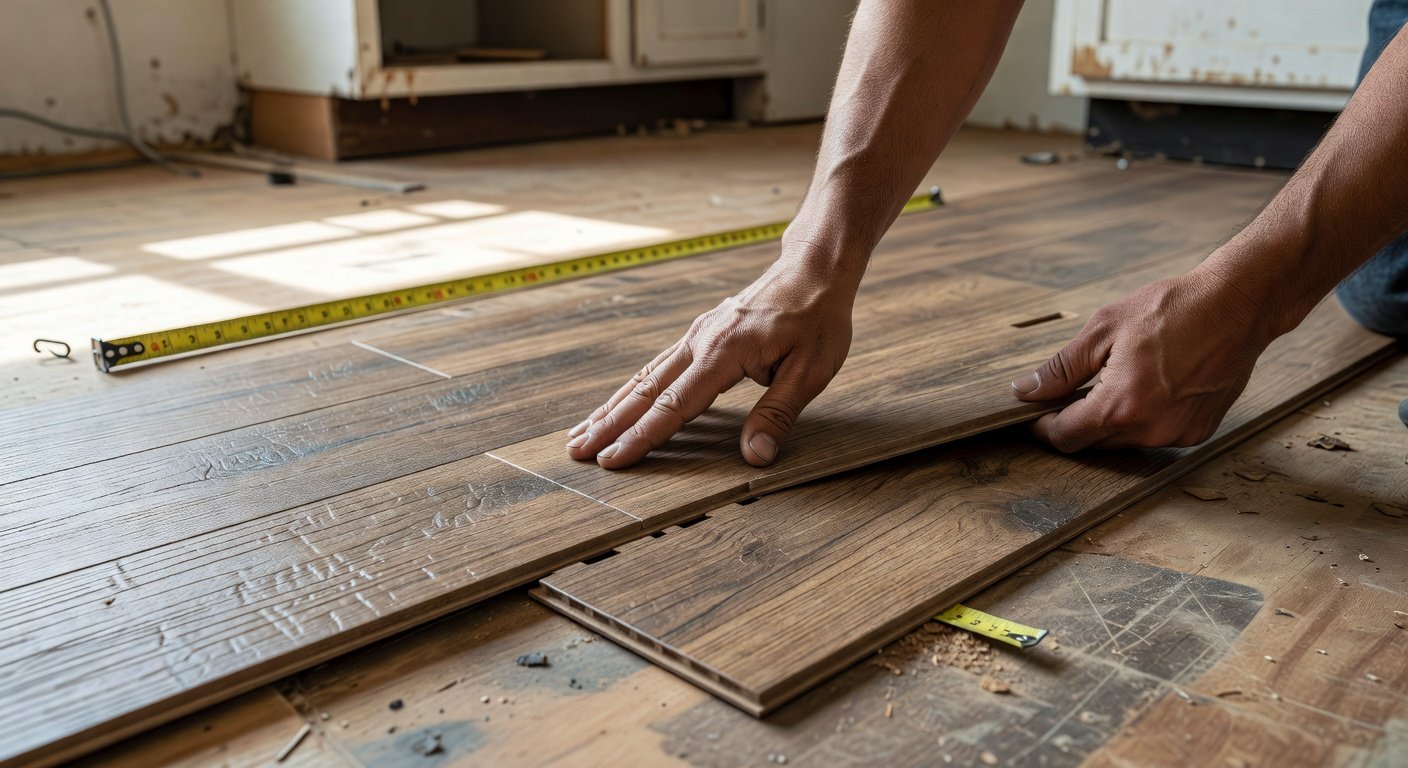
Step-by-Step Installation Guides
Proper preparation starts with assessing the subfloor for levelness and cleanliness. Remove old flooring, repair any damage, and acclimate new materials to the room's temperature for 48 hours. For laminate: Begin in a corner, lay the underlayment, then snap planks together row by row, staggering seams for stability. Use spacers for expansion gaps along walls. Cut the final row to fit using a fine-tooth saw, and finish with matching trim pieces. For vinyl: Unroll or click planks into place, ensuring tight seams. In wet areas, apply adhesive where recommended by the manufacturer. Work methodically from one end of the room to the other, checking alignment frequently with a laser level. Allow the floor to settle for 24 hours before moving heavy furniture back in.
Always follow manufacturer guidelines for your chosen product to ensure longevity. If installing over radiant heating systems, verify compatibility first to avoid warping or reduced efficiency.
Essential Tools Needed for Success
Having the right equipment prevents frustration and ensures professional results. Key tools include measuring tape and square for precise cuts, utility knife or laminate cutter for clean edges, rubber mallet and tapping block for secure fitting without damaging surfaces, underlayment roller for smooth application, and safety gear like knee pads and goggles. Additional helpful items are a pry bar for removing old baseboards, a shop vacuum for dust control, and a jamb saw for undercutting door casings. Organizing tools by installation stage saves time and reduces errors during the actual work.
Common Mistakes to Avoid
Many DIYers overlook subfloor preparation, leading to uneven surfaces and premature wear. Another frequent error is ignoring expansion gaps, which causes buckling during seasonal changes. Always measure twice before cutting, and work in small sections to maintain alignment. Failing to acclimate materials or using the wrong underlayment can also compromise results. For safety standards in renovations, check guidelines from EPA. Planning for transitions between rooms and accounting for door swings prevents last-minute adjustments that look unprofessional.
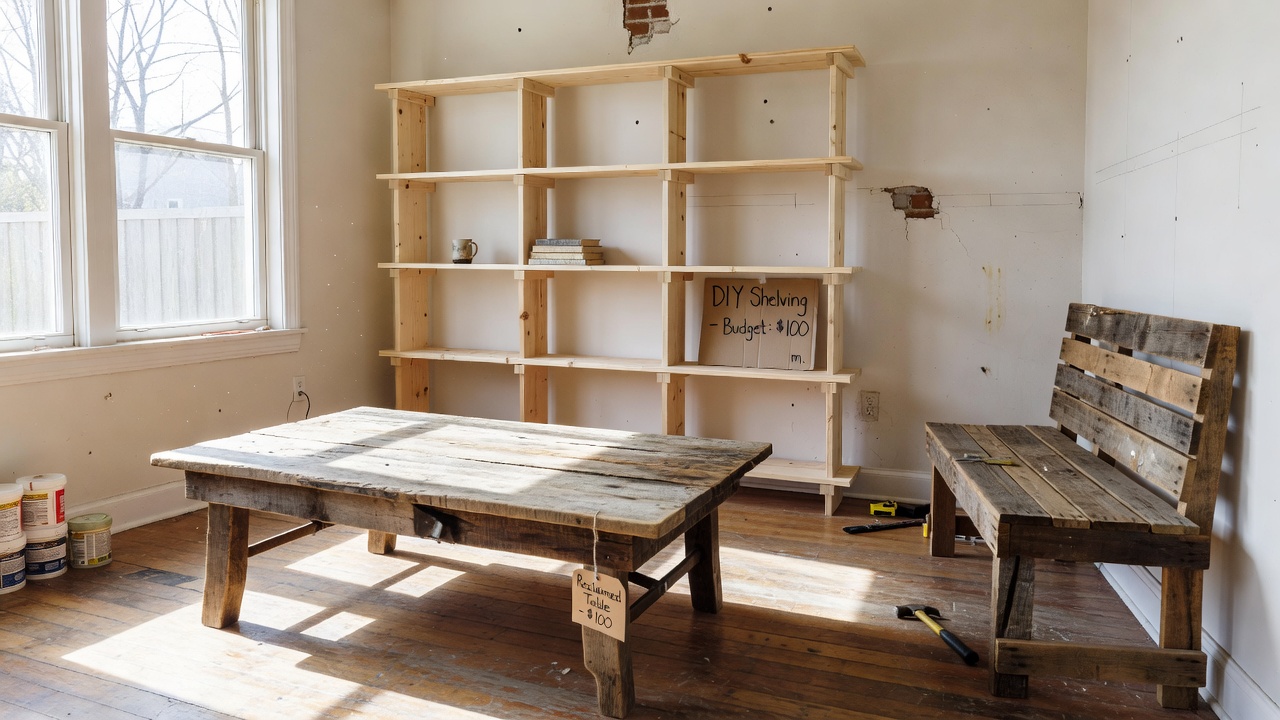
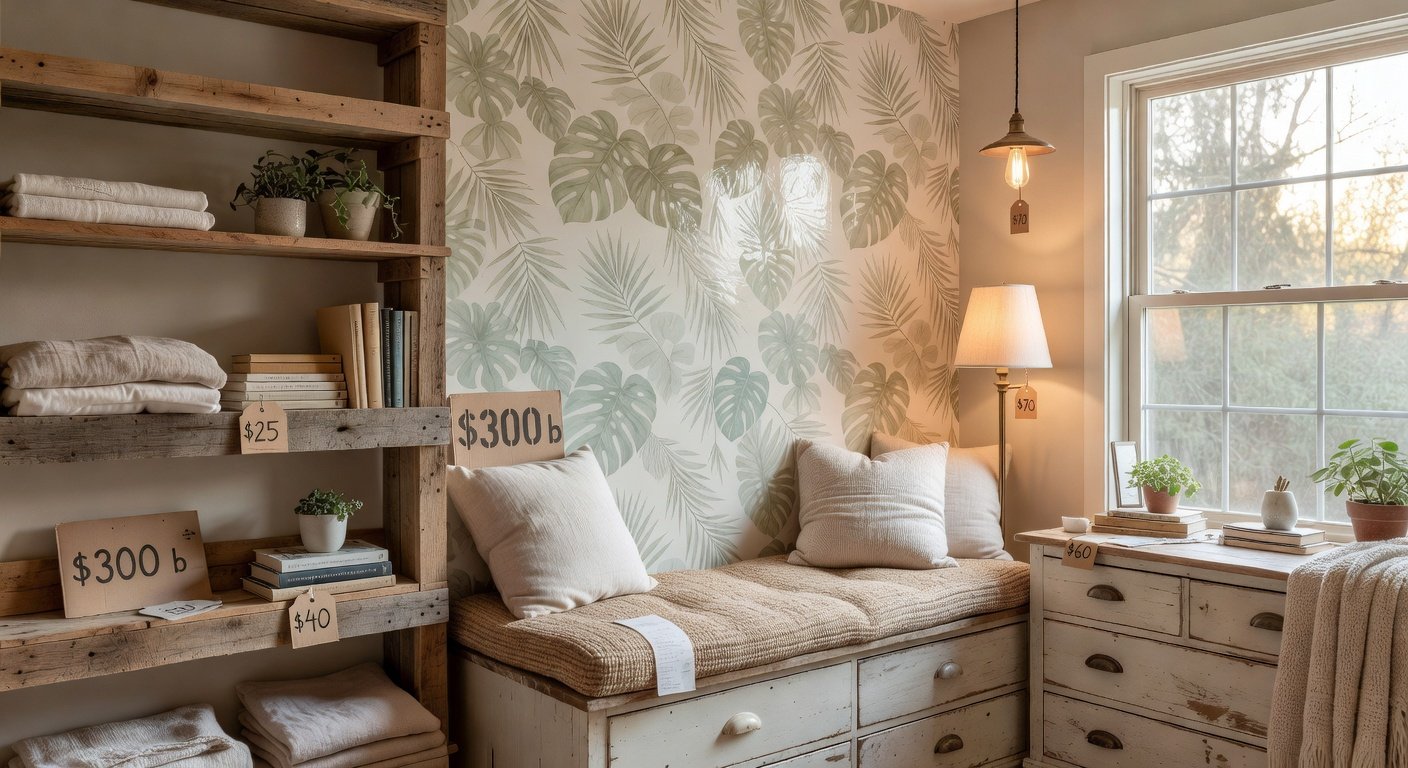
Real-Life Examples from 2026 Renovations
Homeowners in various regions have shared successes with these methods. One project converted a 1970s ranch into a modern space using vinyl in the entryway and laminate throughout the main living areas. Another involved a Victorian fixer-upper where peel-and-stick vinyl revived tired hardwood floors affordably. A third example featured a couple who installed floating laminate over an existing concrete slab in their basement, creating a dry, comfortable family room in just one weekend. These examples highlight how thoughtful material choices enhance both functionality and resale value when executed with attention to detail.
Maintenance and Durability FAQs
How do I clean these floors? Use pH-neutral cleaners and avoid excess water on laminate. Vinyl tolerates damp mopping well when using microfiber pads. What is the expected lifespan? Quality laminate and vinyl often last 15-25 years with proper care in residential settings. Are they pet-friendly? Yes, both materials handle claws and accidents effectively when sealed properly. How should I handle heavy furniture? Use felt pads on all legs and lift rather than drag items across the surface. Can I refinish these floors later? Laminate cannot be sanded, but vinyl can sometimes be refreshed with specialized coatings. What about humidity control? Maintain indoor humidity between 40-60 percent year-round to maximize durability in any climate. For broader home improvement insights, explore Consumer Reports.
Conclusion
Budget DIY flooring transforms fixer-uppers into valuable, inviting homes. By understanding material differences, following clear installation steps, and learning from common pitfalls, you can achieve lasting results. Start planning your 2026 project today to enjoy the benefits of enhanced comfort and equity. With careful execution, these updates will serve your household well for years while supporting future resale opportunities.
No comments yet. Be the first!