 Fixated on Home
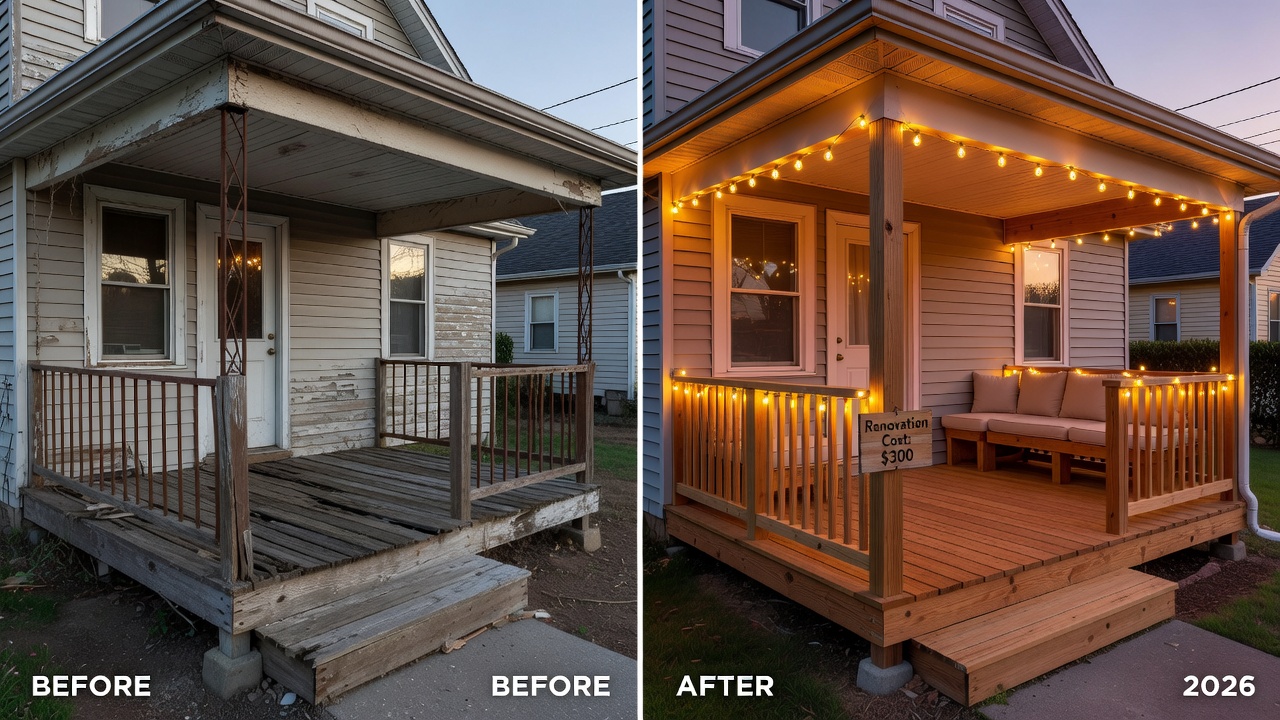
2026 Budget DIY Porch Renovation Ideas for Fixer Uppers
Fixer-uppers frequently feature porches that have seen better days, offering an opportunity to enhance both curb appeal and functional outdoor living without major expenses. In 2026, many homeowners are embracing DIY approaches to porch renovations that prioritize affordability, durability, and ease of execution. These projects address common problems such as cracked surfaces, unstable railings, inadequate illumination, and lack of comfortable seating while incorporating modern weather-resistant techniques. This comprehensive guide details five targeted upgrades ideal for older homes, complete with material lists, step-by-step instructions for multiple ideas, cost comparisons, real-world examples, and strategies for overcoming typical obstacles like moisture damage and regulatory hurdles.
Why Porch Renovations Matter for Fixer-Uppers
A well-maintained porch acts as the visual introduction to any property, boosting first impressions and potentially increasing resale value. For fixer-uppers, renovations focus on practical improvements that correct structural wear from years of exposure while creating inviting spaces for relaxation or entertaining. Choosing budget-conscious DIY methods allows owners to control timelines and avoid contractor markups, resulting in personalized outcomes tailored to the home's architectural style. Effective planning also considers long-term factors such as seasonal weather patterns and material compatibility to ensure renovations endure.
Project 1: Budget Deck Resurfacing
Deck resurfacing restores worn floorboards efficiently by overlaying new materials onto the existing frame, avoiding the labor of full demolition. Suitable options include pressure-treated pine or affordable composite planks that resist warping and fading. Begin by evaluating the substructure for soft spots or loose fasteners, replacing any compromised joists with treated lumber. Thoroughly clean the surface using a pressure washer set to medium intensity followed by a deck cleaner solution to remove mildew and old finishes. Next, apply two coats of a penetrating oil-based stain or sealant designed for outdoor use, allowing full drying between applications. Install the new surface boards perpendicular to the joists, employing hidden clip systems for a seamless appearance and driving screws at a slight angle to prevent splitting. Trim the perimeter with matching edging for a finished edge. This approach transforms tired decks into safe, attractive platforms while minimizing waste. Homeowners report noticeable improvements in both aesthetics and usability after completion.
Project 2: Railing Replacements
Updating railings improves safety compliance and visual interest, especially on older porches where original balusters may be loose or outdated. Opt for pre-fabricated wood or aluminum kits that meet standard height requirements of 36 inches. Remove existing railings carefully, preserving any reusable hardware. Measure the post spacing accurately and secure new posts to the deck framing with galvanized bolts. Attach top and bottom rails, then insert balusters at even intervals no more than four inches apart. Sand all surfaces smooth before applying exterior paint or stain in a color that complements the home's exterior. This project enhances both function and style, turning hazardous areas into secure boundaries suitable for families.
Project 3: Lighting Installations
Strategic lighting extends porch usability into nighttime hours and deters unwanted activity. Solar-powered path lights or string options require no wiring, making them ideal for DIY beginners. Plan placement along walkways and seating zones, ensuring fixtures are rated for wet locations. Mount solar panels in unobstructed southern-facing positions for optimal charging. For wired low-voltage systems, run cables through protective conduit buried shallowly along the porch edge. Connect to a transformer plugged into an outdoor outlet and test all connections before final burial or concealment. Layered lighting with overhead fixtures and accent spots creates ambiance while improving visibility for evening activities.
Project 4: Seating Builds
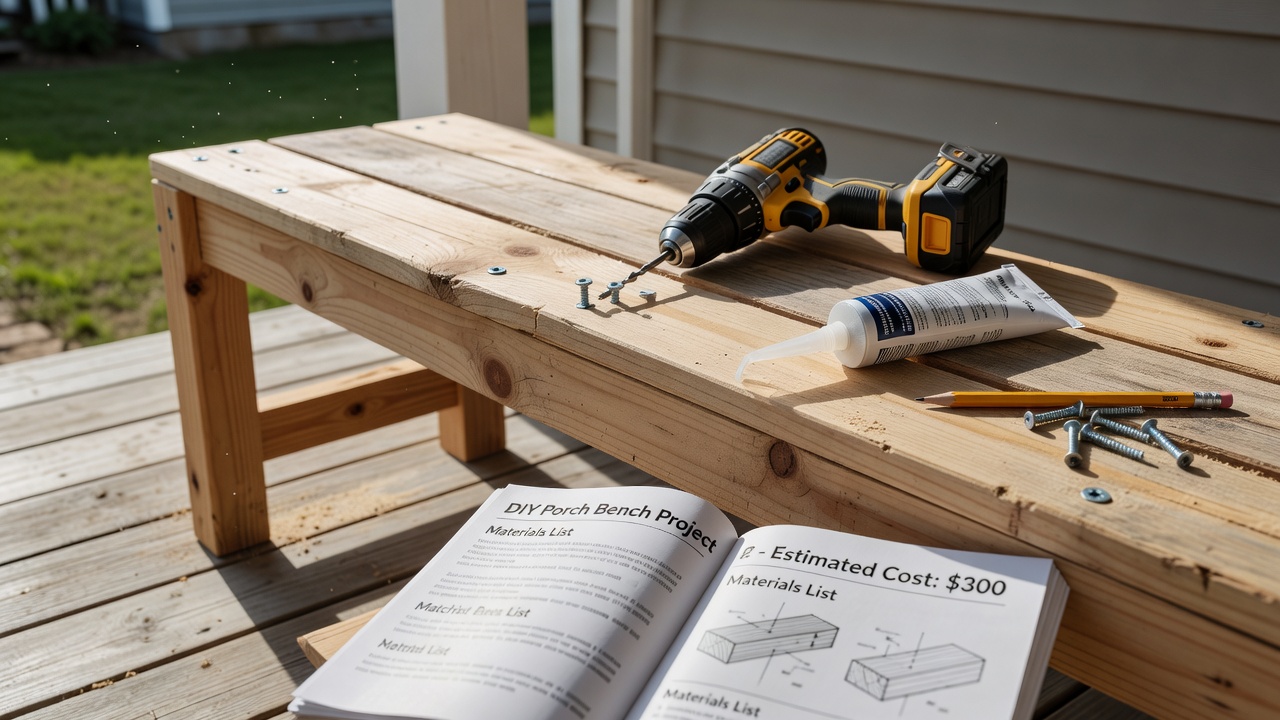
Custom seating maximizes space utilization and adds character to any porch. A straightforward bench build uses basic carpentry skills and readily available lumber.
Step-by-Step Instructions for a Simple Bench:
- Measure the available area and sketch a design accommodating two to three adults comfortably.
- Cut cedar or pine boards for the frame, legs, seat, and backrest using a circular saw with appropriate safety gear.
- Assemble the base frame with pocket-hole screws and corner brackets for strength, ensuring level alignment on the porch floor.
- Attach the seat planks with gaps for drainage, followed by the backrest secured at a slight recline angle.
- Sand all edges and surfaces thoroughly, then apply multiple coats of exterior-grade sealant or paint formulated for high-traffic outdoor exposure.
- Bolt the completed bench to the porch structure using lag screws for stability against wind or movement.
This build integrates well with resurfacing and railing projects, creating a cohesive outdoor room. Materials for this build stay under $300 as of 2026-07-10, offering a comfortable addition that complements other upgrades.
Project 5: Flooring and Accent Updates
Additional refreshes such as painted concrete coatings or modular interlocking tiles provide quick visual upgrades. Clean and etch the existing floor before applying masonry paint in multiple thin layers. Tiles snap together over a prepared base, allowing easy removal if needed. These accents tie together the larger projects for a polished result.
Material Cost Comparisons
Selecting materials involves balancing upfront expense against longevity. Pressure-treated lumber remains the most economical choice for structural elements, while composites offer superior fade resistance at a modest premium. Sealants and fasteners add incremental costs but prove essential for performance. Comparing local home centers reveals opportunities to purchase remnants or bulk packs for further savings. Always verify current availability and quality grades before purchasing.
Addressing Common Challenges
Weatherproofing demands attention to ventilation, slope for drainage, and protective coatings to combat rot and cracking in varying climates. Apply sealants generously to all cut ends and joints, and elevate seating slightly off the floor surface. Permit requirements differ widely by municipality; structural modifications like railing changes or added footings often necessitate review to ensure code adherence. Consult local building departments early in planning to prevent delays or rework. EPA guidelines provide valuable information on environmentally responsible material selection and disposal practices. Additional safety protocols appear in resources from CPSC, which outlines best practices for outdoor structures.
Real-World Before-and-After Examples
One family in a historic neighborhood resurfaced their sagging deck and installed new railings, converting a neglected entryway into a vibrant gathering spot used daily for meals and relaxation. Another project involved adding built-in seating and solar lighting to a narrow side porch, resulting in an intimate reading retreat that boosted the property's marketability. These transformations demonstrate how targeted interventions yield outsized visual and functional returns when executed methodically with attention to detail.
Conclusion
Implementing these 2026 budget DIY porch ideas empowers fixer-upper owners to revitalize outdoor spaces efficiently. By following detailed steps, comparing materials thoughtfully, and preparing for weather and regulatory factors, successful outcomes become achievable for porches of various sizes and conditions.
FAQ
How do I scale projects for small vs. large porches?
Adapt dimensions proportionally and select modular components such as sectional seating or clustered lighting fixtures that adjust easily across different footprints. Start with one focal project and expand incrementally based on available space and budget.
What maintenance keeps budget reno results looking new long-term?
Schedule seasonal inspections for loose fasteners or sealant wear, followed by annual cleaning with mild detergent and reapplication of protective finishes every 18 to 24 months. Prompt attention to minor damage prevents escalation into larger repairs.
Are there eco-friendly material alternatives worth considering?
Recycled composite decking and low-VOC stains reduce environmental impact while delivering comparable performance to traditional options. Research local recycling programs for end-of-life disposal planning.
What tools are essential for these porch projects?
Core items include a cordless drill, circular saw, level, measuring tape, sander, and safety equipment such as gloves and eye protection. Renting specialized tools like pressure washers can further control costs.
No comments yet. Be the first!