 Fixated on Home
Introduction to Budget-Friendly Chicken Coops in 2026
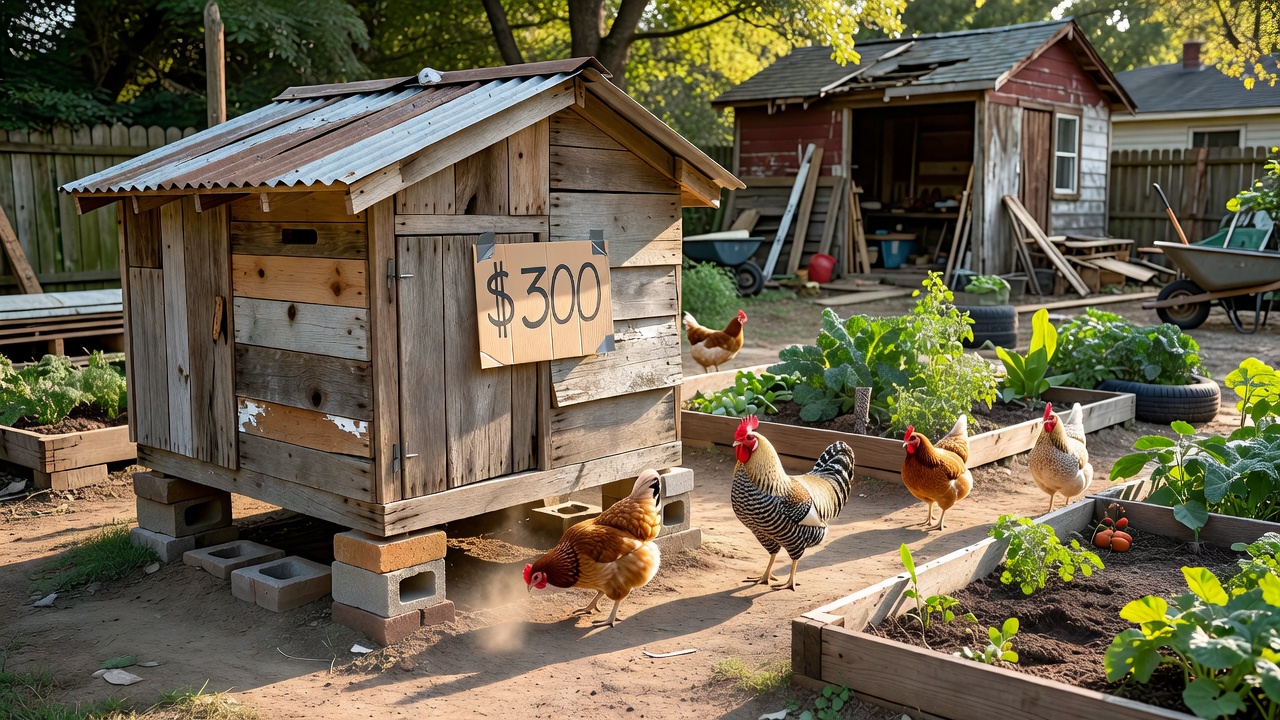
Homeowners tackling fixer-upper properties often seek sustainable upgrades that add both function and value. Backyard chickens provide fresh eggs, natural pest control, and a connection to self-sufficiency. Building your own coop maximizes limited space while keeping total costs under $300 as of 2026-09-02. This in-depth guide walks through every stage, from initial planning to long-term care, using reclaimed wood and basic tools. Whether your yard is compact or features uneven terrain common in older homes, these methods ensure a durable, attractive structure that integrates seamlessly with existing landscaping.
Site Selection and Preparation
Selecting the right location is critical for flock health and ease of maintenance. Opt for a flat area with slight elevation for natural drainage. Provide partial shade from trees or structures to protect birds during summer heat. Measure available space carefully, allowing at least four square feet per bird inside the coop and ten square feet in the run. Avoid spots near busy roads or areas with heavy foot traffic. Test soil drainage by digging a small hole and observing water absorption after rain. Clear debris, level the ground with a rake, and mark boundaries with stakes and string before construction begins.
Sourcing Reclaimed Materials on a Budget
Reclaimed wood forms the backbone of low-cost builds. Visit local salvage yards, Habitat for Humanity ReStores, or construction demolition sites to find free or inexpensive pallets, barn boards, and fencing. Inspect every piece for rot, warping, or embedded nails. Sand rough surfaces and treat with non-toxic sealants safe for animals. Supplement with affordable hardware cloth, screws, and hinges purchased in bulk. This approach not only slashes expenses but also reduces environmental impact by repurposing materials that would otherwise go to landfills.
Essential Tools and Safety Gear
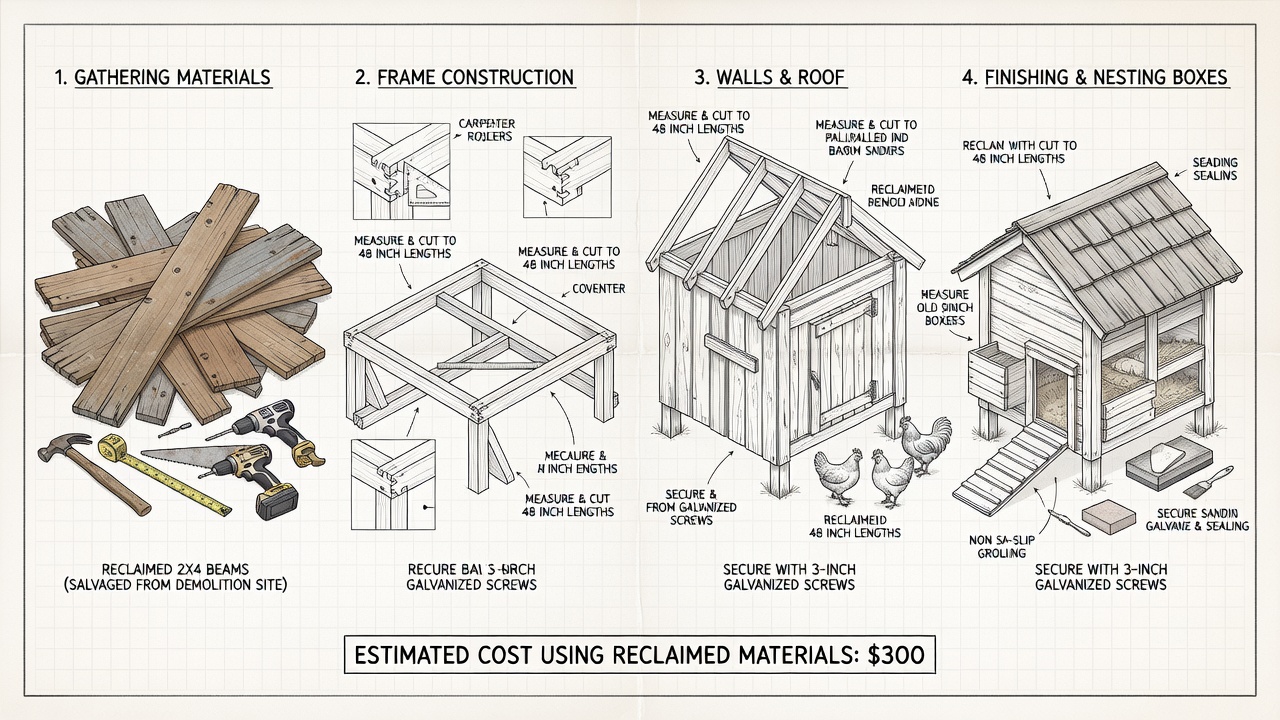
Before starting, gather a circular saw, drill, hammer, level, tape measure, and wire cutters. Wear safety goggles, gloves, and dust masks when cutting or sanding reclaimed lumber. A cordless drill speeds assembly, while a staple gun helps secure wire mesh quickly. Keep a first-aid kit nearby for minor cuts from nails or wood splinters.
Step-by-Step Assembly Guide
Begin with a sturdy foundation using concrete blocks or a gravel base to prevent rot. Cut reclaimed 2x4s for the frame, ensuring all corners are square with a carpenter's square. Attach wall panels made from planks, leaving space for a door and ventilation openings. Install a sloped roof with overlapping sheets for waterproofing. Inside, build nesting boxes at least 12 inches square and roosting bars 18 inches off the floor. Add a secure latch system. Work in stages over a weekend, checking alignment frequently with a level.
Three Example Coop Designs
The Compact A-Frame suits tiny urban yards and houses up to four birds. Its triangular shape sheds snow easily and moves with two people for rotational grazing. The Traditional Shed-Style offers six square feet per bird plus an attached run, ideal for fixer-uppers with moderate space. It features a human-sized door for cleaning access. The Vertical Tower Design stacks nesting areas to save ground space on narrow lots, using ladders for birds to reach higher roosts. Each design includes predator barriers and adjustable vents.
Predator-Proofing Techniques
Hardware cloth with quarter-inch openings outperforms chicken wire against raccoons and foxes. Bury mesh 12 to 18 inches deep around the perimeter or use an apron extending outward. Elevate the coop six inches off the ground and install automatic door closers. Check for gaps larger than one inch around windows and doors weekly. Motion-activated lights near the coop deter nocturnal visitors without disturbing neighbors.
Ventilation Comparisons
Ridge vents provide constant airflow along the roof peak without creating drafts on birds. Side windows with adjustable panels allow seasonal customization, opening wide in summer and partially closing in winter. Compare these to simple gable vents, which work well in moderate climates but may need screening against insects. Proper ventilation reduces ammonia buildup and keeps bedding dry year-round.
Seasonal Maintenance Tips
Spring cleaning involves removing old bedding, scrubbing surfaces with vinegar solution, and inspecting for wear. Summer demands extra shade cloths and multiple water sources to prevent heat stress. Fall requires adding straw insulation and checking roof seals before rain arrives. Winter focuses on preventing frozen drinkers with heated bases and ensuring vents remain unobstructed by snow. Schedule monthly inspections to catch issues early.
Real Budget Breakdown and Cost-Saving Strategies
Reclaimed lumber covers most structural needs at minimal or zero cost. Allocate remaining funds to hardware, wire mesh, and fasteners. Creative sourcing from neighborhood giveaways or online free sections keeps totals under $300 as of 2026-09-02. Track expenses in a simple spreadsheet to identify further savings, such as sharing bulk purchases with fellow homesteaders.
Integration with Existing Yards and Property Value Benefits
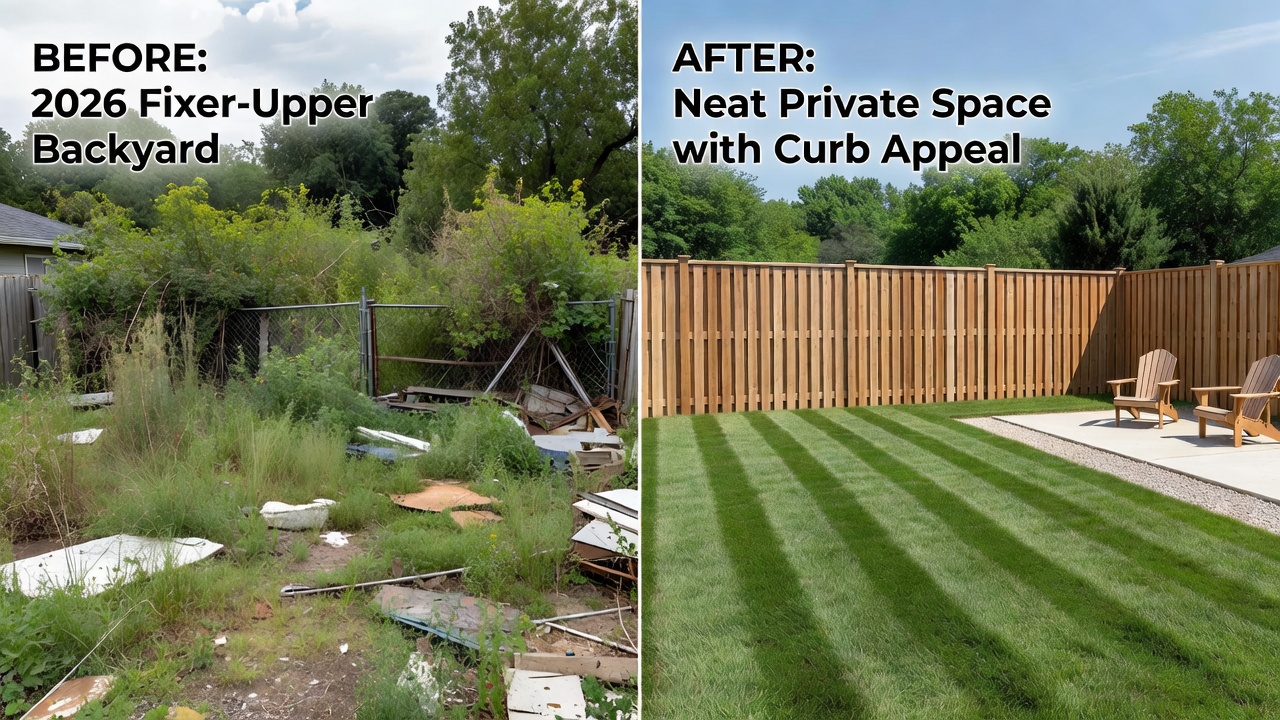
Blend the coop into your landscape by planting native shrubs around the perimeter and matching paint colors to existing fences. Add a small gravel path for easy access during wet weather. These thoughtful touches turn a utilitarian structure into a charming focal point. Sustainable features like chicken coops often appeal to eco-conscious buyers, potentially increasing resale value when documented with before-and-after photos.
Common Mistakes to Avoid
- Skipping predator-proofing leads to losses within weeks.
- Overcrowding causes stress and disease outbreaks.
- Poor ventilation results in respiratory problems for the flock.
- Ignoring local zoning can result in fines or forced removal.
FAQ on Zoning and Startup Challenges
- What are common zoning rules? Many municipalities limit flock size to six birds and prohibit roosters. Verify with your city planning department before purchasing chicks.
- How do I start with chicks? Use a brooder box with heat lamp for the first six weeks, then transition to the coop gradually.
- Can I expand later? Modular designs allow adding runs or nesting boxes without rebuilding the entire structure.
- What about neighbors? Communicate plans early and offer fresh eggs to build goodwill.
For official guidance on poultry regulations, visit USDA resources. Additional sustainable farming practices are outlined by EPA sustainable agriculture pages. Humane care standards appear at The Humane Society website.
Conclusion
These 2026 DIY chicken coop projects give fixer-upper homeowners practical, affordable ways to create productive outdoor spaces. Careful planning, reclaimed materials, and ongoing maintenance produce structures that enhance both daily life and long-term property appeal. Start small, follow local rules, and enjoy the rewards of fresh eggs from your own backyard flock.
No comments yet. Be the first!