 Fixated on Home
Introduction to Budget Soundproofing in Fixer-Uppers
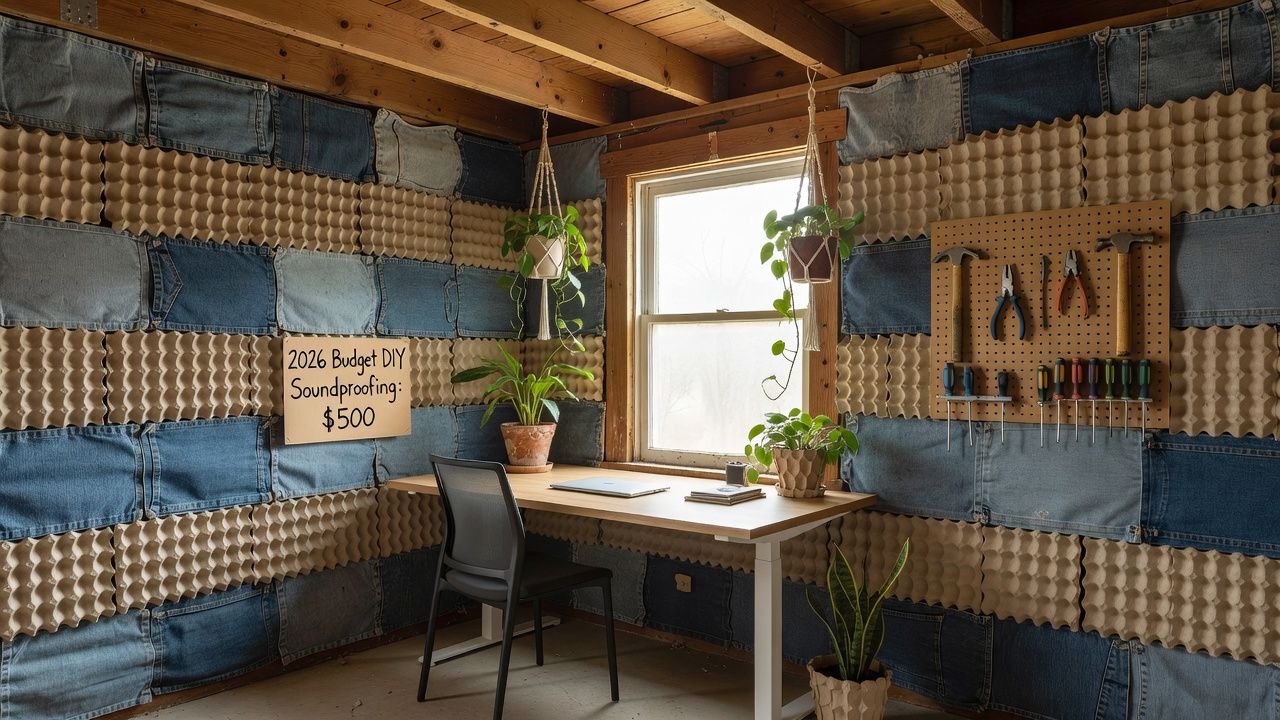
Homeowners tackling fixer-uppers in 2026 often seek practical ways to create quiet, multi-purpose spaces like home offices or media rooms. Soundproofing on a budget transforms noisy rooms without breaking the bank, focusing on DIY techniques that leverage readily available materials. This guide explores strategies that keep projects manageable while delivering real results, emphasizing eco-friendly options that align with current sustainability trends. Effective soundproofing reduces noise transmission through walls, doors, and floors by combining mass, decoupling, and absorption principles. Real-world examples from budget renovations show how simple upgrades deliver professional-level noise reduction in spaces used for work, relaxation, or entertainment.
Many fixer-uppers suffer from thin walls and poor sealing that allow sound to travel freely. Addressing these issues early prevents frustration later and increases the usability of every room. Whether converting a spare bedroom into a dedicated office or turning a basement into a media space, the principles remain consistent: start with assessment, select appropriate materials, and execute installations methodically.
Understanding 2026 Trends in Eco-Friendly Soundproofing
In 2026, eco-friendly soundproofing prioritizes recycled and sustainable materials. Homeowners favor products made from recycled denim, cork, or plant-based foams over traditional synthetics. These choices support green building practices while maintaining performance in multi-purpose rooms. Trends also include modular systems that allow easy removal for future renovations. Pairing soundproofing with energy-efficient insulation improves both acoustics and thermal comfort, making spaces more versatile for work or entertainment. Learn more about environmental noise reduction from the EPA. Communities increasingly value materials that reduce waste and lower carbon footprints, leading to wider adoption of natural fiber options that perform comparably to older alternatives.
Material Comparisons: Mass-Loaded Vinyl vs. Acoustic Foam and Beyond
Choosing the right materials is key for budget projects. Mass-loaded vinyl (MLV) adds density to block sound waves, making it ideal for walls in fixer-uppers. Acoustic foam absorbs echoes but offers limited blocking power, suiting media rooms where reverberation control matters most. Recycled denim batts provide similar absorption to foam with added eco-benefits and easier handling in older homes. Green glue compound can be applied between layers to dampen vibrations further, enhancing overall effectiveness without adding much complexity. When comparing options, consider factors such as thickness, fire rating, and ease of installation alongside environmental impact. MLV excels at stopping low-frequency noise like traffic or footsteps, while acoustic foam targets mid-to-high frequencies common in conversations or music. Combining both creates a balanced system suitable for offices where clarity during calls is essential.
- Mass-Loaded Vinyl: Heavy, flexible sheets that install behind drywall or panels. Excellent for low-frequency noise like traffic or appliances.
- Acoustic Foam: Lightweight and easy to cut, best for high-frequency sounds. Often used in combination with MLV for balanced results.
- Recycled Denim or Cork: Sustainable alternatives that add absorption and thermal benefits while supporting 2026 green trends.
Homeowners should test small samples in their specific environment before committing to full-room coverage.
Tools Needed for DIY Soundproofing Projects
Successful builds start with the right tools. Gather these essentials before beginning any work to avoid delays and ensure clean results. A quality utility knife paired with a metal straight edge allows precise cuts on vinyl and foam. Caulk guns apply acoustic sealant effectively around edges and seams. Drills with multiple bit sizes handle mounting hardware, while a measuring tape and level keep installations straight. Staple guns secure materials quickly to studs, and safety gear such as gloves, goggles, and dust masks protects during cutting and handling. Additional helpful items include a shop vacuum for debris and drop cloths to protect flooring. These tools support multiple projects across the home and remain useful for future renovations.
Planning Your Soundproofing Project
Before purchasing materials, conduct a thorough noise assessment by noting sources and peak times. Map out the room layout and identify weak points such as shared walls, electrical outlets, and door frames. Sketch a simple plan that prioritizes high-impact areas first. Calculate coverage needs based on wall and ceiling dimensions, allowing extra for overlaps and waste. Schedule work during mild weather if windows will be involved, and prepare the space by removing furniture and protecting surfaces. This preparation phase prevents common setbacks and keeps the project on track.
Step-by-Step Installation for Walls
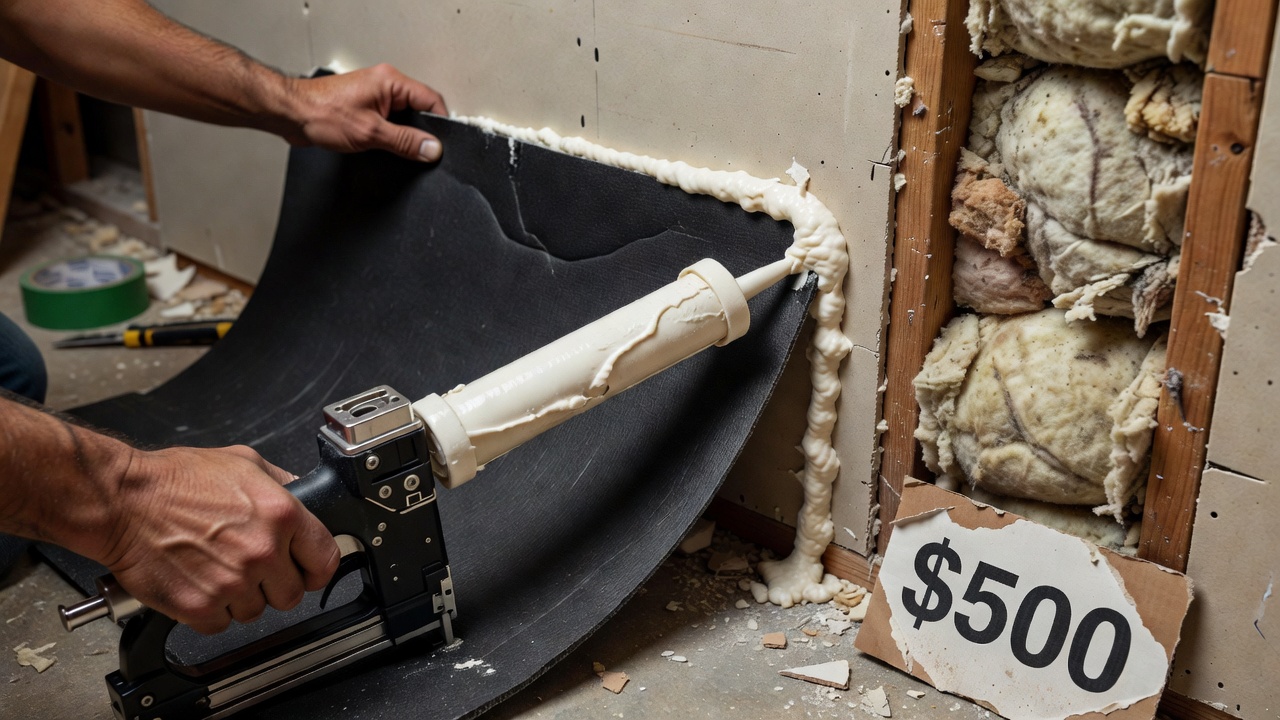
Start with walls, the largest surface area in most rooms. Clean surfaces thoroughly to remove dust and old adhesive. Apply MLV using construction adhesive or heavy-duty staples, overlapping seams by at least two inches. Seal every joint with acoustic caulk to eliminate leaks. Add a layer of eco-friendly insulation such as recycled denim between studs before reinstalling drywall or decorative panels. For fixer-uppers with uneven walls, attach furring strips first to create an air gap that enhances decoupling and improves overall performance. Work methodically from one corner across the room, checking alignment frequently. After completion, walk through the space listening for remaining gaps and address them immediately. Explore energy-efficient insulation options from the U.S. Department of Energy.
Step-by-Step Installation for Doors
Doors represent common weak points in any soundproofing effort. Begin by checking the existing door for gaps around the frame and at the threshold. Install weatherstripping along the sides and top, then add a heavy door sweep at the bottom. For greater improvement, consider replacing hollow-core doors with solid-core versions or layering a mass-loaded vinyl blanket on the interior face. Ensure hinges are tight and add automatic door bottoms where possible. These steps block flanking noise effectively and integrate well with wall treatments.
Installation for Floors and Ceilings
Floors and ceilings require different approaches. For floors, place thick rugs over dense underlayment or add a floating subfloor system with resilient channels. Ceilings benefit from decoupled drywall clips or resilient channels that separate the finished surface from joists. Apply MLV or insulation above the ceiling plane when access allows. These additions prevent vertical sound transmission, which is especially important in multi-story fixer-uppers used as offices or media spaces.
Real Fixer-Upper Examples
One homeowner converted a basement into a media room using MLV on walls combined with recycled foam panels, achieving noticeable reduction in external noise for family movie nights. Another transformed a spare bedroom into a quiet office by sealing doors, adding wall panels, and installing floor underlayment, creating a workspace suitable for video calls without background distractions. A third project involved a shared wall in a duplex where cork panels and caulking delivered improved privacy between units. These examples illustrate how targeted applications produce measurable improvements across different room types.
Common Mistakes to Avoid
Many DIYers overlook small gaps around outlets, light switches, and baseboards that allow significant sound leakage. Always seal thoroughly with acoustic caulk rather than standard silicone. Avoid over-relying on foam alone, as it primarily absorbs rather than blocks transmission. Skipping the planning stage often leads to material shortages or mismatched coverage. Test incrementally on one wall before completing the entire room to refine techniques and confirm results.
Measuring Noise Reduction Results
Use smartphone decibel apps before and after installation to quantify improvements. Record readings at different times of day and from various positions within the room. Consistent drops of 10 decibels or more indicate successful treatment. Combine app data with subjective listening tests during typical activities like phone calls or music playback.
FAQ: Noise Reduction Results
How much noise reduction can I expect? Budget methods typically reduce noise by noticeable amounts depending on materials, installation quality, and original room conditions.
Is eco-friendly material as effective? Yes, modern recycled options match traditional performance while reducing environmental impact and supporting 2026 sustainability goals.
Can these projects be done in a weekend? Wall treatments often take one to two days for a standard room when prepared in advance.
What maintenance is required? Periodic checks for sealant wear and occasional dusting of exposed panels keep systems performing optimally over time.
Are permits needed for these DIY upgrades? Most interior soundproofing projects in existing homes do not require permits, but check local codes for any structural changes.
Conclusion
2026 DIY soundproof room builds empower homeowners to enhance fixer-uppers affordably and sustainably. By focusing on eco-friendly materials, proper planning, methodical installation, and avoiding common pitfalls, anyone can create functional, quiet spaces for offices or media use. Start with assessment and small test areas, measure progress along the way, and enjoy the transformed environment that supports both productivity and relaxation. Review global guidance on healthy indoor environments from the World Health Organization.


No comments yet. Be the first!