 Fixated on Home
Introduction to DIY Hydroponics in Fixer-Upper Homes
Fixer-upper properties often come with underutilized spaces like basements, kitchens, or spare rooms that can be transformed into productive growing areas. In 2026, DIY hydroponic garden systems offer an efficient way to grow fresh produce without soil, making them ideal for budget renovations. These setups maximize limited space while adding value to your home improvement projects. Whether you're tackling a kitchen refresh or basement overhaul, hydroponics integrates seamlessly with existing structures.
Hydroponics delivers higher yields in smaller footprints compared to traditional soil gardening, perfect for fixer-uppers aiming for year-round harvests. This guide covers popular methods, material sourcing, and practical integration techniques to help you get started on a budget. Beyond basic overviews, we'll dive into real-world applications, comparisons, and scaling strategies that turn your renovation project into a sustainable food source.
Understanding NFT and Kratky Hydroponic Methods
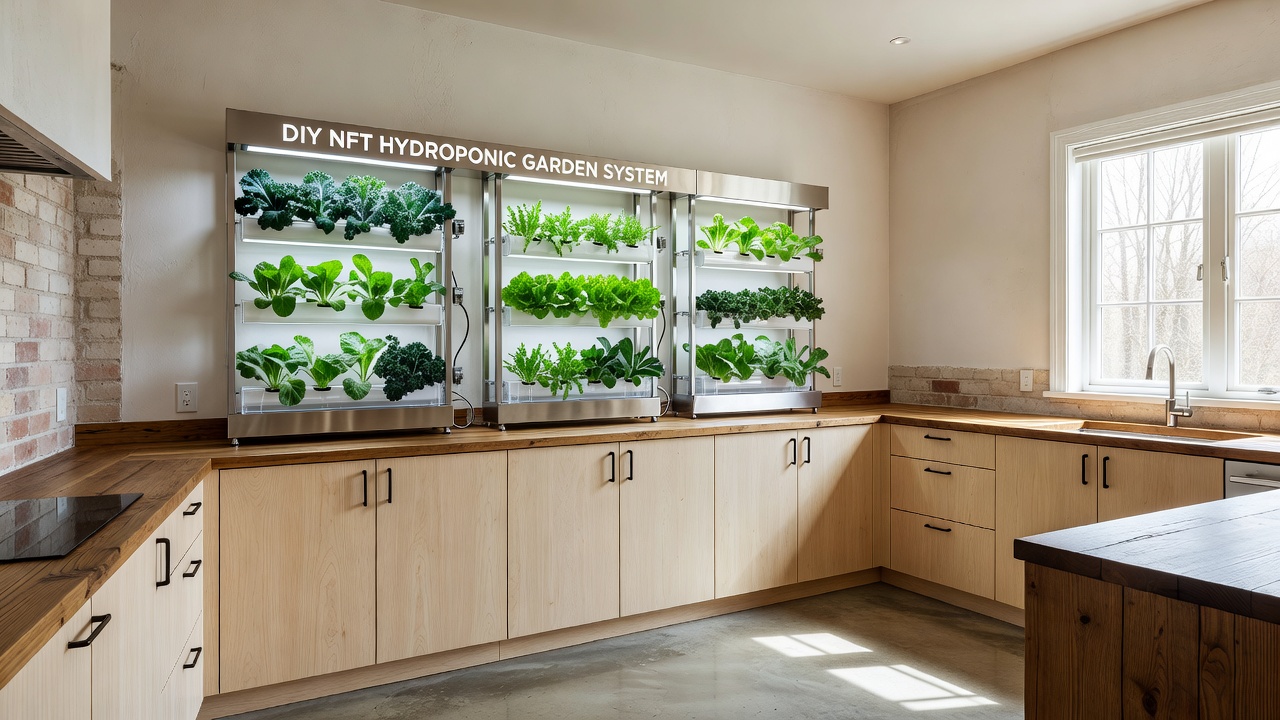
Two beginner-friendly systems stand out for DIY projects: Nutrient Film Technique (NFT) and the Kratky method. NFT channels allow a thin film of nutrient solution to flow over plant roots, providing constant oxygenation and nutrients. It's great for leafy greens and fits well in narrow kitchen corners or along basement walls. The continuous flow system promotes rapid growth but requires careful monitoring of flow rates to avoid clogs or dry spots.
The Kratky method is even simpler—no pumps required. Plants sit in a reservoir where the water level drops naturally, creating an air gap for roots. This passive approach suits fixer-uppers with limited electrical access during renovations. Both methods reduce water usage by up to 90 percent compared to soil-based gardening, aligning with eco-friendly home upgrades. Pros of NFT include faster growth cycles, while Kratky excels in reliability during power outages common in older homes.
Choosing the Right System for Your Space
- NFT: Best for vertical or linear setups in kitchens; requires a small pump and works well with timers for automation.
- Kratky: Ideal for basements or static areas; low maintenance and no electricity needed, making it forgiving for beginners.
Compare these to soil gardening, where yields are often 30-50 percent lower in the same area, and water use is higher due to evaporation and runoff issues.
Sourcing Materials on a Budget
Focus on affordable components from local hardware stores or online suppliers. PVC pipes, food-grade containers, and basic pumps can be sourced affordably by shopping sales and using reclaimed items from your renovation. Look for salvaged materials during home renovations, such as old shelving for stands or leftover plumbing for channels. This keeps costs low while aligning with fixer-upper principles of reuse. Essential items include: grow trays or channels, net pots, air stones for NFT, nutrient solutions, and pH testing kits. Prioritize durable, food-safe plastics to ensure longevity in humid environments like basements. Check local regulations on water systems through resources like the EPA for safe nutrient handling practices.
Integrating Systems into Kitchens and Basements
In kitchens, mount NFT channels under cabinets or along windows for easy access during meal prep. Use existing counter space or wall mounts from your renovation to secure the system without major structural changes. Basements benefit from Kratky setups on sturdy tables, utilizing cooler temperatures for root crops. Ensure good ventilation and lighting—LED grow lights can tie into smart home upgrades for automated timers. Always check for moisture resistance to protect your home's structure. Real examples include converting a pantry wall into a compact NFT unit during a kitchen reno, yielding fresh herbs daily.
Step-by-Step Build Instructions
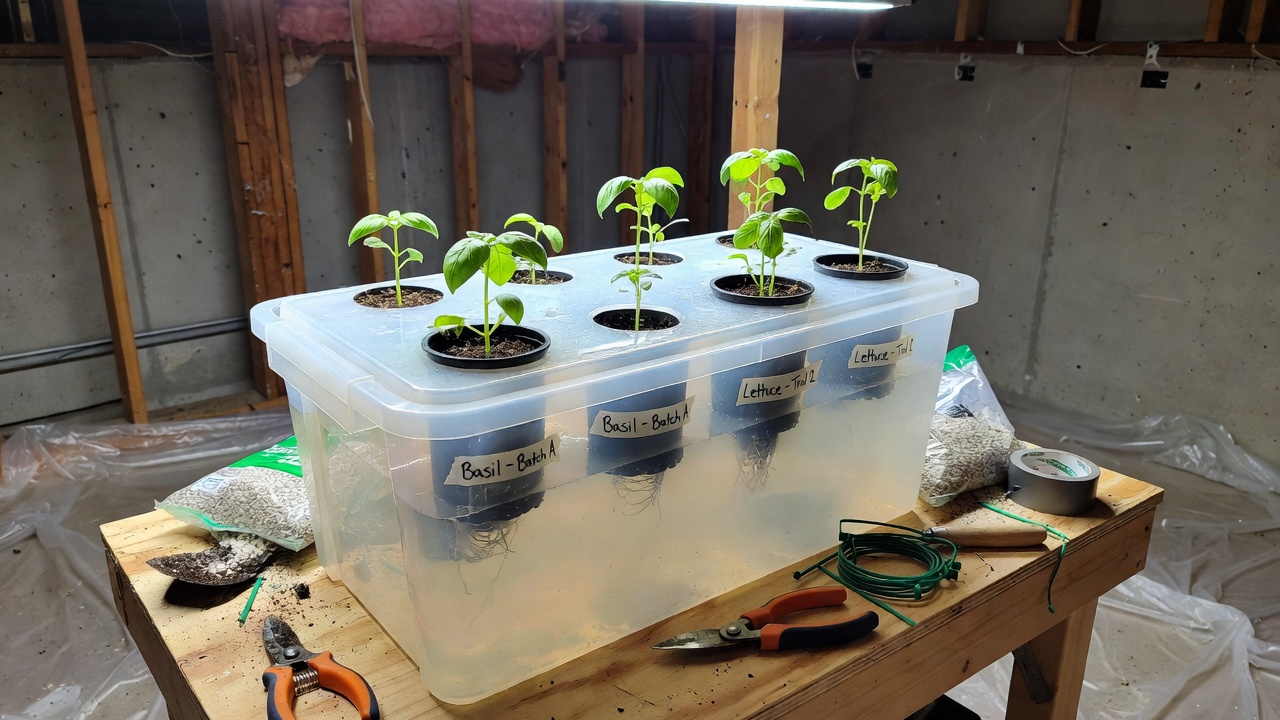
Follow these steps for a basic Kratky system: First, select and clean a food-grade bucket or container. Drill precise holes for net pots in the lid, ensuring they fit snugly. Fill with a balanced nutrient solution mixed according to plant needs, then place seedlings in the pots. Position in your chosen space and monitor levels weekly, topping up as the reservoir drops. For NFT, assemble channels with a slight slope for gravity flow, connect a small pump, and cycle solution continuously while testing for leaks before full integration. Add air stones to maintain oxygen levels and prevent root issues.
Plant Selection for Beginners
Start with fast-growing options like lettuce, herbs such as basil and mint, and spinach. These thrive in hydroponics and provide quick wins for new growers. Avoid heavy fruiting plants initially to prevent system overload. Rotate crops seasonally for continuous yields in your renovated spaces. Consider companion planting, like pairing lettuce with herbs, to optimize space and deter pests naturally.
Cost Comparisons and Real-World Examples
Hydroponic setups typically cost less long-term than soil methods due to reduced water and pesticide needs. Real fixer-upper projects show success, such as converting a basement nook into a herb garden that supplies a family year-round. One example involved a kitchen reno where an NFT system was built into a pantry wall, cutting grocery bills noticeably. Another project scaled a simple Kratky setup across multiple containers to support a small vegetable patch equivalent. For authoritative guidance on sustainable practices, refer to the USDA.
Maintenance Tips and Troubleshooting FAQs
Monitor pH levels aiming for 5.5-6.5 and nutrient concentrations weekly. Clean reservoirs monthly to prevent algae buildup. Common issues include root rot from poor oxygenation—solve by adding air stones or adjusting flow. Other tips: replace nutrient solution every two weeks and inspect pumps regularly.
Common Mistakes to Avoid
- Overlooking pH balance, leading to nutrient lockout.
- Using non-food-grade materials that leach chemicals.
- Ignoring light requirements, resulting in leggy plants.
- Failing to secure systems against leaks in older homes.
Frequently Asked Questions
How often should I check my system? Daily for the first week, then weekly. What plants grow best? Leafy greens and herbs for starters. Can I use tap water? Yes, but let it sit to dechlorinate. Why are my plants wilting? Check for clogs or low nutrients. How do I scale up? Add more channels or reservoirs gradually.
Scaling for Year-Round Yields
Expand by adding modules or vertical towers as your confidence grows. Tie into broader fixer-upper ideas like adding insulation for temperature control. This maximizes output while enhancing home value through sustainable features. Consider seasonal adjustments, such as supplemental lighting in winter, to maintain production across all months.
In conclusion, DIY hydroponics transforms fixer-uppers into productive, eco-friendly spaces with minimal investment. Start small, follow the steps, and enjoy fresh harvests from your improved home while avoiding common pitfalls through careful planning and maintenance.
No comments yet. Be the first!