 Fixated on Home
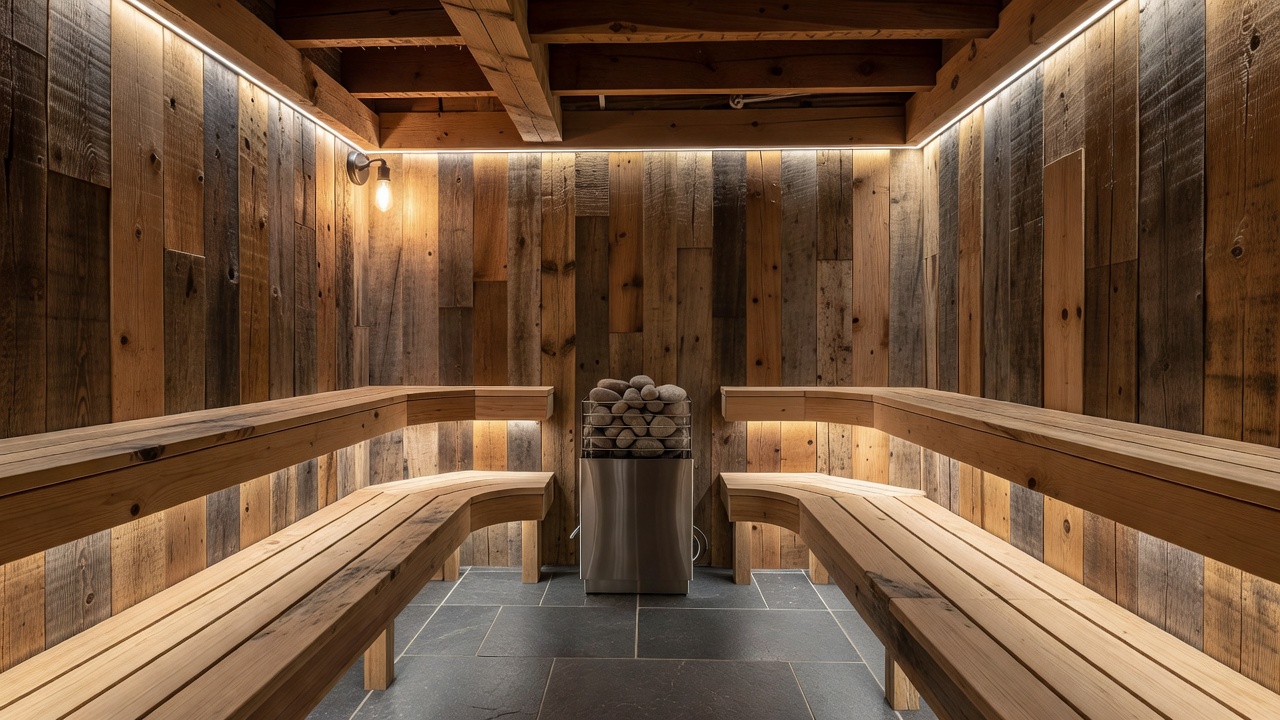
Introduction to Budget DIY Sauna Projects in Fixer-Uppers
Fixer-upper homes often present unique opportunities for creative upgrades that enhance both livability and resale value. In 2026, DIY sauna builds have gained traction among homeowners seeking wellness features without professional installation costs. This guide focuses on practical, energy-efficient designs using reclaimed materials to create functional saunas suited to tight budgets and varied property layouts. Homeowners tackling renovation projects frequently look for additions that improve daily routines while keeping expenses manageable, and a personal sauna fits this need by offering relaxation and potential health benefits such as improved circulation and stress reduction.
Whether converting an unused basement corner or adding an outdoor structure, these projects emphasize careful planning for ventilation, insulation, and heating safety. Readers will discover real-world applications, checklists, and comparisons that highlight why DIY approaches deliver strong returns in home improvement. Beyond basic overviews, this article dives into specific techniques, common pitfalls, and decision-making frameworks to help you complete a successful build from start to finish.
Choosing the Right Site Inside or Outside Your Home
Site selection determines the success of any sauna build. Indoor locations like basements or spare rooms offer protection from weather but require robust moisture management. Outdoor spots in backyards provide easier venting yet need weatherproofing against elements. When evaluating indoor options, examine structural integrity first, especially in older fixer-uppers where floors may sag or walls lack proper support. Measure for at least seven feet of headroom and confirm electrical access without extensive rewiring.
Outdoor sites demand attention to drainage, sun exposure, and proximity to the main house for convenient use. Pros of indoor builds include year-round usability and integration with existing HVAC systems, while cons involve higher humidity risks that could affect nearby rooms. Outdoor builds allow natural ventilation but may face permitting hurdles or seasonal limitations. Assess available space, proximity to electrical sources, and existing plumbing. For fixer-uppers with uneven foundations, prioritize level surfaces to simplify construction. Consider local climate factors such as high humidity regions that benefit from enhanced dehumidification systems or colder climates that gain from superior insulation layers. Walk through your property and sketch potential layouts to visualize traffic flow and utility connections before committing.
Essential Tools and Reclaimed Lumber Choices
Successful builds start with the right toolkit. Basic hand and power tools include a circular saw, drill, level, hammer, measuring tape, and speed square. Safety gear such as gloves, goggles, and a dust mask protects during material handling. Reclaimed lumber from old barns or pallets adds character while reducing expenses. Select kiln-dried cedar or hemlock for natural resistance to rot and insects. Pair these with affordable insulation like mineral wool or rigid foam boards for thermal efficiency. Focus on energy-efficient heating elements designed for residential use that integrate well with standard household circuits when properly sized.
Additional recommended tools include a jigsaw for custom cuts, a staple gun for securing vapor barriers, and clamps for holding framing during assembly. When sourcing reclaimed wood, inspect each piece for nails, rot, or warping to avoid structural weaknesses. Alternatives such as new pressure-treated pine can supplement if reclaimed stock runs short. Organize materials by category on-site to streamline workflow and minimize waste.
Step-by-Step Assembly Process
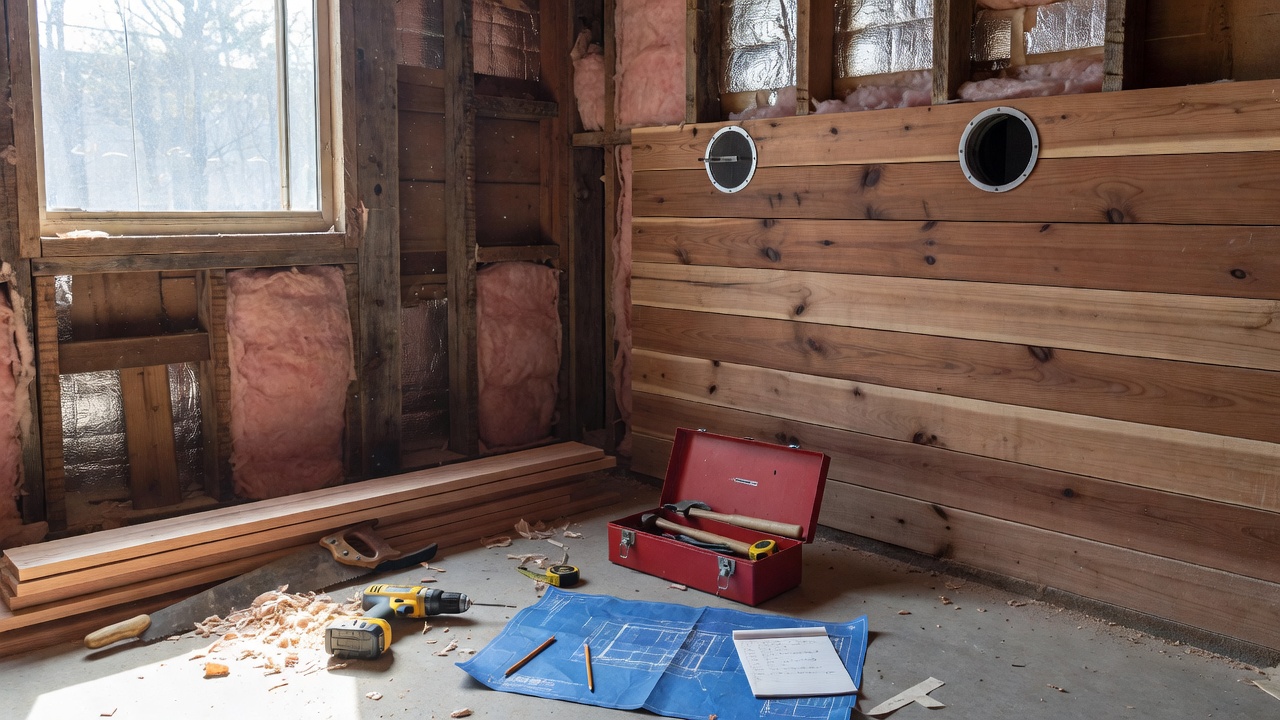
Begin by framing the structure with treated lumber for the base. Install floor joists followed by subflooring treated for moisture. Walls come next, incorporating vapor barriers on the interior side. Secure wall studs at 16-inch intervals and add cross-bracing for stability. Apply insulation between studs, then cover with tongue-and-groove cedar boards. Install the ceiling with similar insulation and cladding techniques. Position the heater according to manufacturer clearances, ensuring adequate airflow around it. Ventilation plays a critical role; install intake vents near the floor and exhaust near the ceiling to promote air circulation and prevent mold.
- Clear and level the chosen site, then lay a moisture-resistant base layer.
- Construct the floor frame using joists spaced appropriately for load-bearing.
- Attach wall framing and check for plumb with a level at multiple points.
- Insert insulation panels snugly without compressing them, which reduces effectiveness.
- Apply vapor barrier sheets overlapping seams by at least six inches and tape securely.
- Install interior cladding starting from the bottom up for even alignment.
- Mount the heater on a non-combustible surface and connect wiring per code.
- Add benches, door, and ventilation components last for easy access.
Each phase benefits from double-checking measurements to prevent costly rework later.
Ventilation, Insulation, and Humidity Control Tips
Proper insulation minimizes heat loss and keeps energy use low. Layer materials to achieve an R-value suited to your climate zone. Seal all seams with foil tape to create an effective vapor barrier. Humidity control involves balancing steam production with airflow. Use a digital hygrometer to monitor levels and adjust vents accordingly. For electric heaters, integrate simple timers to avoid overuse. Additional tips include adding a small window for natural light and installing a dedicated exhaust fan tied to a switch. In practice, homeowners often discover that combining passive vents with a low-speed fan provides the best balance in fixer-upper settings where existing ductwork may be outdated.
Safety Considerations for Electrical Heating Elements
Electrical safety remains paramount when working with sauna heaters. Always consult local electrical codes before wiring. Use GFCI-protected outlets and ensure all connections are rated for high temperatures. Position heaters away from seating areas and combustible materials. Install a dedicated circuit to handle the load without overloading existing wiring in older fixer-uppers. Regular inspections help catch issues early. Additional resources from energy.gov provide guidance on efficient home heating systems, while osha.gov outlines general electrical safety practices for DIY projects.
Cost Comparisons Versus Professional Installations
DIY sauna builds offer significant savings compared to hiring contractors. Professional installs often involve premium materials and labor markups, while self-built versions leverage reclaimed supplies and personal effort for comparable results. The value boost comes from increased home appeal in wellness-focused markets. Case studies from budget renovation communities show these additions can differentiate properties during sales by appealing to buyers interested in wellness amenities.
Real Fixer-Upper Case Studies and Maintenance Routines
One homeowner transformed a detached garage corner into a compact indoor sauna using salvaged cedar from a local demolition site. The project emphasized modular panels for easy future adjustments and included a simple bench system built from leftover framing lumber. Another converted an outdoor shed with added insulation and a compact heater, creating a year-round retreat that doubled as a meditation space. A third example involved repurposing a walk-in closet in a 1950s ranch home, where careful vapor sealing prevented moisture migration into adjacent living areas. Maintenance involves monthly cleaning of benches and vents plus annual heater element checks. Routine care extends sauna life: wipe surfaces after use, inspect seals quarterly, and refresh insulation if settling occurs. Seasonal deep cleans help remove mineral buildup from any water used in steam generation.
Checklists, Material Lists, and Permit FAQs
Quick Material Checklist
- Reclaimed cedar or hemlock boards for walls and ceilings
- Mineral wool or rigid foam insulation panels
- Vapor barrier sheeting and foil tape
- Electric sauna heater with integrated controls
- Ventilation grilles, intake and exhaust hardware
- Fasteners, brackets, and bench supports
- Door with proper seals and handle
Expanded FAQs on Permits and Humidity
Many municipalities require permits for electrical work or structural additions. Check with your local building department early in planning to avoid delays. Humidity questions often center on preventing excess moisture; proper venting and regular use of the sauna itself help maintain balance without additional equipment. Another common concern involves permit timelines, which can range from days to weeks depending on jurisdiction. Always verify that your chosen heater model meets safety certifications before purchase.
Further guidance on indoor environmental quality is available at epa.gov.
Conclusion
DIY sauna construction in fixer-uppers delivers practical wellness upgrades through thoughtful material choices and safety-first assembly. By following these steps, homeowners create durable, efficient spaces that increase property enjoyment and value over time. With attention to detail in every phase from site choice to ongoing care, the project becomes a rewarding investment in both comfort and home equity.
No comments yet. Be the first!