 Fixated on Home
Why Transform Your Mudroom on a Budget?
Your mudroom is the unsung hero of the home—a high-traffic zone that catches shoes, bags, and daily chaos. A fixer-upper mudroom can feel overwhelming, but with smart DIY projects, you can create a functional, stylish space for under $400. This guide covers building custom storage benches, installing peel-and-stick flooring, and adding shiplap walls. Perfect for beginners, these steps use affordable materials, basic tools, and hacks for lasting durability in busy households.
Expect total costs around $350–$380, depending on sales. We'll incorporate 2026 trends like multifunctional storage that doubles as seating and hidden organization, making it ideal for families on the go.
Gather Materials and Tools
Before diving in, shop smart. Source plywood, vinyl flooring, and shiplap accents from big-box stores.
- Storage Benches: 2 sheets 3/4-inch plywood ($60), 4 pine 2x4s ($20), foam cushions ($40), fabric ($30), screws ($10), hinges ($15).
- Peel-and-Stick Flooring: 10 sq ft vinyl planks ($80).
- Shiplap Walls: 10 PVC shiplap panels ($80), liquid nails ($10), caulk ($5).
- Total Materials: ~$350.
Tools Needed: Circular saw, drill, miter saw (rent if needed), level, tape measure, sandpaper, paint roller. Most beginners already own a drill and level—rent others for $20/day from Home Depot.
Step 1: Build Custom Storage Benches
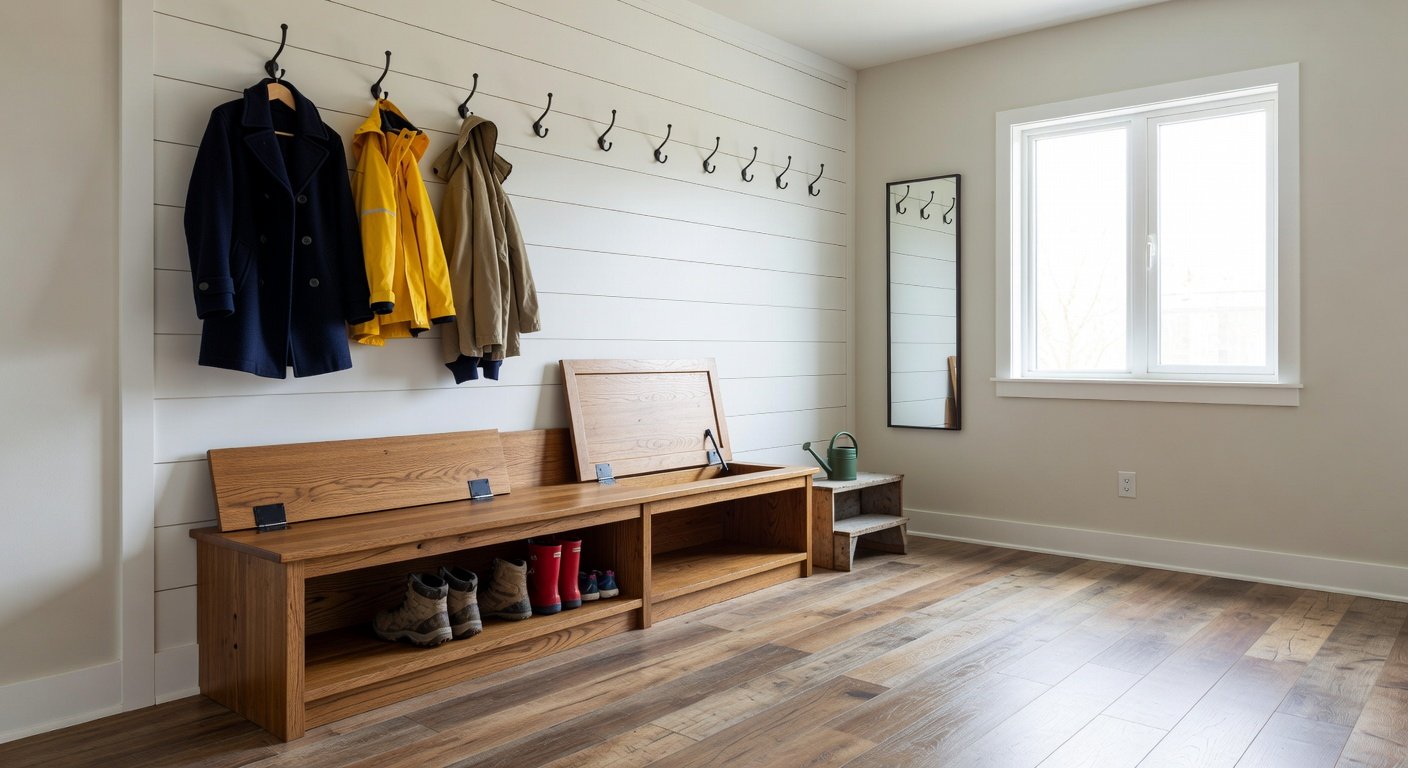
Multifunctional benches provide seating and hidden storage— a top 2026 trend for mudrooms. Each bench (3 ft wide x 18 inches deep) lifts for shoe/boot cubbies.
- Cut plywood: Two 36x18-inch seats, four 36x16-inch sides, four 18x16-inch ends.
- Assemble frame: Screw 2x4 legs (cut to 18 inches) to sides/ends for stability.
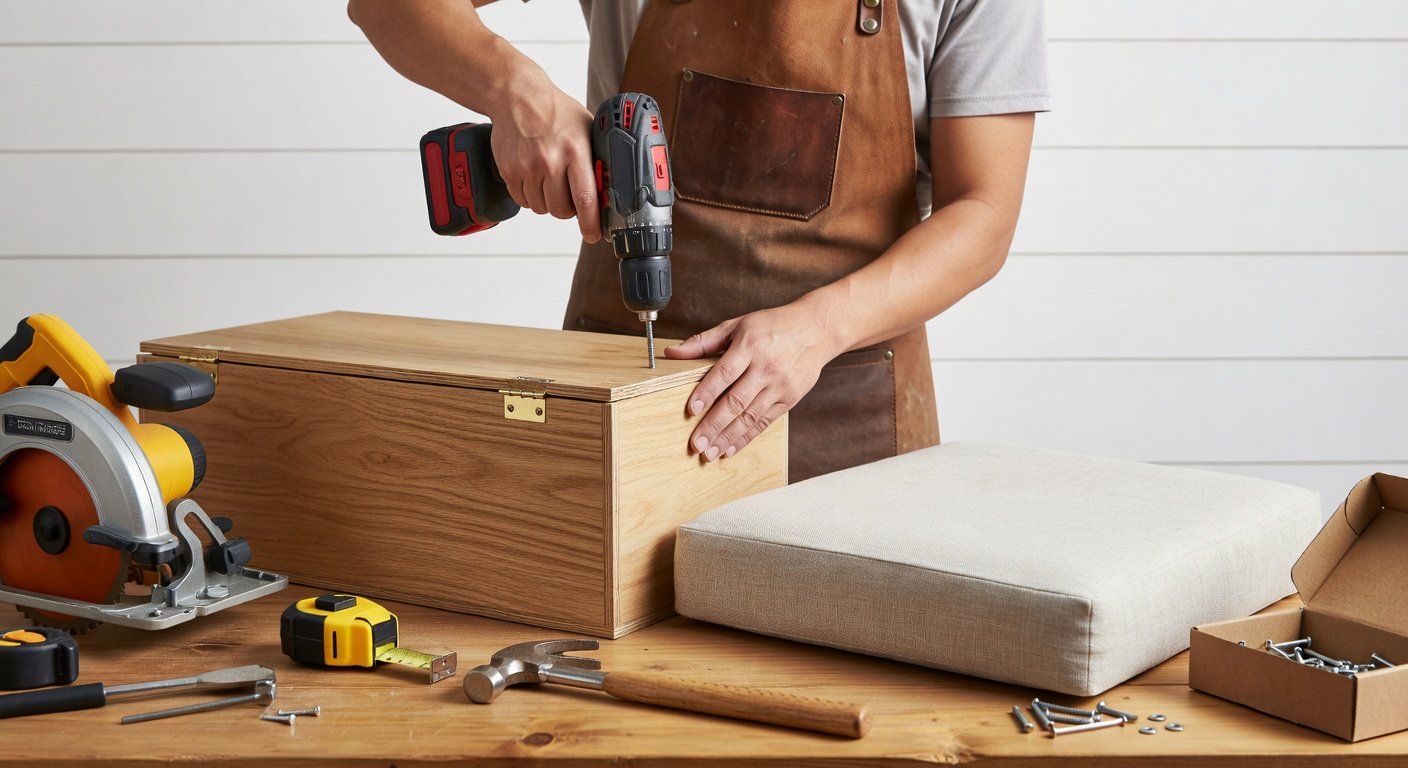
- Attach hinges to seat top; add foam cushion covered in durable outdoor fabric.
- Sand smooth, prime, and paint in a semi-gloss for easy wipe-downs.
Beginner Hack: Use pocket holes for invisible joints—no fancy joinery needed. In high-traffic areas, reinforce with L-brackets underneath. Time: 4–6 hours.
Step 2: Install Peel-and-Stick Flooring
Peel-and-stick vinyl is waterproof, scratch-resistant, and DIY-friendly—no grout mess. Choose wood-look planks for warmth.
- Clear and clean subfloor; repair cracks with filler.
- Dry-fit planks starting from the longest wall; cut with utility knife using straightedge.
- Peel backing, stick firmly, stagger seams like bricks.
- Roll with a floor roller (or heavy roller) for adhesion.
Durability Tip: Opt for 20-mil wear layer. In mudrooms, add threshold strips to prevent peeling at edges. This flooring lasts 10+ years with traffic. Time: 2 hours.
For more flooring advice, check resources from This Old House.
Step 3: Add Shiplap Walls
Shiplap adds coastal charm and hides imperfections. PVC versions are moisture-resistant for mudrooms.
- Measure and cut panels to fit wall height; miter corners at 45 degrees.
- Apply liquid nails; press into studs with level.
- Caulk gaps, sand, and paint (white for brightness).
- Add hooks or shelves on top for coats/keys.
Beginner Hack: Use painter's tape for crisp lines. For trends, paint lower half darker for a two-tone wainscoting effect—popular in 2026 multifunctional designs. Time: 3–5 hours.
Tips for Durable, High-Traffic Mudrooms
- Sealing is Key: Polyurethane topcoat on benches/walls repels mud.
- Ventilation: Add a dehumidifier outlet to prevent mold.
- Lighting: Install LED strips under benches ($20) for nighttime visibility.
- Maintenance: Weekly vacuum/sweep; spot-clean vinyl with soap.
Pro Tip: Anchor benches to walls with straps for kid/pet safety.
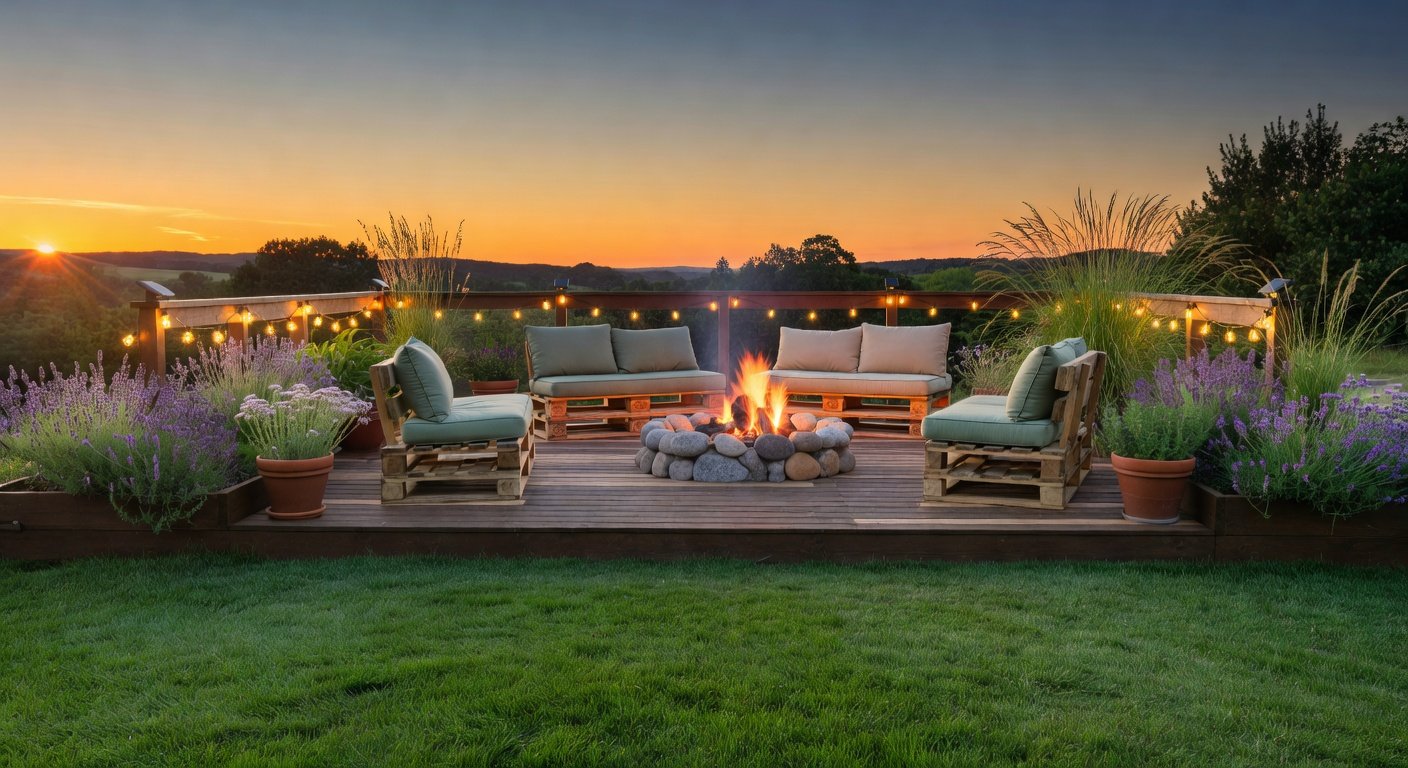
2026 Trends: Multifunctional Mudrooms
Busy households demand versatility. Integrate charging stations in benches, pet zones with washable mats, or drop-zone hooks. Pair shiplap with matte black hardware for modern farmhouse vibes. These upgrades boost home value by 5–10% per real estate stats.
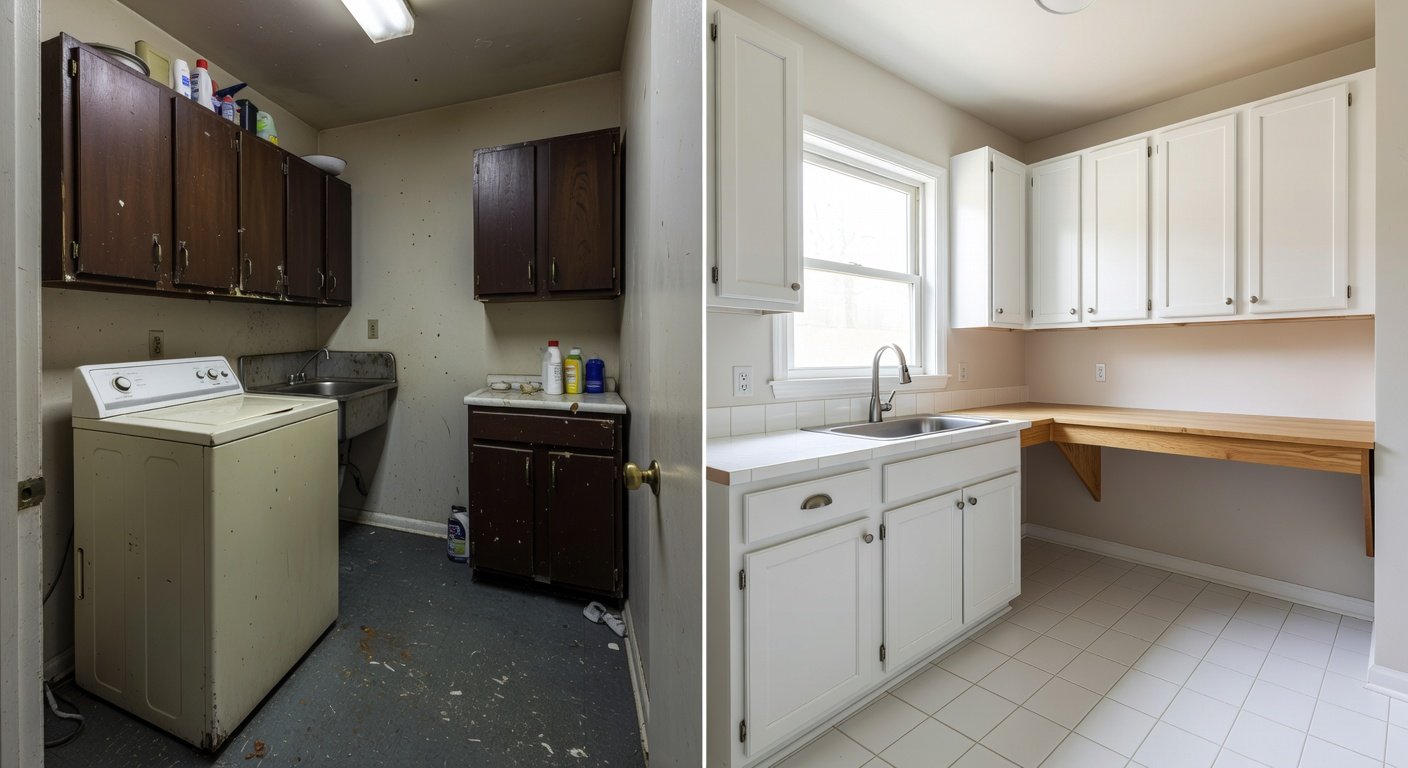
Final Thoughts
Your mudroom makeover is complete—stylish, organized, and budget-friendly. Total time: 1–2 weekends. Share your before/afters; tackle that fixer-upper today!
No comments yet. Be the first!