 Fixated on Home
Introduction to 3D Visualization in Kitchen Renovations
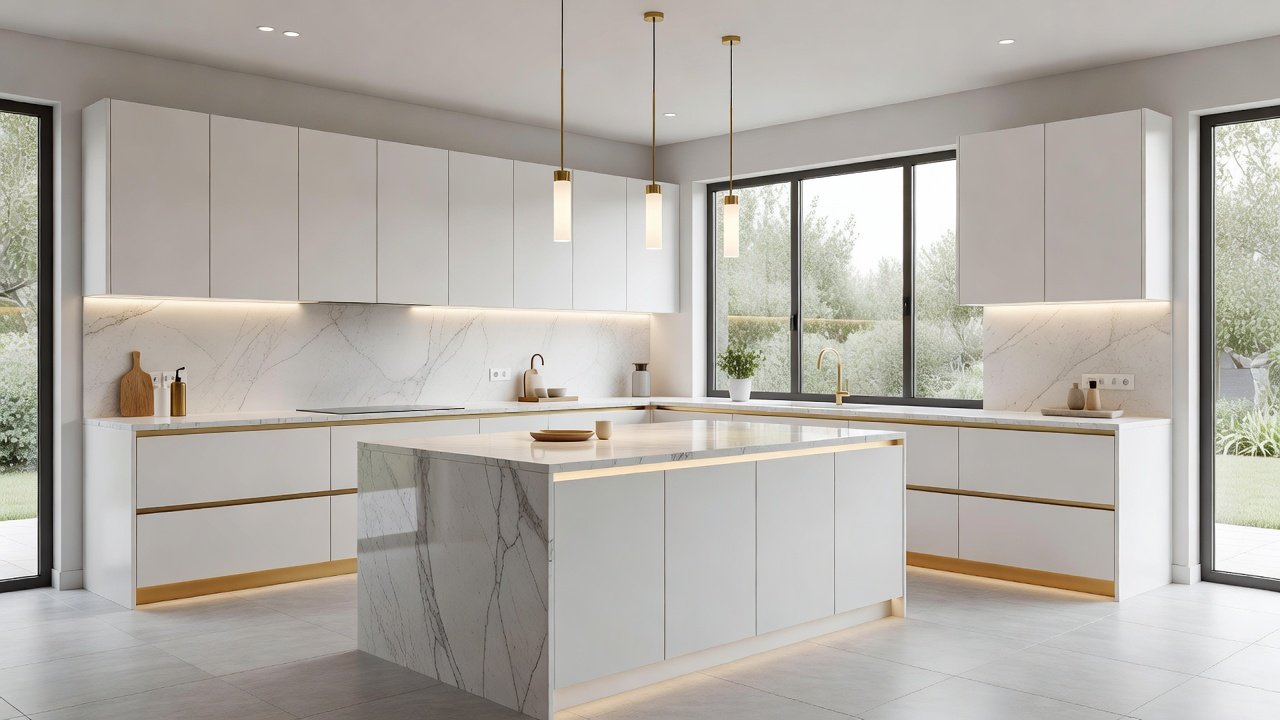
Planning a kitchen renovation in 2026 requires precision to avoid costly mistakes. 3D visualization tools allow homeowners to see realistic layouts before construction begins, helping achieve functional and stylish results. This guide covers everything from choosing software to collaborating with contractors, ensuring your project stays on track. Homeowners today face increasing complexity with open-concept designs, smart appliances, and sustainability requirements, making visualization an essential step rather than an optional luxury. By creating detailed digital models, you can experiment with layouts that maximize natural light, optimize workflow between cooking zones, and incorporate storage solutions tailored to your family's needs. This approach not only prevents expensive mid-project changes but also builds confidence in your final decisions.
Why 3D Visualization Saves Time and Budget
Traditional 2D plans often lead to misunderstandings between homeowners and contractors. With 3D models, you can rotate views, test lighting conditions at different times of day, and adjust storage solutions virtually. This reduces errors significantly, leading to smoother renovations and better outcomes. For instance, visualizing traffic flow can reveal bottlenecks near the refrigerator or sink area that flat drawings miss entirely. Many users report completing projects faster because material selections and spatial arrangements are finalized early. Additionally, the ability to simulate seasonal lighting helps in choosing window treatments and fixture placements that enhance both aesthetics and energy efficiency throughout the year.
Popular Software Options: Free vs Paid Tools
Several tools cater to different skill levels and project scopes. Free options like SketchUp provide basic modeling for simple layouts and are ideal for beginners testing ideas. Paid platforms such as Chief Architect or Autodesk Revit offer advanced features including photorealistic renders, material libraries, and automatic cost estimation plugins. Compare based on your needs: beginners benefit from intuitive drag-and-drop interfaces, while professionals require seamless integration with CAD files and team collaboration portals. Other notable mentions include Home Designer Suite for mid-range users and Blender for those comfortable with open-source customization. Evaluate trial periods to ensure compatibility with your computer's graphics capabilities before committing.
Key Comparison Factors
- Learning curve and available tutorials
- Export formats for sharing with contractors
- Built-in libraries for appliances and finishes
- Cloud collaboration and version control
Step-by-Step Setup Process for 3D Kitchen Models
- Measure your space accurately using laser tools and record all dimensions including wall angles and floor slopes.
- Import base floor plans into the software and scale them correctly to real-world measurements.
- Add walls, windows, and doors to build the structural shell while verifying load-bearing elements.
- Place cabinets, appliances, and fixtures from the library, adjusting heights for ergonomic use.
- Apply textures, colors, and lighting simulations to preview daily and evening ambiance.
- Render multiple views and interactive walkthroughs for personal review and contractor feedback.
- Export files in compatible formats and archive versions for future reference.
Incorporating Home Design Elements Like Lighting and Storage
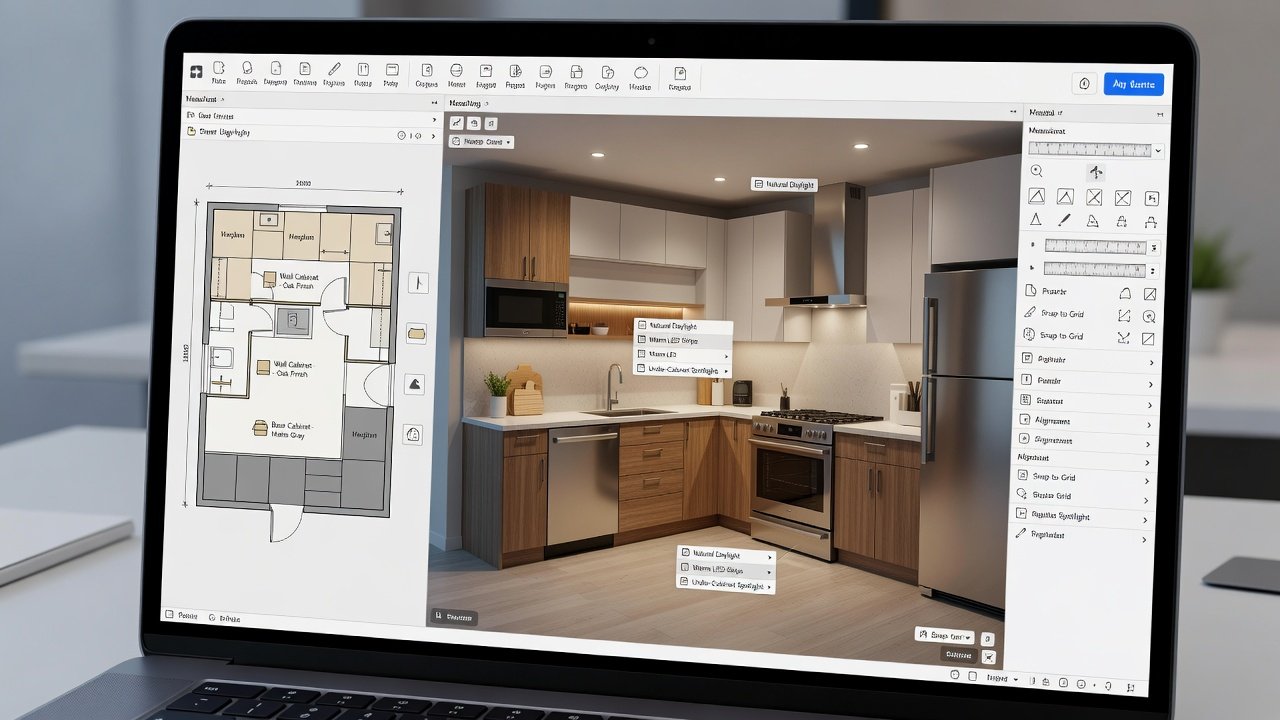
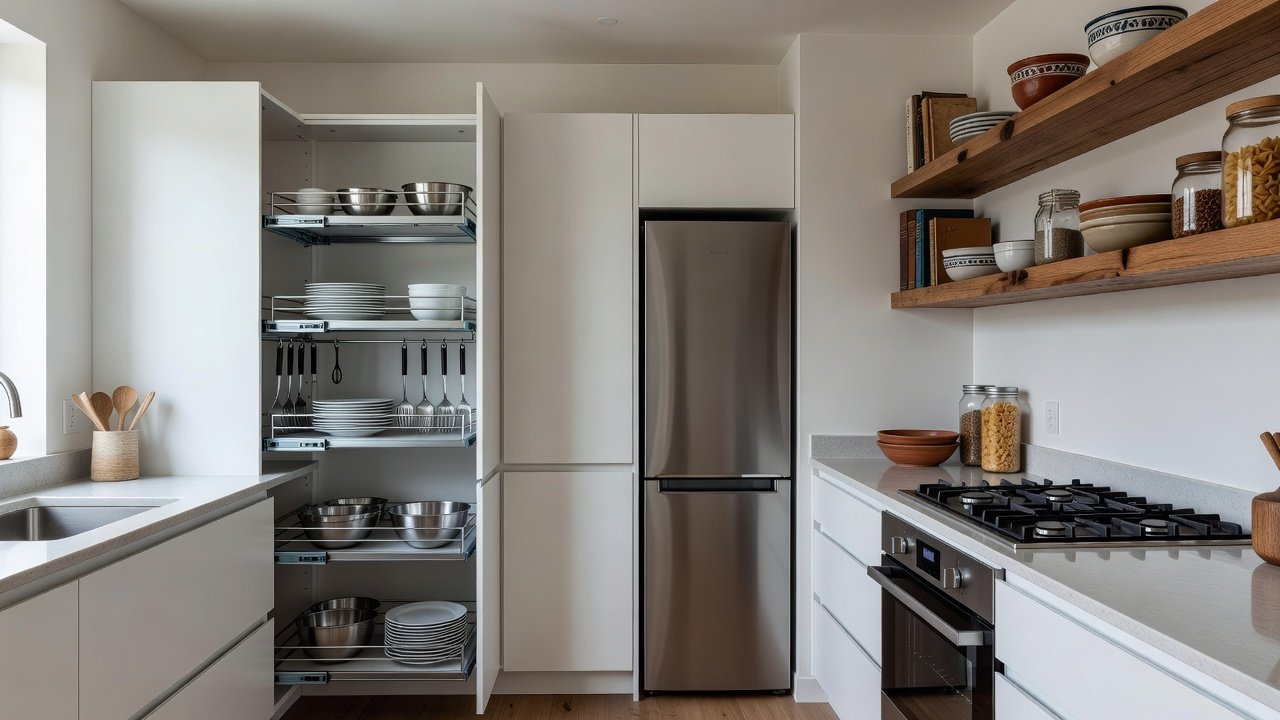
Effective 3D models integrate natural and artificial lighting to highlight focal points such as a breakfast nook or feature backsplash. Experiment with under-cabinet LEDs, recessed ceiling spots, and pendant fixtures above islands to create layered illumination. For storage, test pull-out shelves, corner lazy Susans, and vertical pantry configurations to maximize functionality without cluttering the visual space. Consider integrating smart home elements like automated lighting controls and hidden charging stations within cabinetry. Color palettes and material finishes can be swapped instantly to compare warm woods against cool grays, ensuring the final scheme complements adjacent living areas. This level of detail helps align the kitchen with broader home design trends for 2026, including sustainable materials and multifunctional zones.
Measurement Checklists for Accurate Layouts
- Record ceiling height, soffit depths, and window placements with exact sill heights.
- Note electrical outlets, switch locations, and plumbing rough-ins for seamless integration.
- Measure appliance clearances, doorway widths, and primary traffic flow paths.
- Document existing cabinet depths, island dimensions, and any structural columns or beams.
- Include HVAC vents, smoke detector positions, and potential future expansion areas.
Real-World Case Examples of Error Reduction
Homeowners using 3D tools consistently report fewer change orders during construction. One case involved adjusting a kitchen island position after virtual walkthroughs revealed poor flow between the range and dining area, preventing a major rework. Another example featured a family who tested multiple lighting schemes and ultimately selected a combination that improved task visibility while reducing energy use. A third project used 3D renders to coordinate custom millwork with existing hardwood floors, achieving a seamless transition that delighted both the owners and their interior designer. These stories illustrate how visualization catches issues invisible on paper plans.
Collaborating with Contractors in 2026 Projects
Share 3D files directly with professionals for precise bidding and scheduling. Tools with cloud sharing enable real-time feedback, ensuring designs align with structural requirements and local building codes. Houzz offers additional resources for finding vetted contractors experienced in visualization workflows. Clear digital communication reduces misinterpretations and fosters trust throughout the renovation timeline.
FAQs on Learning Curves and Tool Selection
How long does it take to learn basic 3D modeling? Most users master essentials in 10-15 hours with structured tutorials and practice projects.
Is free software sufficient for full renovations? It works well for simple projects but paid tools excel in detailed material simulations and professional outputs.
Can I import photos of my current kitchen? Yes, many programs support photogrammetry and image-based modeling for accurate starting points.
What hardware is recommended for smooth rendering? A dedicated graphics card and at least 16GB of RAM ensure fluid performance during complex scenes.
Mistakes to Avoid When Using 3D Visualization
Common pitfalls include neglecting to verify real-world measurements against digital scales or overlooking electrical code requirements in rendered layouts. Always cross-check material reflectivity settings to avoid unrealistic lighting results. Another frequent error is failing to model ceiling heights accurately, which can distort perceived spaciousness. Take time to run multiple iterations and seek second opinions from contractors before finalizing.
Conclusion
3D visualization transforms kitchen renovations into predictable successes. By following these steps and leveraging the right tools, homeowners can create spaces that are both beautiful and practical. Start planning your 2026 project today with a trial of leading software to experience the benefits firsthand.
No comments yet. Be the first!