 Fixated on Home
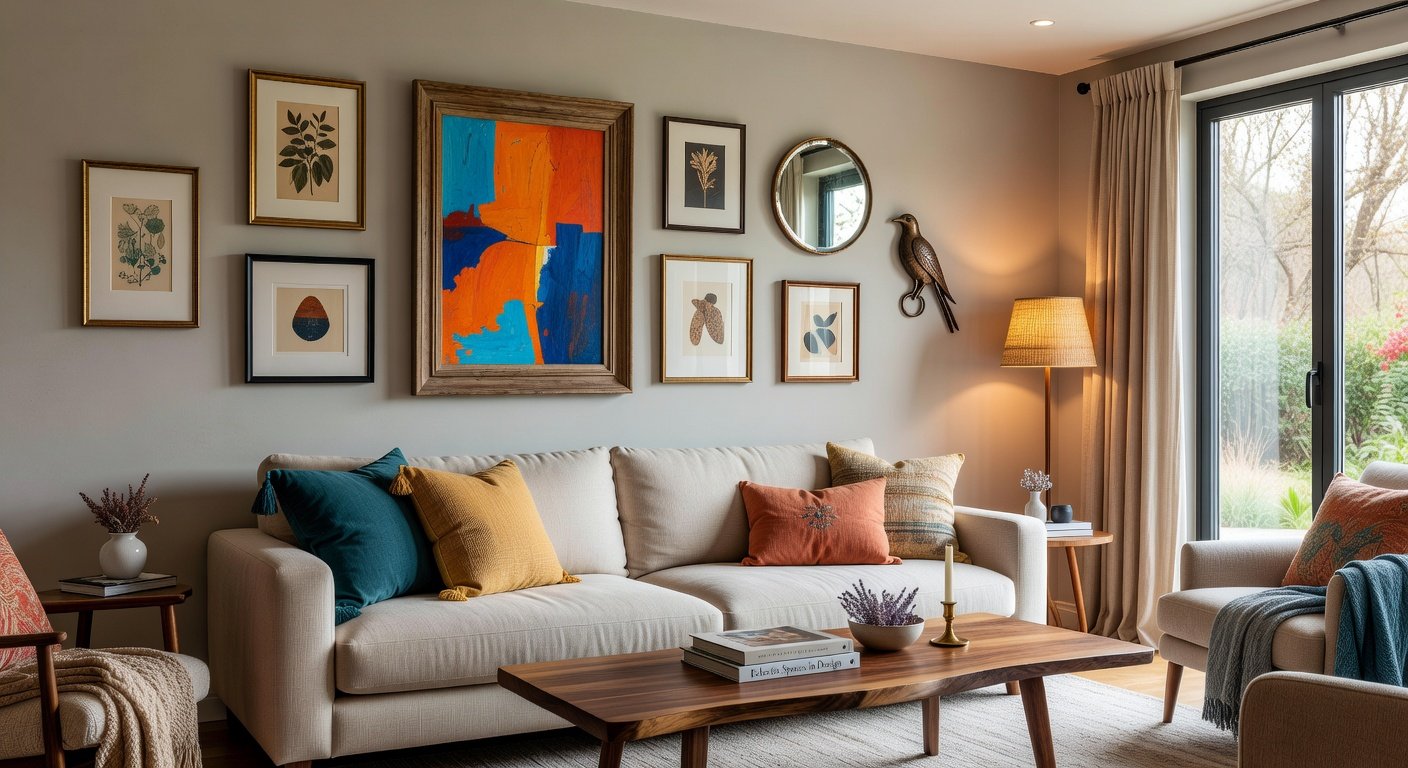
Introduction to Gallery Walls in Living Room Design
Gallery walls are a powerful way to personalize your living room, turning blank walls into captivating focal points that reflect your style and elevate home decor. Whether you're a minimalist or love eclectic vibes, a well-curated gallery wall adds depth, texture, and personality to your space. This guide walks you through every step: from selecting the perfect art pieces to layout templates tailored for small, medium, or large living rooms, integrating lighting, and ensuring durable installations during remodels.
Why choose a gallery wall? It's versatile, budget-friendly, and endlessly customizable. Unlike a single large artwork, it allows mixing frames, sizes, and mediums for visual interest. According to design experts, gallery walls can make rooms feel larger and more inviting. Ready to create yours? Let's dive in.
Selecting Art and Pieces for Your Gallery Wall
The foundation of an impactful gallery wall starts with thoughtful curation. Aim for a cohesive theme while mixing elements for dynamism.
- Define your theme: Travel photos, family portraits, abstract prints, or botanical illustrations? Stick to 2-3 colors or motifs for harmony.
- Mix mediums: Combine paintings, photographs, sculptures, mirrors, and shelves. Odd numbers (3, 5, 7) create natural rhythm.
- Frame smartly: Match frame styles loosely—black metal for modern, wood for rustic. Uniform mats add polish.
- Source affordably: Thrift stores, print-on-demand sites, or DIY prints. Invest in quality for longevity.
Pro tip: Lay everything on the floor first to experiment without wall damage. For inspiration, check out ideas on Houzz.
Gallery Wall Layout Templates for Every Room Size
Layouts depend on your living room's scale. Use painter's tape to mock up arrangements before committing.
Small Living Rooms (Under 150 sq ft)
Keep it tight: Focus on verticality to draw eyes up.
- Vertical stack: 4-6 narrow frames in a column, 12-18 inches wide total.
- Grid mini-wall: 2x3 uniform frames, spaced 2 inches apart.
- Asymmetrical cluster: 5-7 pieces around a mirror or clock.
Medium Living Rooms (150-300 sq ft)
Balance is key—extend horizontally for width illusion.
- Salon-style salon: Overlapping frames in a loose grid, largest piece centered.
- Linear row: 6-9 same-height frames above a sofa.
- L-shaped: Wrap around a corner for flow.
Large Living Rooms (Over 300 sq ft)
Go bold with expansive designs.
- Full-wall gallery: 20+ pieces spanning 10+ feet, anchored by oversized art.
- Modular shelves: Floating ledges with rotating displays.
- Themed zones: Group by color or story across sections.
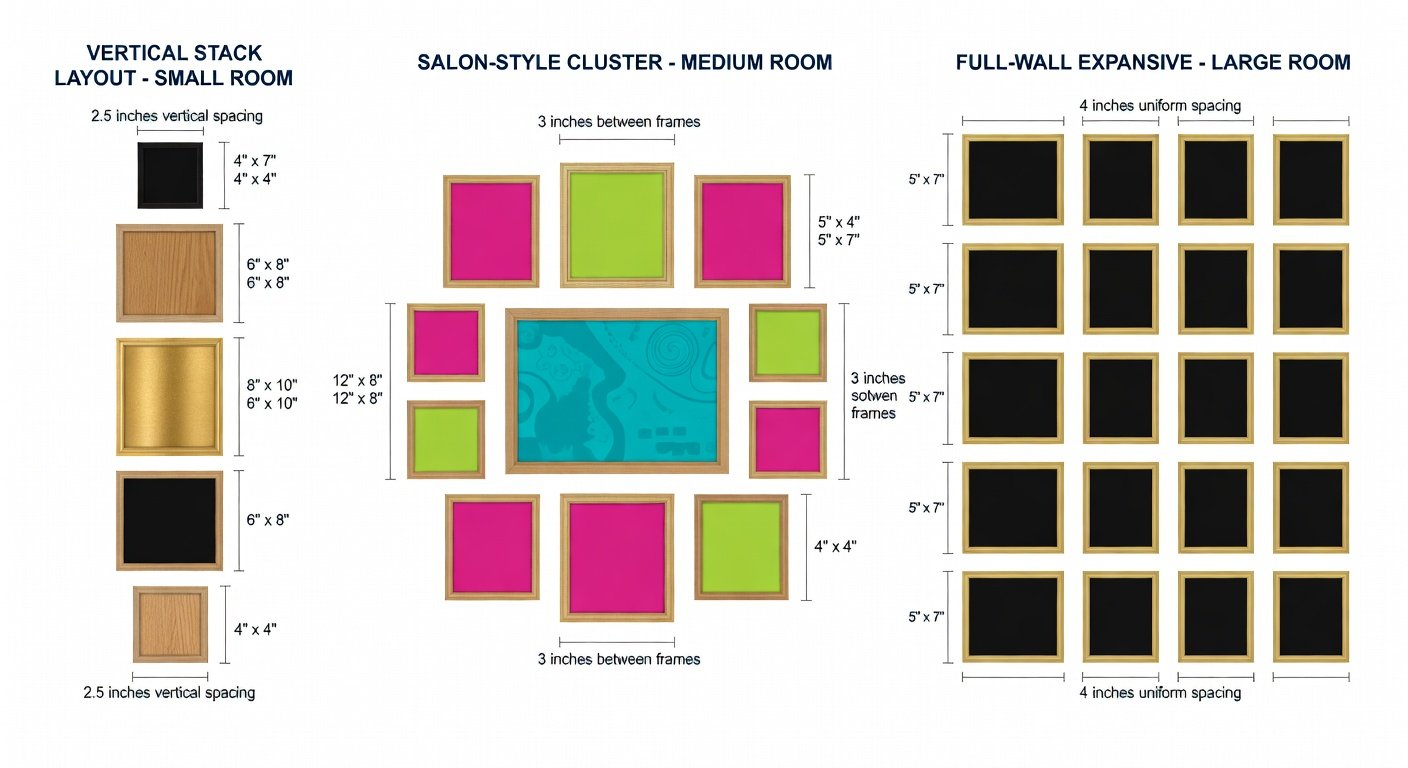
These templates scale effortlessly. Measure your wall: total width x height, then allocate 60-75% coverage for breathing room.
Integrating Lighting for Maximum Impact
Lighting transforms a gallery wall from flat to dramatic. Layer ambient, task, and accent lights.
- Picture lights: Clip-on LEDs for each frame—warm 2700K bulbs mimic gallery museums.
- Track lighting: Adjustable heads highlight clusters.
- Wall sconces: Flank the arrangement for soft glow.
- Smart LEDs: Dimmable strips behind frames for halo effects.
Avoid glare: Position lights at 30-45 degree angles. For pro tips, visit This Old House.
Durable Installation and Remodeling Tips
For remodels, integrate gallery walls into interior upgrades seamlessly.
Prep Your Wall
Ensure smooth, primed surfaces. For drywall, use anchors; plaster needs toggles.
- Tools needed: Level, measuring tape, pencil, stud finder, heavy-duty hooks (holds 50+ lbs).
- Monkey hook method: No-drill for renters, supports 50 lbs per hook.
- Hanging hardware: D-rings, wire, sawtooth hangers—distribute weight evenly.
Installation Steps
1. Mark center point at eye level (57-60 inches from floor).
2. Tape template, adjust.
3. Install anchors first.
4. Hang heaviest pieces last.
5. Step back, tweak spacing (2-3 inches).
Remodeling Integration
During living room refreshes:
- Wall treatments: Pair with shiplap or accent paint for contrast.
- Structural upgrades: Reinforce walls if adding shelves.
- Maintenance: Dust quarterly; rotate art yearly.
For heavy installations, consult pros to avoid sagging.
Common Mistakes to Avoid
- Overcrowding: Leave negative space.
- Uneven hanging: Always use two levels.
- Ignoring scale: Match wall proportions.
- Poor lighting: Test bulbs first.
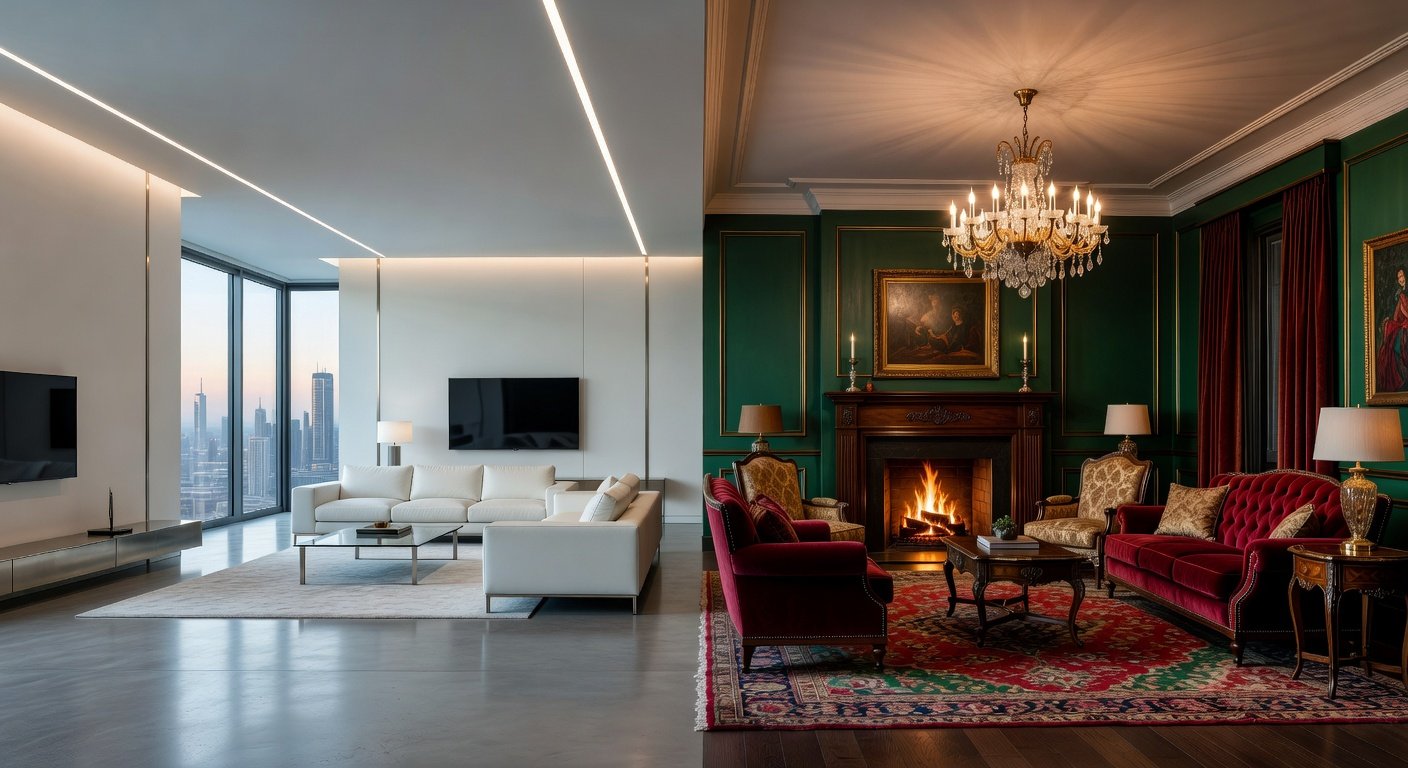
Final Thoughts: Your Living Room, Elevated
A gallery wall isn't just decor—it's storytelling. Start small, iterate, and watch your living room evolve. With these tips, your space will impress guests and inspire daily. Happy hanging!
No comments yet. Be the first!