 Fixated on Home
Introduction: Transforming Your Fixer-Upper Yard into a Fitness Oasis
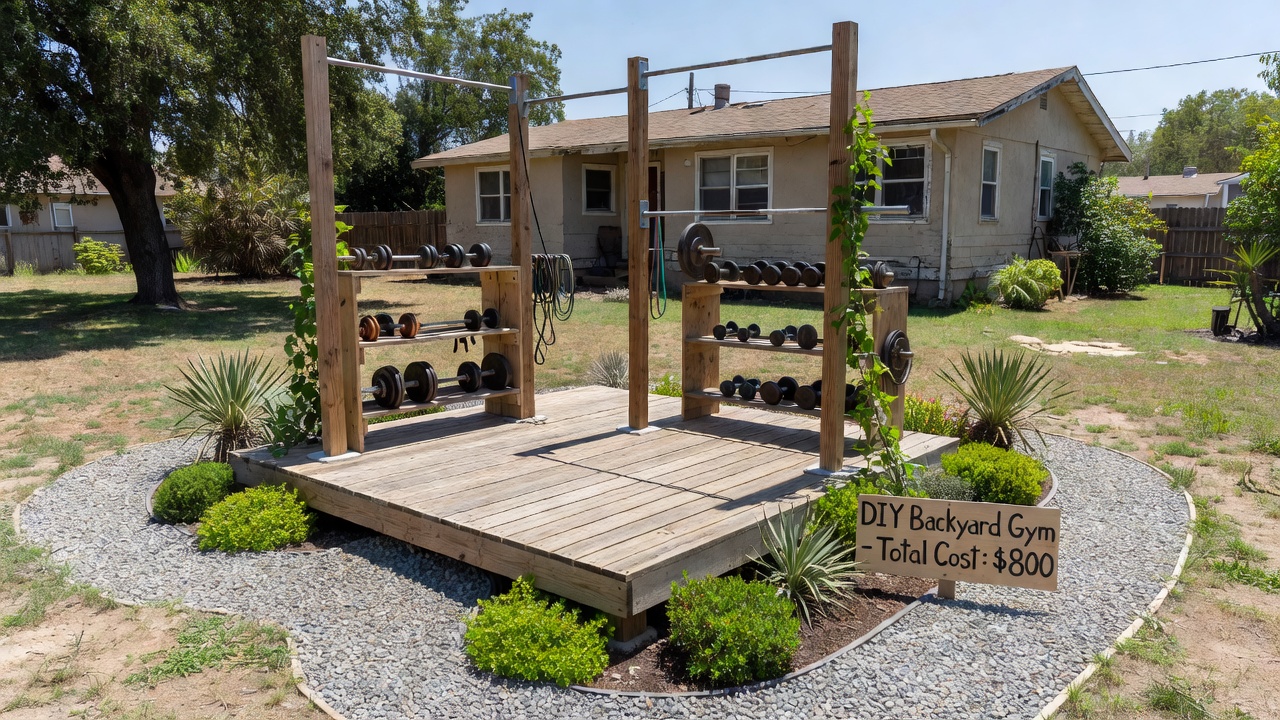
Homeowners with fixer-upper properties are increasingly turning outdoor spaces into personal gyms. This approach combines renovation goals with functional fitness, creating lasting value. In 2026, DIY backyard gym setups emphasize durable, weather-resistant designs that integrate seamlessly with existing landscaping while addressing common challenges like uneven terrain and limited space. A well-executed outdoor gym can improve daily exercise consistency, reduce gym membership costs, and enhance property appeal for future resale.
Whether you have a sprawling suburban lot or a compact urban backyard, careful planning ensures your setup supports strength training, cardio, and recovery. This guide walks through every stage, from initial assessment to ongoing care, drawing on real 2026 renovation examples from across different climates. By following these steps, you can create a versatile space that withstands seasonal changes and grows with your fitness needs.
Site Assessment for Your Outdoor Gym
Begin by evaluating your yard's conditions thoroughly. Measure available space using a tape measure and mark boundaries with stakes or spray paint. Note sun exposure throughout the day, drainage patterns during rain, and proximity to the house, fences, or utility lines. Sloped areas may require leveling with gravel, retaining walls, or decking, while shaded zones suit recovery stations or stretching areas. Test soil stability by digging small test holes and check local building codes before digging post holes or anchoring equipment.
Many 2026 projects started with a simple sketch noting wind direction and water runoff. Homeowners in coastal regions prioritized elevated platforms to combat moisture, while those in arid climates focused on UV protection for wood components. Consider accessibility from the house for convenience during early morning or evening workouts. If your yard has mature trees, assess root systems to avoid damage during construction.
Choosing Weather-Resistant Materials
Material selection determines longevity and safety. Pressure-treated lumber, galvanized steel, and composite decking resist rot, rust, and fading. Avoid untreated pine or standard hardware that corrodes quickly outdoors. For posts, select 4x4 or 6x6 pressure-treated wood rated for ground contact. Cross beams benefit from steel options with powder coating for extra protection.
Budget builds often rely on reclaimed wood and basic steel tubing, while premium options incorporate powder-coated finishes and marine-grade hardware. Both approaches deliver solid results when properly sealed and anchored. Always verify load ratings for bars and platforms to support dynamic movements safely. Composite materials offer low maintenance but higher upfront effort in cutting. Consider eco-friendly alternatives like bamboo composites where available in your region.
For authoritative guidance on physical activity safety, consult CDC physical activity resources.
Step-by-Step Assembly Guide
Building the Main Platform
Start with an 8x10 ft or 10x12 ft base using 4x4 posts set in concrete footings at least 24 inches deep. Frame with 2x6 joists spaced 16 inches on center and top with composite decking for slip resistance. Secure all joints with galvanized bolts and add cross bracing for stability. This creates a stable surface for squats, yoga, and storage that elevates equipment above ground moisture.
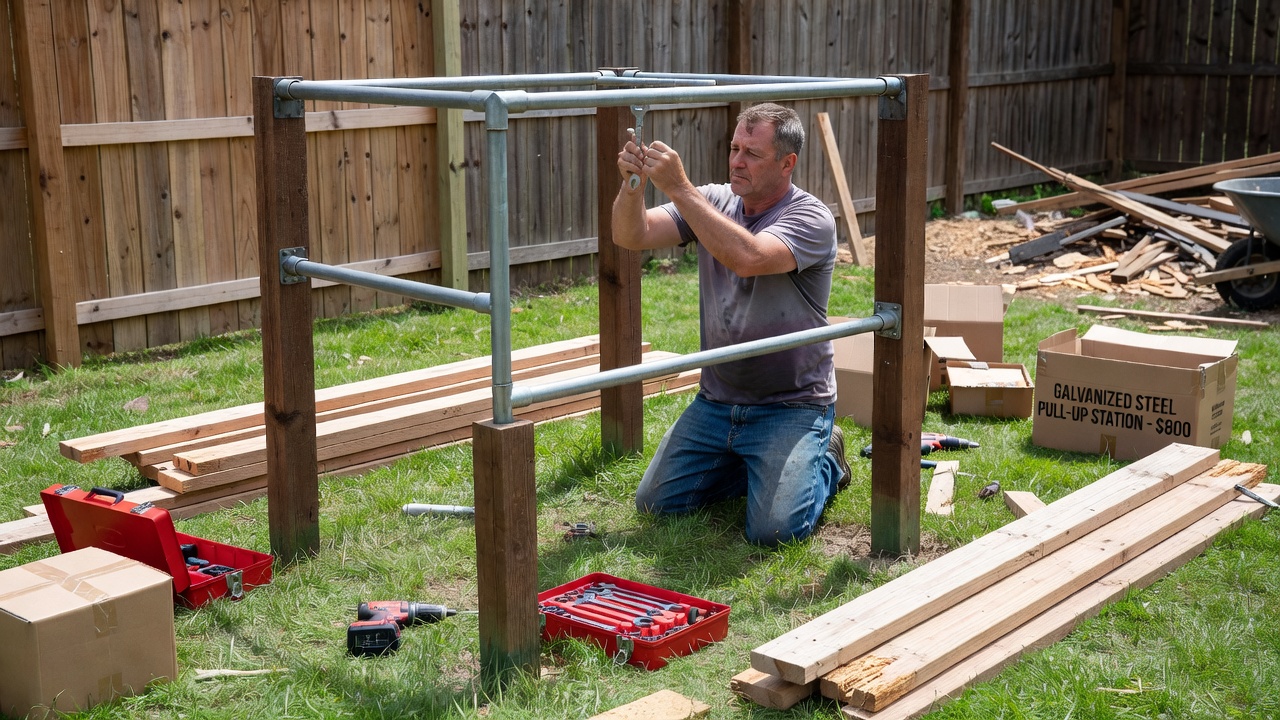
Installing Pull-Up Stations
Anchor two 4x4 or steel posts 8 feet apart with cross bracing and diagonal supports. Mount a 1.25-inch galvanized pipe at 7-8 feet height using heavy-duty flanges. Add adjustable rings or parallel bars nearby for variety in exercises. Ensure all connections use through-bolts rather than screws alone to handle bodyweight swings and momentum.
Adding Storage Solutions
Construct a simple lean-to shed or wall-mounted racks using the same weather-resistant materials. Install pegboards or shelves at eye level for quick access to resistance bands, mats, and smaller weights. Include a locked cabinet for valuables if the gym is visible from the street.
Creating Additional Stations
Extend your build with a dip station using parallel bars set at waist height or a squat rack frame attached to the main platform. Incorporate a sandbag station or tire flip area on a separate gravel pad for variety without crowding the deck.
Budget vs Premium DIY Comparisons
Budget versions use basic lumber and DIY welding for under $800 in materials, suitable for beginners focused on core movements. Premium builds incorporate engineered composites and modular systems costing several times more but offering faster assembly and superior aesthetics. In 2026 fixer-upper examples from the Midwest, budget platforms lasted three seasons with annual sealing, while premium setups required minimal upkeep after five years. Weigh your long-term commitment before choosing; budget options allow upgrades later as skills improve.
Safety Considerations and Landscaping Integration
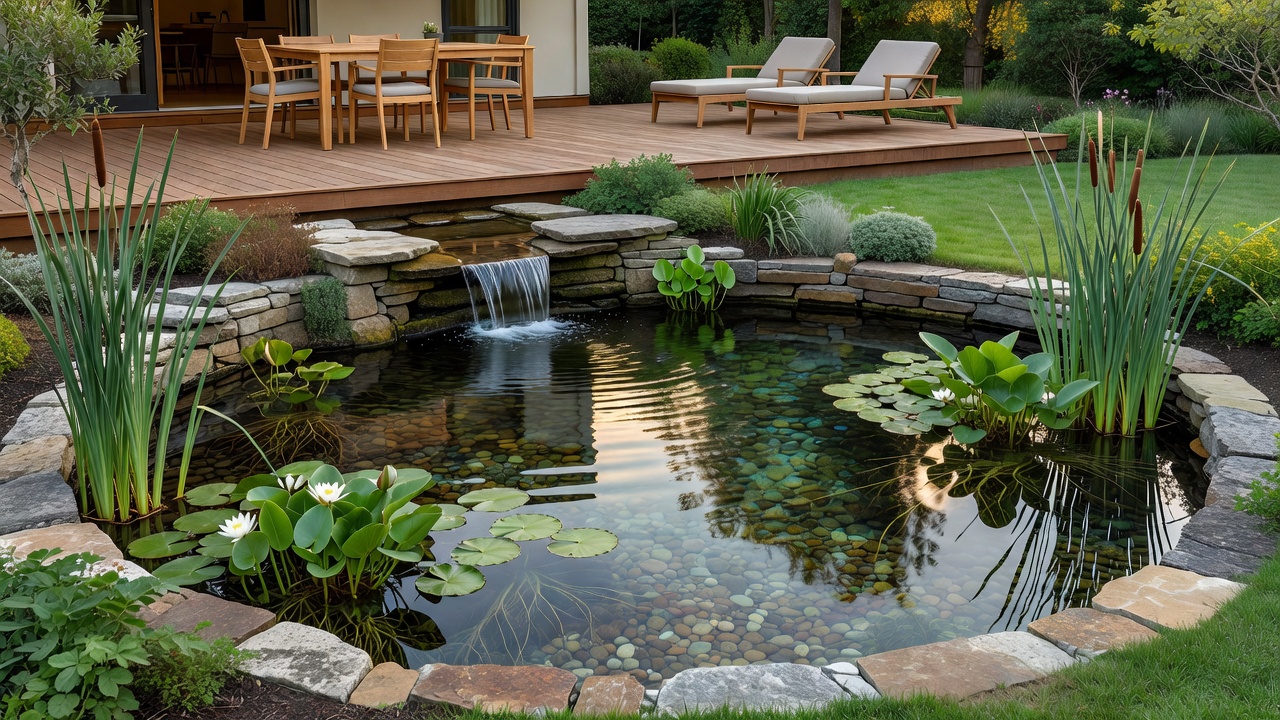
Always install rubber mats under high-impact areas and maintain 3-4 feet clearance around equipment. Ground the entire structure against lightning where required by code. Blend the gym into landscaping by planting native shrubs along edges and using gravel paths for access. This preserves curb appeal and reduces erosion while creating natural windbreaks.
Reference OSHA guidelines for general construction safety practices applicable to DIY projects. Add lighting for evening use and non-slip coatings on all surfaces.
Tools Required for the Build
- Post hole digger or auger
- Level, tape measure, and square
- Circular saw and drill with bits
- Concrete mixer or wheelbarrow
- Socket wrench set for bolts
- Safety gear including gloves and goggles
Materials Checklist
- Pressure-treated 4x4 and 2x6 lumber
- Galvanized steel pipe and brackets
- Composite decking boards
- Concrete mix for footings
- Exterior-grade screws, bolts, and sealant
- Rubber flooring tiles
- Storage hooks and racks
- Gravel and landscape fabric for surrounding areas
Maintenance Tips for Longevity
Inspect anchors and joints every six months for loosening or rust. Reapply sealant annually before winter and check for warping after heavy storms. Clear debris from platforms after storms and store cushions indoors during off-seasons. These simple habits keep equipment safe and functional year-round. In humid areas, add moisture-absorbing packets to storage areas.
Real 2026 Renovation Examples
One family in Portland converted a neglected side yard into a compact gym featuring a multi-station rig integrated with raised garden beds. Another project in Atlanta used recycled shipping containers for storage, creating a weatherproof zone that doubled as a shaded lounge area. A third example from Denver incorporated sloped terrain by building tiered platforms that doubled as seating during social gatherings.
Common Mistakes to Avoid
Skipping soil testing leads to settling platforms. Using indoor-rated hardware fails quickly outdoors. Overcrowding the space reduces workout flow. Always plan for future expansion and leave buffer zones around each station.
Frequently Asked Questions
How do I handle very limited space?
Focus on vertical elements like wall-mounted bars and foldable benches. A 6x8 ft platform often suffices for bodyweight training, with modular add-ons added over time.
What about extreme weatherproofing?
Use marine varnish on wood and stainless hardware in humid climates. Elevate everything 6 inches off the ground and add drainage channels around the perimeter.
Can I incorporate existing landscaping features?
Yes—build around mature trees for natural shade or use existing patios as the foundation for your platform to minimize new excavation.
What permits might be needed?
Check local zoning for structures over certain heights or square footage. Many areas require simple permits for anchored equipment exceeding 6 feet in height.
Conclusion
A well-planned DIY backyard gym adds both fitness convenience and property value to any fixer-upper. By prioritizing durable materials, thoughtful layout, and regular maintenance, your outdoor space becomes a reliable training environment for years to come. Start small, assess your specific site conditions, and scale the project as confidence grows.
No comments yet. Be the first!