 Fixated on Home
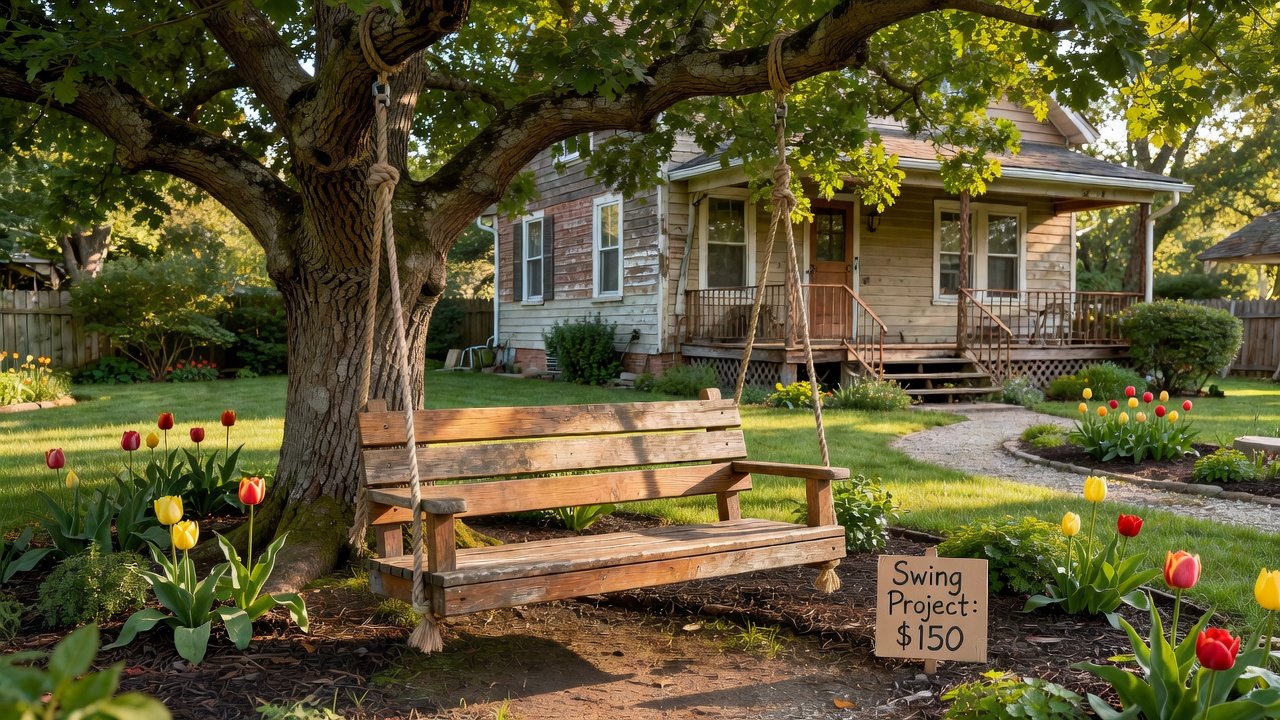
Introduction to DIY Tree Swings for Outdoor Renovations
Homeowners tackling fixer-uppers often seek budget-friendly ways to enhance outdoor spaces and create functional family areas. A DIY backyard tree swing combines functionality with charm, turning underused yards into inviting relaxation spots that boost curb appeal and daily enjoyment. This comprehensive guide covers everything from assessing your trees to final safety checks, optimized for 2026 durability in home improvement projects. Whether your property features mature oaks or younger maples, a well-built swing adds immediate value and encourages outdoor time. Many fixer-upper owners report that simple additions like this transform neglected backyards into personal retreats without requiring professional contractors or extensive permits in most residential zones.
Tree swings support outdoor renovation efforts by adding value without major construction. They integrate seamlessly with existing landscaping while keeping costs low and allowing for creative customization based on family needs and yard size.
Selecting the Ideal Site and Assessing Tree Health
Begin by evaluating your yard's layout and sun exposure patterns throughout the day. Choose a tree with a strong, horizontal branch at least 8-10 inches in diameter, located 8-12 feet above ground for proper swing height and clearance. Avoid branches near power lines, fences, or structures that could cause hazards during use. Consider the surrounding ground surface—soft grass or mulch works best to cushion falls, while concrete or gravel requires additional padding layers.
Load-bearing assessments are critical for long-term safety. Inspect for cracks, decay, or disease by examining bark texture and branch flexibility. Consult resources from the USDA Forest Service for tree health guidelines and species-specific advice. Test branch strength by applying gradual pressure before installation and monitor for any movement or creaking. In real fixer-upper examples, homeowners have successfully used silver maples and sycamores after professional arborist consultations confirmed stability. Multiple site visits over several days help account for wind patterns and seasonal leaf changes that affect branch load.
Choosing Weatherproof Materials
Select durable options suited for outdoor exposure and varying climates. Use marine-grade ropes rated for UV and moisture resistance, or heavy-duty chains with protective coatings. Seats can be wooden planks treated for exterior use, recycled tires, or composite boards designed to resist warping. All materials should withstand varying weather conditions common in 2026 climates, including heavy rain, snow, and intense summer heat.
Compare options carefully: natural fiber ropes may need replacement sooner than synthetic alternatives, while metal hardware benefits from stainless steel to prevent rust. Examples from successful projects include pairing polypropylene rope with cedar seats for a balance of strength and aesthetics. Always source materials from reputable suppliers and verify load ratings printed on packaging before purchase.
Comparing Swing Styles: Tire vs. Bench
Tire swings offer simple, nostalgic appeal and easy installation but can retain water after storms. Bench swings provide comfortable seating for two and better ergonomics but require more precise leveling and stronger attachment points. Rope ladder styles add play value for children, while single-rope disc swings suit smaller spaces.
- Tire swings: Lower cost, versatile for kids, but check for sharp edges and drill drainage holes.
- Bench swings: Higher comfort, ideal for adults, needs reinforced hardware and regular leveling adjustments.
- Other variations: Consider canvas seats for portability or plastic options for low maintenance.
Many fixer-upper owners prefer bench styles for family use and landscaping harmony, especially when integrating seating areas near patios or gardens.
Step-by-Step Installation Process
1. Gather tools including a cordless drill, measuring tape, level, carabiners, protective gloves, and a sturdy ladder.
2. Mark attachment points on the branch after double-checking distances.
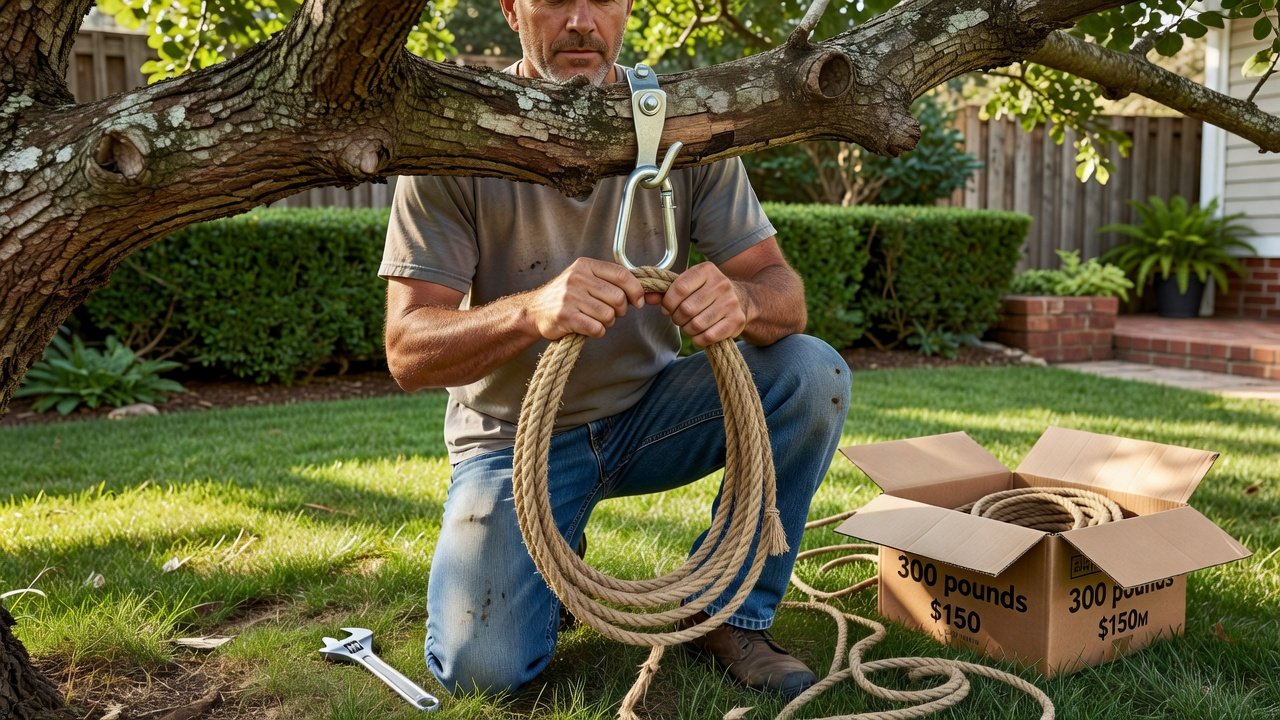
3. Drill pilot holes carefully to avoid splitting the wood and install eye bolts or heavy-duty straps with washers for load distribution.
4. Attach ropes or chains securely using knots rated for dynamic loads or appropriate hardware clips.
5. Hang the seat and test for balance by applying weight gradually from the ground first.
6. Fine-tune heights and add padding where ropes contact the tree.
Always double-check connections before first use and involve a helper for safety during the hanging phase.
Safety Checks and Common Pitfalls
Perform thorough inspections: verify weight capacity exceeds 300 pounds, ensure no sharp edges remain, and confirm swing clearance from obstacles by at least three feet on all sides. Follow guidelines from the OSHA for safe outdoor setups and consider adding a second support line for redundancy. Wear eye protection during drilling and secure the ladder properly on level ground.
Avoid common mistakes like using untreated wood that rots quickly, skipping tree padding that causes bark damage, or installing too close to play areas used by younger children. Real-world examples show that rushed projects often fail within the first season due to overlooked hardware corrosion.
Budget Breakdowns Under $150
Materials for a basic swing can stay under $150 as of 2026-11-05 with careful sourcing from local hardware stores or online marketplaces. Rope and hardware typically account for the largest share, while recycled seats or salvaged wood reduce expenses significantly. Track current local store prices for the most up-to-date deals during your outdoor renovation planning phase, and prioritize quality over the lowest bid to ensure safety and longevity.
Integrating with Existing Landscaping
Blend the swing into your yard by planting shade-tolerant flowers or ground cover nearby, or adding mulch beneath for both aesthetics and safety. This enhances the fixer-upper aesthetic and supports overall home improvement goals by creating cohesive outdoor living zones. Examples include positioning the swing near existing flower beds or using it as a focal point in a newly mulched seating area. Consider irrigation patterns so water does not pool under the swing path.
Troubleshooting Uneven Swings and Other Issues
If the swing hangs unevenly, adjust rope lengths individually while testing with a level. For squeaking, apply outdoor lubricant to hardware joints regularly. Persistent leaning often indicates uneven branch weight—relocate the attachment point slightly or add counterbalance weights. Other issues like rope fraying can be addressed by immediate replacement, and seasonal shifting may require re-tensioning after heavy winds or snow loads.
FAQs on Maintenance for 2026 Durability
How often should ropes be inspected? Check monthly for fraying, especially after storms, and replace at the first sign of wear.
Can swings last multiple seasons? Yes, with annual weatherproofing treatments and proper storage during extreme winter conditions.
What about winter storage? Remove seats and ropes during harsh freezes to extend overall lifespan and prevent ice damage to hardware.
How do I clean the seat? Use mild soap and water, avoiding harsh chemicals that could degrade materials over time.
Are permits needed? Most residential DIY swings do not require permits, but check local ordinances for any height or placement restrictions in your area.
Conclusion
Building a DIY tree swing elevates any fixer-upper's outdoor space affordably and creatively while delivering years of enjoyment. Follow these detailed steps for a safe, enjoyable addition that supports your home improvement vision and encourages more time spent in the yard throughout 2026 and beyond.
No comments yet. Be the first!