 Fixated on Home
Introduction to Outdoor Safety in Fixer-Upper Projects
Undertaking outdoor renovations on fixer-upper homes requires careful attention to safety protocols to prevent injuries and ensure project success. In 2026, homeowners are increasingly tackling ambitious DIY projects like deck builds, patio upgrades, and landscaping overhauls, but these come with inherent risks from uneven terrain, power tools, and environmental factors. This guide provides comprehensive advice on personal protective equipment (PPE), tool handling, site assessments, and more to help you work safely and efficiently. By integrating these protocols, you not only protect yourself but also improve the quality and longevity of your renovations. Many DIY enthusiasts overlook subtle hazards that can lead to setbacks, making proactive education essential for any outdoor project.
Site Assessment Steps Before Starting Any Build
Before breaking ground on any outdoor fixer-upper project, conduct a thorough site assessment. Start by walking the entire area and noting uneven terrain, overhead power lines, underground utilities, and nearby structures. Check local building codes and obtain necessary permits to avoid legal issues. Document existing conditions with photos and measurements. Identify drainage patterns and soil stability, especially if your project involves excavation. Use a checklist to evaluate slope angles, vegetation interference, and potential wildlife habitats. This step prevents costly mistakes and enhances safety. Consider hiring a professional surveyor for complex lots, and always mark utility lines with flags before digging. A complete assessment can take several hours but saves time and reduces risks dramatically over the course of the project.
Essential PPE Selection and Comparisons
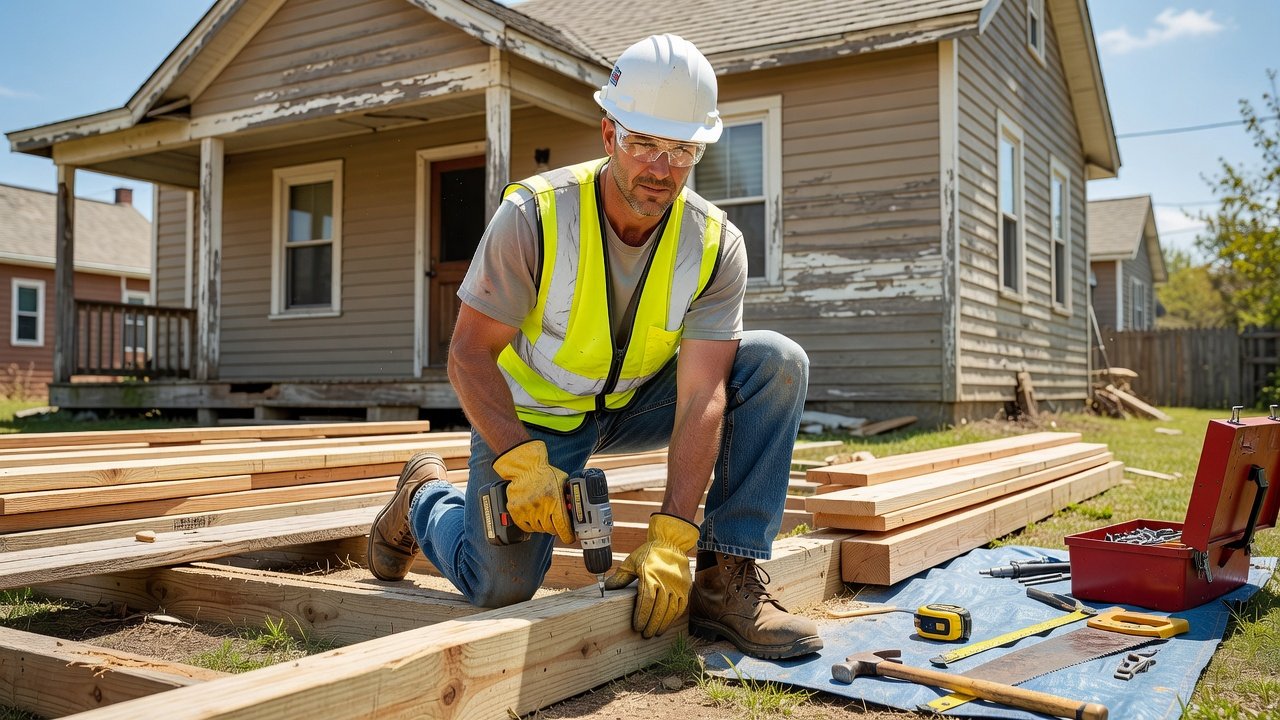
Selecting the right personal protective equipment is critical for outdoor DIY work. Core items include hard hats, safety glasses, gloves, steel-toe boots, and high-visibility vests. For projects involving dust or chemicals, add respirators and ear protection. Compare options by durability and comfort. For example, ANSI-rated safety glasses offer better impact resistance than basic models, while cut-resistant gloves provide superior protection during demolition compared to standard work gloves. Always choose gear that meets current safety standards for your specific tasks. Consider factors like breathability for hot climates and adjustability for long wear. Maintain PPE by cleaning after each use and replacing items showing wear. Investing in quality equipment reduces injury rates significantly and allows for more confident work sessions.
Tool Handling Best Practices
Proper tool handling reduces accidents significantly. Always inspect tools before use for damage like frayed cords or loose blades. Use tools only for their intended purposes and follow manufacturer guidelines. Maintain a clean workspace to avoid trips and falls. For outdoor projects, focus on cordless tools to minimize electrical risks, and secure extension cords away from water sources. Specific examples include using a circular saw with a guard in place for cutting lumber and always wearing gloves when operating hedge trimmers. Store tools securely when not in use and keep them out of reach of children or pets. For power tools, ensure batteries are charged properly and use grounded outlets when applicable. Regular maintenance, such as sharpening blades and lubricating moving parts, extends tool life and improves safety outcomes.
Weather-Related Precautions
Outdoor projects are heavily influenced by weather. In 2026, unpredictable conditions like sudden storms or extreme heat demand proactive measures. Monitor forecasts daily and avoid working during high winds, heavy rain, or lightning. Provide shade and hydration stations during hot days. Wear UV-protective clothing and apply sunscreen. For cold weather, layer appropriately and watch for slippery surfaces caused by frost or ice. In regions prone to wildfires, keep a fire extinguisher nearby and clear dry debris regularly. Adjust schedules to early mornings or evenings when temperatures are milder, and have indoor backup tasks ready for inclement days. These precautions help maintain productivity while safeguarding health.
Electrical and Structural Hazard Checklists
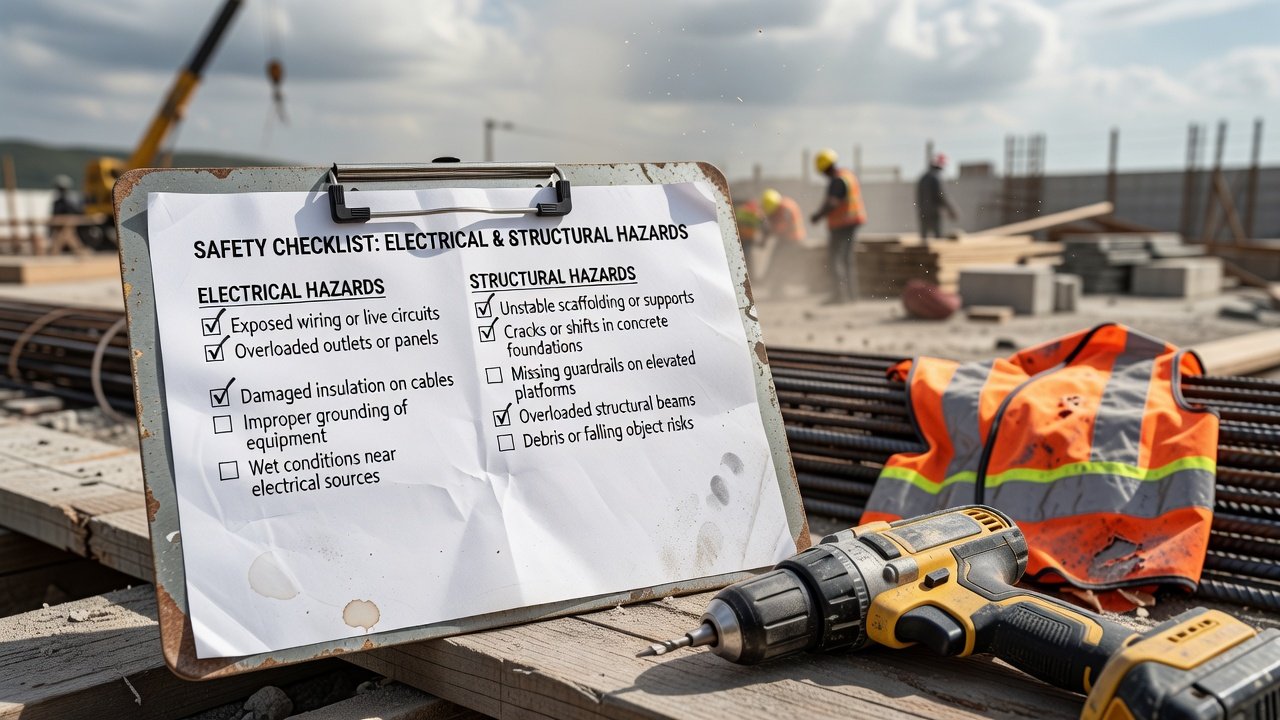
Use these expanded checklists to identify risks:
- Electrical: Locate all outlets, confirm GFCI protection, test wiring with a voltage detector, avoid working near live lines, label temporary power sources, and inspect all cords for frays.
- Structural: Inspect load-bearing walls, check for rot in wood, verify foundation stability, secure scaffolding properly, assess roof integrity if working at height, and reinforce temporary supports during demolition.
Address any issues immediately or consult professionals when needed. Regular re-checks during the project catch emerging problems early.
Real-World Examples from Recent Home Improvement Case Studies
Consider a 2025 case where a homeowner in the Midwest ignored site drainage during a patio build, leading to flooding and structural shifts that required full rework. Implementing proper assessment protocols could have prevented this. Another example involves a California fixer-upper where upgraded PPE prevented eye injuries during concrete cutting, allowing the project to finish ahead of schedule. A third case from Florida highlighted weather preparedness when a sudden thunderstorm was avoided by monitoring alerts, saving expensive equipment from water damage. These cases demonstrate how following structured safety steps transforms potential disasters into successful outcomes, emphasizing the need for documentation and adaptability in every phase.
Step-by-Step Safety Workflow
- Perform initial site walk-through and risk mapping with photos.
- Gather and inspect all PPE and tools for defects.
- Review weather conditions and prepare contingencies like tarps.
- Mark utilities and set up barriers around the work zone.
- Execute work in phases with regular breaks and safety checks every hour.
- Use spotters for heavy lifting or elevated tasks.
- Conduct mid-project hazard re-evaluations.
- End-of-day cleanup and equipment storage with inventory logs.
- Document any incidents or near-misses for future learning.
- Review overall progress and adjust the plan as needed.
Emergency Preparedness and Response
Every outdoor DIY site should include a basic first aid kit stocked with bandages, antiseptic, and eye wash. Know the location of the nearest hospital and keep a charged phone for emergencies. Establish a communication plan with family members or neighbors. Practice quick responses to common scenarios like cuts or falls to minimize severity. Having an evacuation route planned for severe weather adds another layer of protection.
Conclusion
Following these 2026 DIY outdoor safety protocols ensures your fixer-upper projects proceed smoothly while protecting your well-being. Prioritize preparation and vigilance for lasting results. For more resources, visit OSHA guidelines, CDC safety tips, and National Safety Council recommendations.
FAQ
What are common injuries in outdoor DIY projects?
Falls, cuts, and eye injuries top the list. Prevention involves proper PPE and site preparation.
How can I prevent electrical hazards?
Always use a voltage tester and shut off power before working near wiring.
What weather precautions are essential?
Check forecasts, stay hydrated, and pause work during storms or extreme temperatures.
How often should I inspect tools?
Inspect before every use and perform deeper maintenance weekly during active projects.
Are there specific PPE recommendations for different seasons?
Yes, prioritize breathable materials in summer and insulated layers in winter while maintaining visibility and protection standards.


No comments yet. Be the first!