 Fixated on Home
Introduction to Outdoor Staircase Renovations
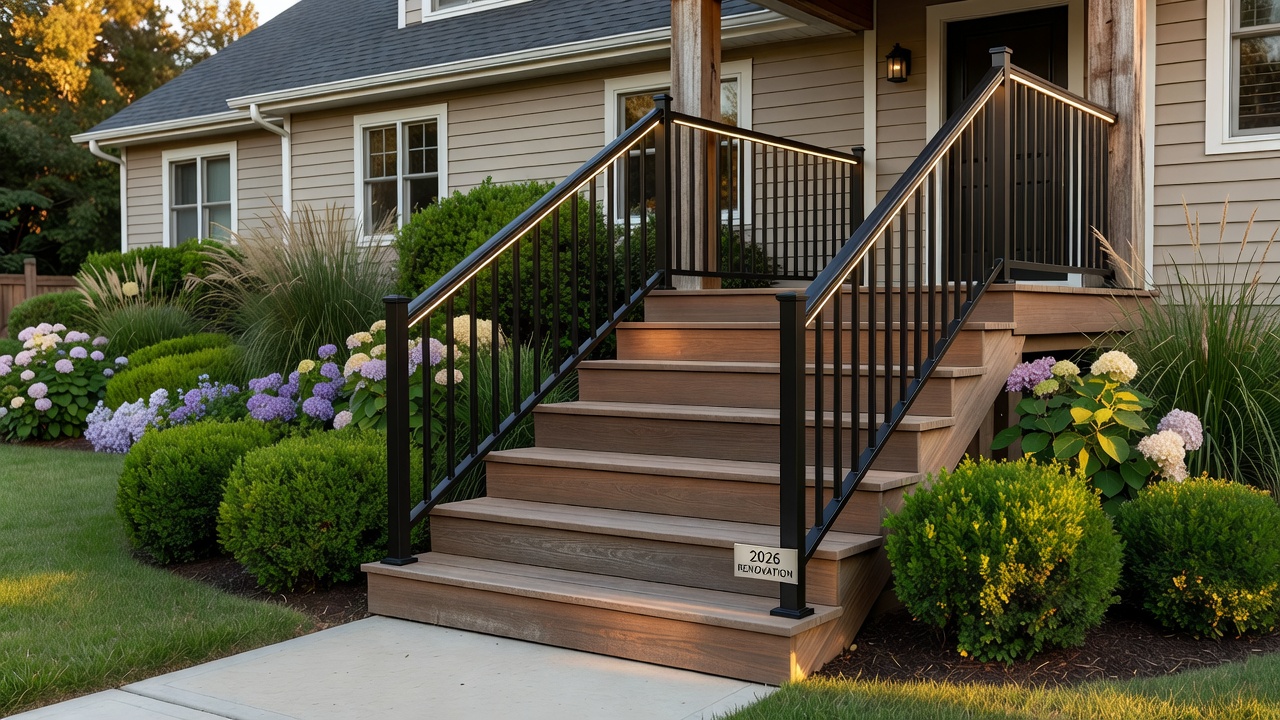
Homeowners tackling fixer-uppers often face neglected outdoor stairs that pose safety risks and detract from curb appeal. A well-planned DIY outdoor staircase renovation in 2026 can transform these hazards into attractive, functional features while boosting property value. This guide covers every stage from initial assessment to final maintenance, focusing on budget-friendly approaches suitable for various climates and terrains. Whether your property has crumbling concrete steps or weathered wooden structures, addressing them improves accessibility and creates a welcoming entry point.
Before starting, evaluate your existing structure for rot, uneven treads, or unstable railings. Addressing these early prevents larger issues and ensures compliance with local building standards. Many fixer-upper owners discover that simple upgrades like adding grip tape or replacing a single stringer can extend the life of stairs temporarily, but full renovations deliver the best long-term results.
Planning and Permitting Basics
Successful projects begin with thorough planning. Measure the rise and run of your stairs to determine the number of steps needed. Consider local terrain challenges like slopes or soil erosion that may require additional grading or retaining walls. Sketch a basic diagram including dimensions, material lists, and potential obstacles such as tree roots or utility lines. This preparation helps avoid mid-project surprises.
Check zoning requirements, as many areas mandate permits for structural changes exceeding certain heights. Research your municipality's specific codes early to understand inspection schedules. Consult resources from authoritative bodies such as the Occupational Safety and Health Administration for general safety guidelines. Always verify with your local building department to avoid fines. Factor in weather patterns—snowy regions may require steeper pitches or heated options, while humid areas prioritize moisture-resistant materials. Create a timeline that accounts for material delivery delays and curing times for concrete footings.
Material Selection for Durability
Choosing the right materials ensures longevity across climates. Pressure-treated lumber offers affordability for moderate weather, while composite decking resists rot and insects in coastal or rainy zones. For extreme conditions, consider aluminum or steel framing with composite treads that withstand freeze-thaw cycles without warping.
Compare options based on maintenance needs: wood requires periodic sealing, whereas composites need only occasional cleaning. Integrate non-slip surfaces like textured coatings or rubberized treads for added safety in wet conditions. Sustainable choices such as reclaimed lumber or FSC-certified wood align with eco-friendly renovation trends. Factor in color retention for composites, as some fade faster in direct sunlight. Test samples in your yard before committing to large purchases.
Tools and Safety Equipment Needed
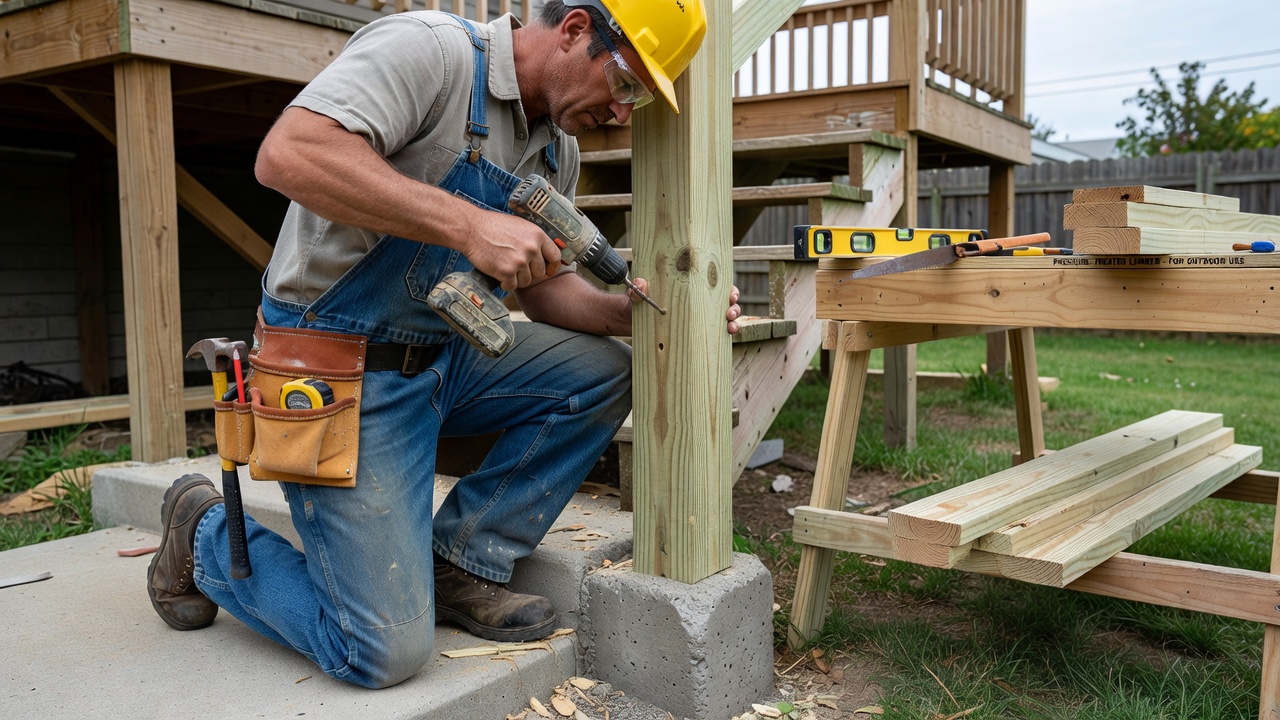
Equip yourself properly before demolition. Essential tools include a circular saw, level, drill, hammer, measuring tape, and post hole digger. Safety gear such as gloves, goggles, dust mask, and sturdy boots protects against common hazards. For larger projects, rent a jackhammer or concrete saw if removing old masonry. Organize tools in a portable kit to keep the worksite efficient and reduce downtime.
Step-by-Step Construction and Repair Instructions
Begin by removing old materials and leveling the ground with a tamper or gravel base. Install stringers spaced no more than 16 inches apart for stability, securing them to a concrete landing pad. Attach treads securely, ensuring each is level and uniform in height using shims where necessary. For repairs, reinforce weak points with brackets and replace damaged sections entirely if rot has spread beyond surface areas.
Adding Railings
Railings must meet height requirements, typically 34 to 38 inches. Use galvanized hardware to prevent rust. Anchor posts deeply into concrete footings for wind resistance and test each section for wobble before final tightening.
Lighting Integration
Embed solar or low-voltage LED lights along edges for visibility at night. This enhances safety and aesthetics without high energy costs. Route wiring through conduit if using hardwired options to protect against moisture.
Cost Breakdowns: DIY vs Professional Help
DIY approaches generally reduce expenses by handling labor yourself, though material quality remains key. Professionals provide expertise for complex terrain but increase overall investment. Weigh your skills against project scope—simple repairs suit beginners, while full rebuilds may benefit from expert input for code adherence. Track expenses with a spreadsheet to compare against hiring crews.
Real-World Examples from Recent Projects
One suburban fixer-upper replaced crumbling concrete steps with treated wood and added solar rail lights, improving accessibility and evening appeal. Another rural project used composites on uneven terrain, incorporating drainage channels to handle heavy rains effectively. A coastal home opted for aluminum framing with composite treads to combat salt air corrosion, resulting in a low-maintenance upgrade that withstood multiple storms. These examples highlight how adapting materials to local conditions maximizes results.
Safety Code Compliance Tips
Adhere to standards from the U.S. Access Board for accessible design. Ensure uniform riser heights, adequate tread depth, and graspable handrails. Test railings for load-bearing capacity before completion. Additional guidance from the International Code Council helps align projects with evolving 2026 building codes in many regions.
Maintenance Advice
Regular inspections catch issues early. Clean debris seasonally and reapply sealants annually. In harsh winters, avoid salt on wood surfaces to prevent damage. These habits extend the life of your renovation significantly. Schedule quarterly checks for loose fasteners and annual deep cleaning of lighting fixtures.
Common Mistakes to Avoid
- Skipping soil compaction leading to settling stairs over time.
- Using untreated wood in damp areas causing premature rot.
- Ignoring local permit processes resulting in costly rework.
- Uneven spacing of steps creating trip hazards.
Boosting Curb Appeal and Property Value
Beyond safety, renovated stairs enhance first impressions. Adding planters along the sides or painting railings in contrasting colors creates visual interest. These upgrades often contribute to higher resale values by demonstrating proactive home care.
FAQ Section
- How do I handle uneven terrain? Use adjustable stringers or build retaining walls to create a stable base.
- What about weatherproofing? Apply marine-grade sealants and choose materials rated for your climate zone.
- Can I add lighting without wiring? Solar options provide easy, wireless integration.
- Is permitting always required? Check local rules, but structures over 30 inches often need approval.
- What if my stairs are on a steep slope? Consider switchback designs or multiple landings for safer navigation.
- How often should I inspect after completion? Perform checks every three months initially, then adjust based on weather exposure.
Conclusion
Renovating outdoor stairs on a fixer-upper delivers lasting benefits in safety, value, and visual impact. By following these steps and prioritizing compliance, you create a durable upgrade tailored to your needs. Start small, plan carefully, and enjoy the results for years ahead.
No comments yet. Be the first!