 Fixated on Home
Introduction to Advanced Waterproofing in Modern Bathrooms
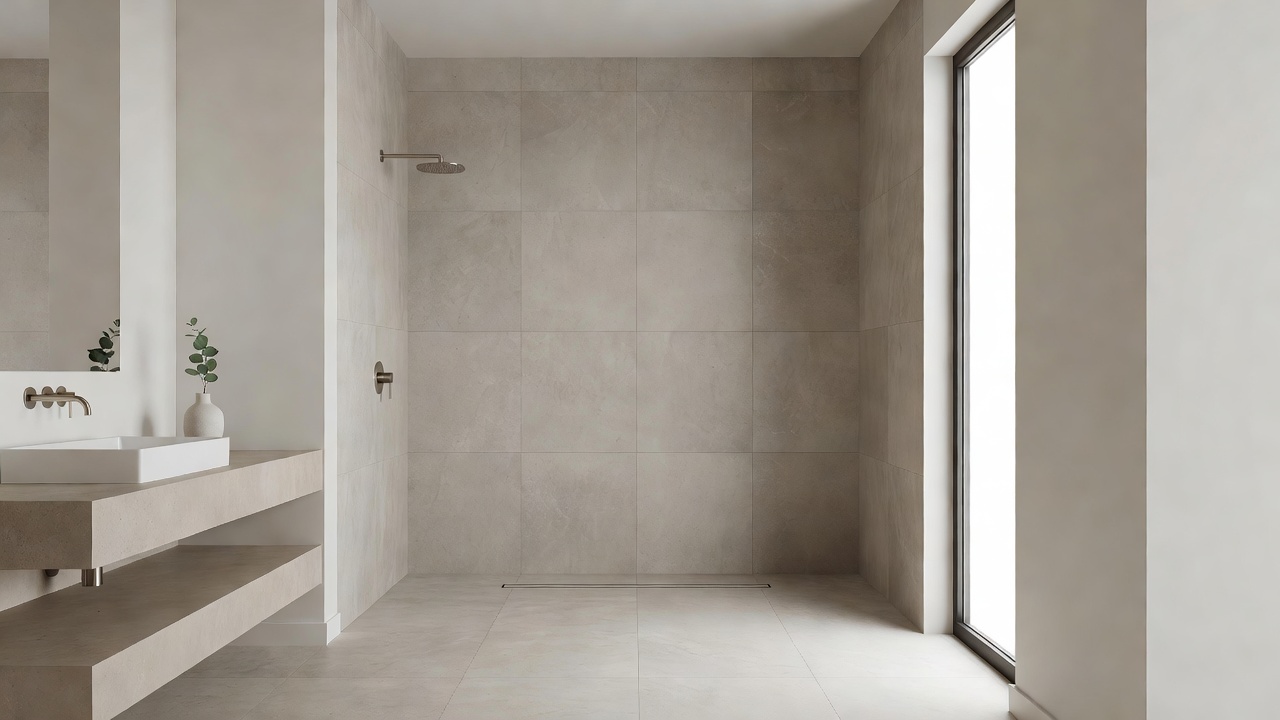
Bathroom remodels in 2026 demand more than basic tile and grout. Homeowners and renovators now prioritize advanced waterproofing to combat moisture damage, mold growth, and structural issues over time. These techniques integrate seamlessly with interior upgrades and current home decor trends, ensuring both longevity and aesthetic appeal. This guide covers cutting-edge solutions, practical installation steps, material comparisons, real-world applications, and essential safety considerations for projects focused on durability and style.
Why Advanced Waterproofing Matters for 2026 Renovations
Moisture infiltration remains a leading cause of bathroom failures in residential properties. Traditional methods often fall short in high-humidity environments or with complex layouts involving multiple wet zones. Advanced systems provide superior protection while aligning with trends like spa-like wet rooms and minimalist designs. They support sustainable upgrades by reducing long-term repair needs and enhancing energy efficiency through better vapor control. Effective waterproofing also helps maintain indoor air quality by limiting mold development, which can affect occupant health over years of use. When planning a remodel, considering these methods early prevents costly interventions later and supports the overall value of the home.
Key Advanced Techniques Explained
Liquid-Applied Membranes
Liquid-applied membranes create a seamless, flexible barrier on floors and walls. Applied like paint, they bond directly to substrates and accommodate movement without cracking. These are ideal for curbless showers and intricate tile patterns popular in 2026 decor. The application process allows coverage of irregular surfaces and penetrations around fixtures, offering complete continuity that sheet products sometimes lack.
Integrated Drainage Systems
Modern drainage combines linear drains with pre-sloped pans and waterproofing layers. This setup ensures efficient water removal while preventing pooling, a common issue in older builds. Systems can include adjustable height components and integrated weep holes that direct water away from vulnerable areas, making them suitable for both new construction and renovation overlays.
Vapor Barriers and Enhanced Underlayments
High-performance vapor barriers, often paired with uncoupling membranes, block moisture migration from below. They work well under heated floors, a frequent addition in contemporary remodels. These layers also provide crack isolation, extending the life of tile installations in areas subject to seasonal movement or settling.
Material Comparisons for Durability and Style
Choosing the right materials involves balancing performance, compatibility with finishes, and ease of integration with design elements. Liquid membranes excel in versatility compared to sheet membranes, which can be faster for large flat areas but require careful seaming to avoid weak points. Integrated systems often outperform basic cement board setups in wet zones by providing continuous protection without relying solely on surface sealants. Always verify compatibility with trending materials like large-format porcelain tiles or natural stone, which demand stable, moisture-resistant bases. Additional considerations include UV resistance for any exposed components during construction and chemical compatibility with common cleaners used in bathrooms.
Installation Steps with Safety Tips
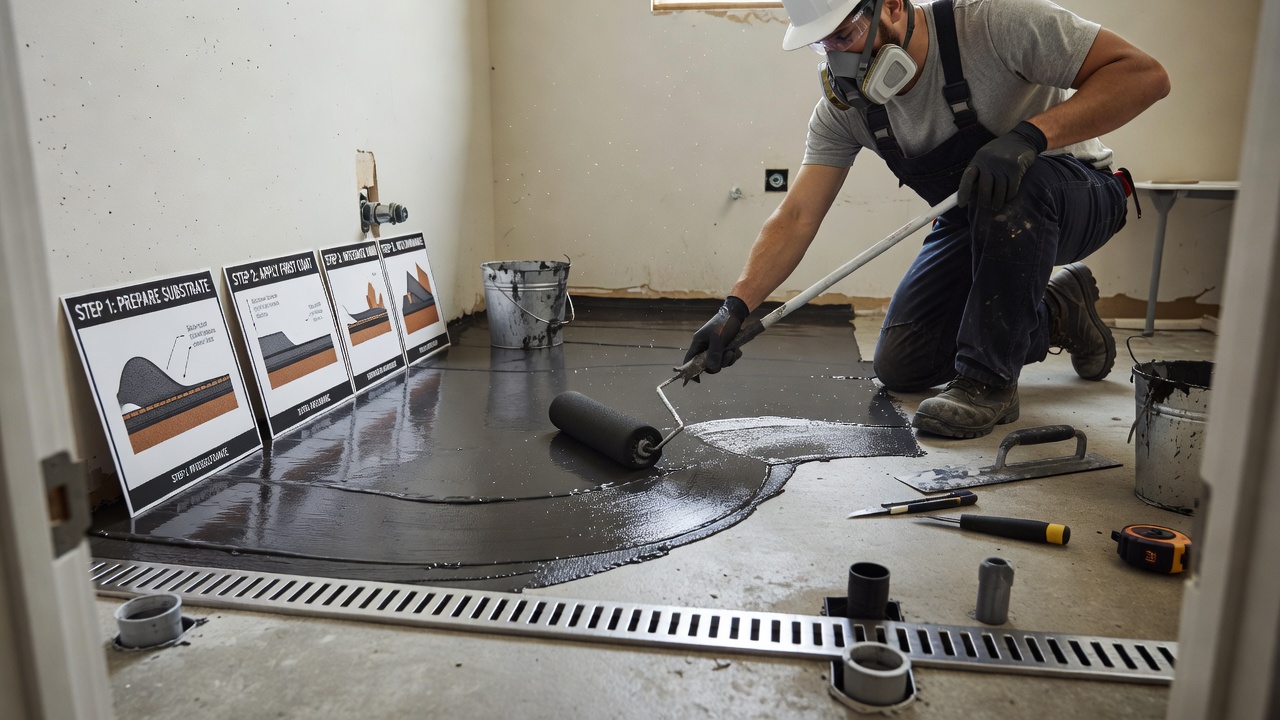
Proper installation begins well before the first coat of membrane is applied. Start by assessing the existing structure for any hidden damage from previous moisture exposure. Clean the substrate thoroughly to remove dust, oils, or residues that could interfere with adhesion. Repair cracks, level uneven areas, and ensure proper slope toward drains using self-leveling compounds where necessary.
- Apply a manufacturer-recommended primer to promote bonding and seal porous surfaces.
- Install the primary waterproofing layer, rolling or troweling liquid products in multiple thin coats or positioning and sealing sheet membranes with compatible tapes at all joints.
- Focus extra attention on corners, transitions to walls, and any pipe or fixture penetrations using reinforcement fabrics or pre-formed corners as needed.
- Incorporate drainage components such as linear channels and test the entire assembly with water for at least 24 hours before proceeding to tile work.
- Add vapor barriers or uncoupling layers where floor heating or below-grade conditions exist, then install the final underlayment for tile stability.
Safety remains critical throughout. Wear appropriate protective gear including chemical-resistant gloves, eye protection, and respirators rated for the specific products in use. Maintain good ventilation in enclosed spaces and follow all disposal guidelines for leftover materials. Coordinate with licensed plumbers and electricians when routing new lines to avoid compromising the waterproof envelope.
Real-World Examples from Recent Projects
In a recent urban loft renovation, liquid-applied membranes combined with linear drains transformed a compact bathroom into a leak-free wet room that complemented minimalist decor. The seamless finish allowed for continuous large-format wall tile without visible grout lines at the floor transition. Another suburban project used enhanced vapor barriers under heated floors, resulting in improved comfort and no moisture issues after one year of use. A third example involved a historic home conversion where integrated drainage was retrofitted around existing plumbing, preserving original architectural details while meeting modern performance standards. These cases highlight how advanced methods support both functionality and style integration across varied property types.
Common Pitfalls to Avoid
- Skipping proper substrate preparation, which leads to adhesion failures and eventual delamination of the waterproof layer.
- Overlooking transitions between waterproofed and non-waterproofed areas, allowing water to migrate behind finishes.
- Using incompatible materials that compromise the system over time, such as mixing solvent-based and water-based products without testing.
- Ignoring manufacturer curing times before proceeding with finishes, resulting in trapped moisture or weakened bonds.
- Failing to conduct thorough flood testing, which can leave small leaks undetected until significant damage occurs.
Integrating Waterproofing with 2026 Interior Design Trends
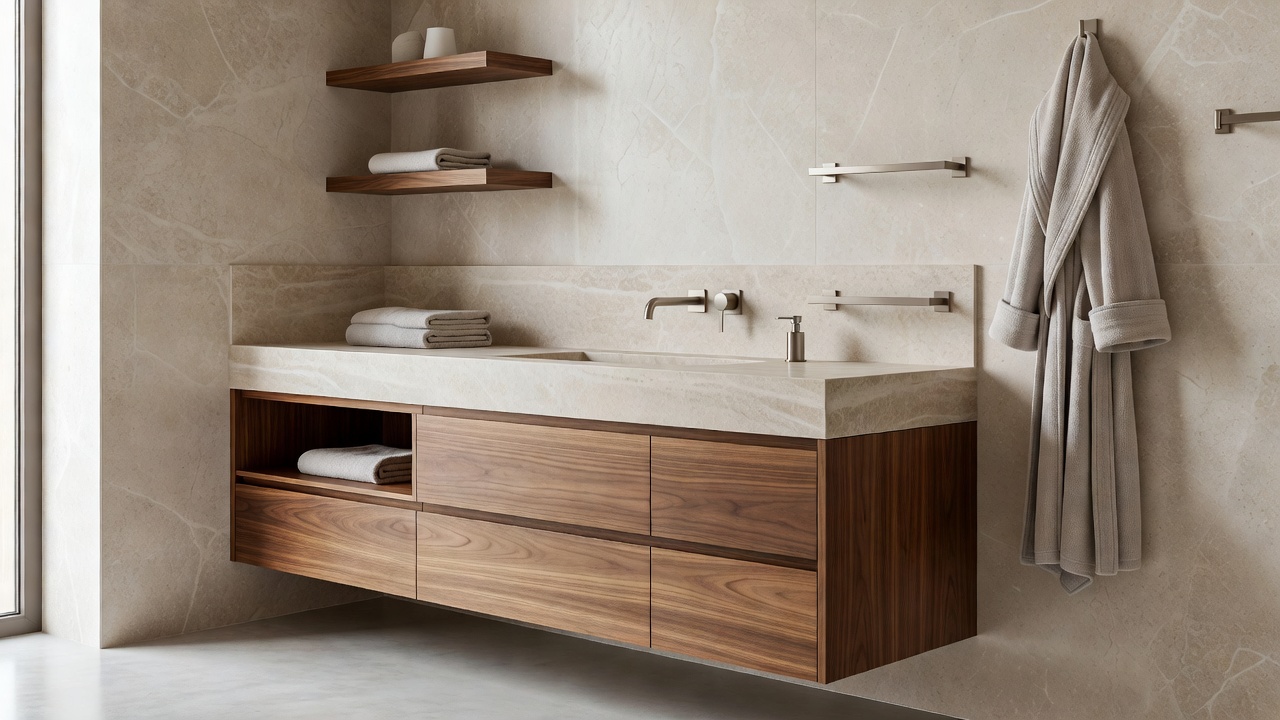
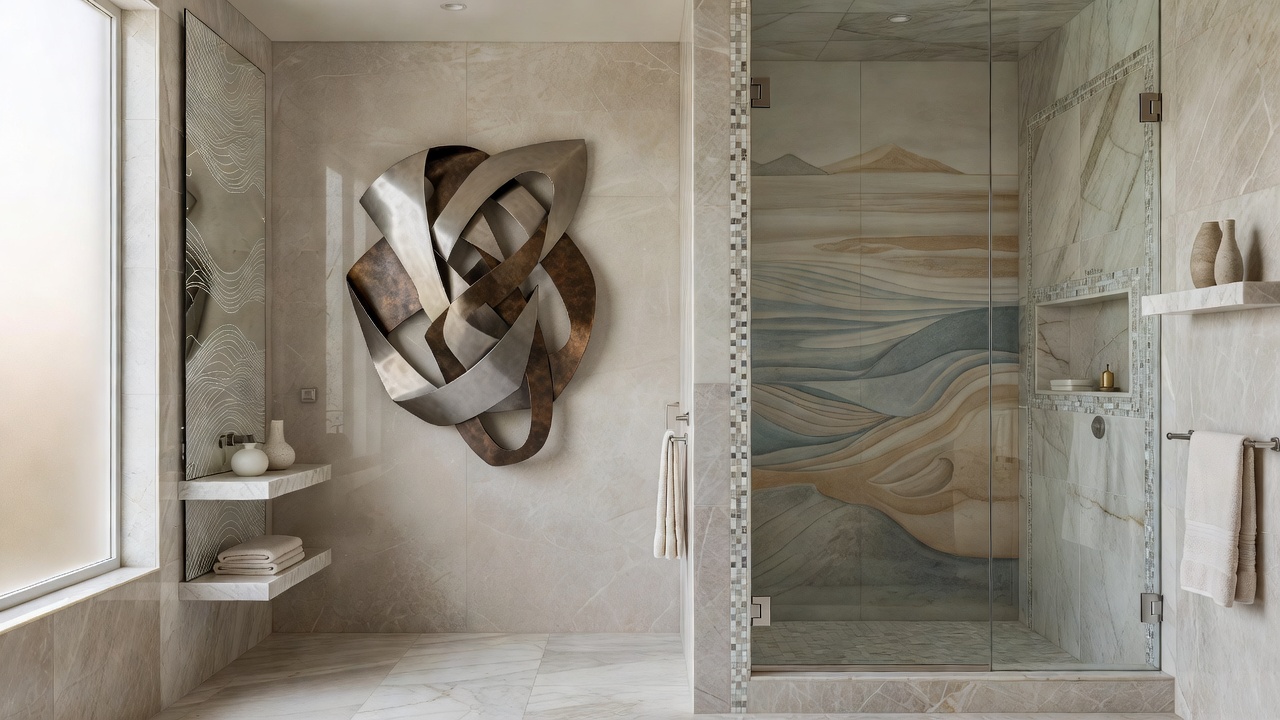
Advanced waterproofing supports popular aesthetics including floating vanities, backlit mirrors, and spa-inspired wet rooms. Because the protective layers remain hidden, they do not interfere with visible design choices. Homeowners can confidently incorporate smart lighting, heated towel racks, and natural stone accents knowing the underlying structure is protected. These methods also pair well with low-maintenance surfaces that align with current preferences for clean, uncluttered spaces.
FAQs on Costs, Benefits, and Design Alignment
How do advanced techniques compare in long-term value to basic methods?
While initial investment is higher, advanced waterproofing delivers superior durability, reducing repair frequency and protecting home value. Benefits include better moisture control that aligns with energy-efficient upgrades and fewer disruptions from future maintenance.
Can these methods work with popular 2026 interior trends?
Yes, they integrate easily with spa aesthetics, floating vanities, and smart fixtures by providing flexible, hidden protection layers that do not alter visible design elements. This flexibility allows seamless incorporation of trending materials and layouts.
What maintenance is required after installation?
Routine inspections of grout and caulk joints, along with prompt repair of any surface damage, help preserve the underlying system. Annual checks around drains and penetrations are recommended to catch issues early.
Are professional installations necessary for these techniques?
While experienced DIYers can handle simpler applications, complex layouts or multi-layer systems benefit from certified installers who understand manufacturer warranties and local code requirements. Professional oversight often ensures compliance and optimal performance.
Conclusion
Implementing advanced waterproofing in 2026 bathroom remodels ensures resilient, stylish spaces that stand the test of time. By focusing on proven techniques, careful installation, and trend alignment, homeowners achieve lasting results. Consult certified professionals to tailor solutions to your specific project and local conditions. Resources such as EPA guidelines on moisture control and NAHB remodeling resources provide additional context for best practices. Following established safety protocols from OSHA further supports successful outcomes.
No comments yet. Be the first!