 Fixated on Home
Introduction to Bedroom Ceiling Renovations
Ceiling treatments often get overlooked in bedroom design, yet they dramatically influence the overall atmosphere and perceived height of a space. In 2026, homeowners are turning to innovative ceiling upgrades to create modern, personalized retreats that blend functionality with striking aesthetics. This guide explores popular options like tray ceilings, exposed beams, and textured finishes, drawing from current renovation trends and real-world applications. Whether you're aiming for subtle elegance or bold architectural statements, these ideas cater to various styles and budgets. We'll cover material choices, installation processes, and integration with lighting systems to help you achieve professional results at every stage of the project.
Why Ceiling Renovations Matter in 2026 Bedroom Design
Modern bedroom upgrades increasingly focus on vertical surfaces because ceilings offer untapped potential for visual impact without consuming floor space. Homeowners seek solutions that improve acoustics, enhance natural light reflection, and incorporate smart technology. A well-executed ceiling renovation can transform a standard room into a serene sanctuary, boosting both comfort and property value. Trends in 2026 emphasize sustainability, energy efficiency, and seamless integration with other smart home features, making ceiling work a high-return investment for long-term living.
Comparing Popular Ceiling Styles
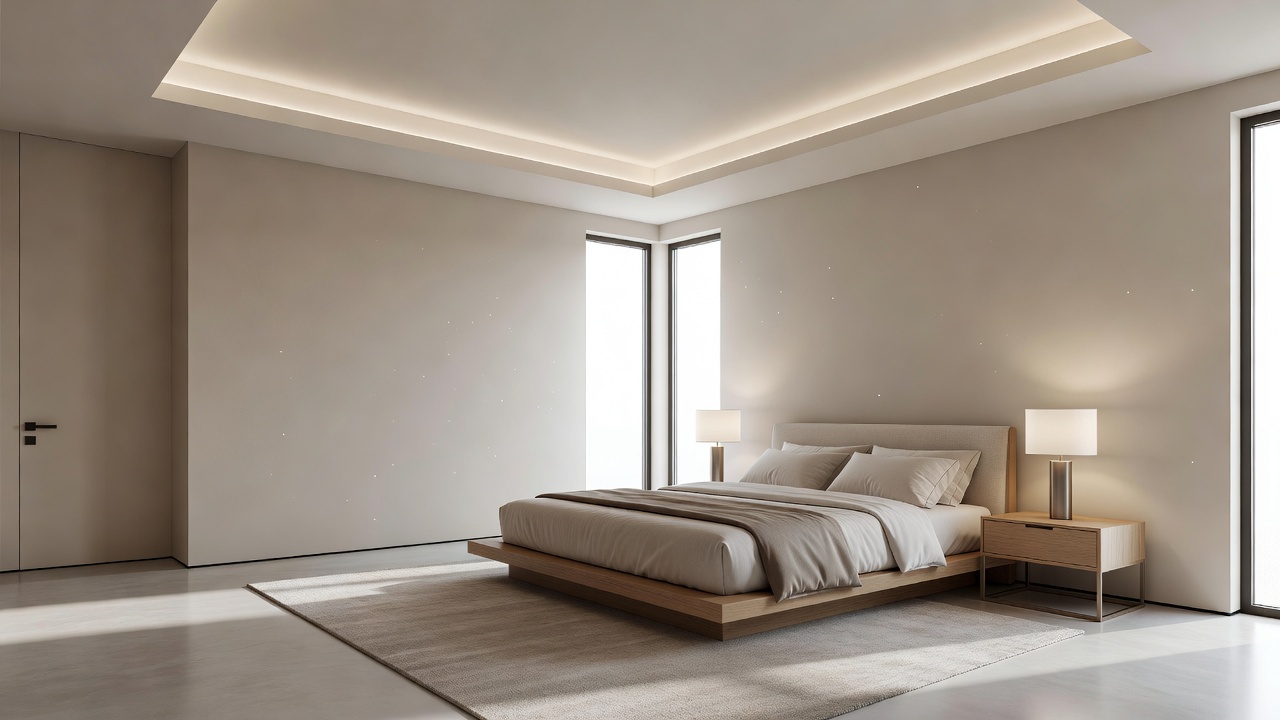
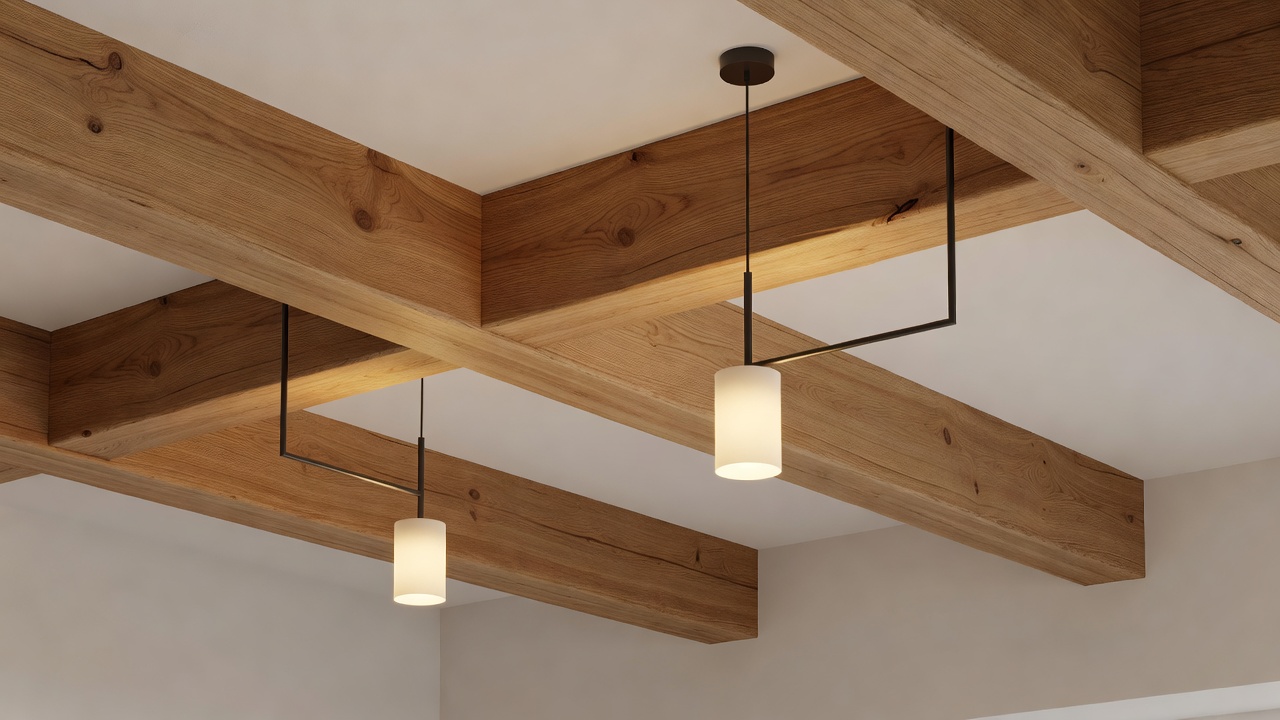
Tray ceilings add depth through recessed sections, making rooms feel larger and more luxurious. They work especially well in master bedrooms where layered lighting can create zones for reading or relaxation. Exposed beams introduce rustic-modern contrast, especially effective in contemporary homes with high ceilings or open floor plans. Textured finishes, such as subtle geometric patterns or acoustic panels, provide visual interest while improving sound quality and reducing echo in larger spaces.
Each style suits different room dimensions and design goals. Tray ceilings work well in standard-height bedrooms, allowing for dramatic effects without lowering the entire surface. Beams excel in open-concept spaces where they can tie together architectural elements. Textured options are versatile for smaller rooms needing dimension without bulk. Consider your ceiling height, existing HVAC placement, and desired ambiance before selecting a style. Many 2026 projects combine elements, such as a tray with subtle texture inside the recess, for customized results.
Material Selection for Sustainable and Modern Results
Choose sustainable woods like responsibly sourced oak or bamboo for beams and trim. These materials offer durability and eco-credentials while aging gracefully over time. LED-integrated panels provide seamless lighting solutions, reducing energy use and allowing customizable ambiance through smart controls that sync with home automation systems. Other options include lightweight gypsum boards for complex shapes, recycled acoustic tiles for noise control, and low-VOC paints for healthier indoor air quality.
Consider factors such as moisture resistance for bedrooms near bathrooms and fire ratings for safety compliance. Pairing natural woods with LED technology creates a balanced, forward-looking design that meets both aesthetic and practical needs. Always verify material certifications for sustainability claims to ensure your renovation aligns with current environmental standards.
Step-by-Step Installation Guidance
Begin with thorough planning: measure your ceiling accurately and consult structural assessments if adding heavy elements like beams. Remove existing fixtures and prepare the surface by cleaning and patching imperfections. For tray ceilings, install framing for the recessed area before drywall application and finishing. Exposed beams require secure anchoring to joists using appropriate hardware rated for the weight. Textured finishes involve applying base coats followed by specialized tools or stencils for patterns.
Always integrate electrical work for LEDs early in the process to avoid rework. Safety first: use proper scaffolding and hire professionals for electrical components. Detailed steps typically include marking layout lines, installing support framing, running wiring, applying finishes, and testing all systems before final cleanup. Each phase should allow time for inspections to prevent future issues.
Before-and-After Case Studies
One 2026 project transformed a flat-ceiling bedroom into a tray-ceiling haven with recessed LED coves, resulting in a brighter, more spacious feel that complemented new furniture arrangements. Another incorporated reclaimed wood beams over a neutral palette, adding warmth to a minimalist space and improving the room's acoustic properties for better sleep quality. A third example used layered textures with integrated lighting to create a spa-like retreat, showing how small details elevate everyday rooms into standout features that homeowners enjoy daily.
Lighting Integration Best Practices
Modern ceiling renovations often incorporate layered lighting including cove lights, recessed fixtures, and pendant options suspended from beams. Smart LED systems allow color temperature adjustments throughout the day, supporting circadian rhythms and energy savings. Plan wiring routes during framing to hide cables and ensure even light distribution without glare. Test placements before final installation to achieve the desired mood in different seasons.
Maintenance and Care FAQs
- How do I clean textured ceilings? Use a soft brush attachment on a vacuum to avoid damaging finishes, and spot-clean with mild solutions when needed.
- Can LED panels be dimmed? Yes, most modern systems integrate with smart home apps for adjustable brightness and scheduling.
- What maintenance do wood beams need? Annual inspections for warping and occasional sealing maintain their appearance and structural integrity.
- How often should I check LED connections? Perform visual inspections twice a year to catch any loose wiring early.
Common Mistakes to Avoid
Many first-time renovators underestimate structural requirements or skip professional electrical consultation, leading to costly revisions. Another frequent error is selecting materials without considering long-term maintenance or compatibility with existing HVAC systems. Always create a detailed timeline and budget buffer for unexpected challenges during demolition or finishing stages.
Actionable Tips for Beginners
Start small with paint or removable textures if tackling your first project. Research local building codes and gather inspiration from design resources. Budget for professional help on complex electrical or structural work to ensure longevity. Prioritize quality materials over trends for timeless appeal, and document each phase with photos for future reference or resale value. Finally, consult neighbors or online communities who have completed similar projects for real-world advice tailored to your climate and home style.
Explore more at EPA sustainable building resources and Energy Department lighting guides for additional insights on eco-friendly upgrades.


No comments yet. Be the first!