 Fixated on Home
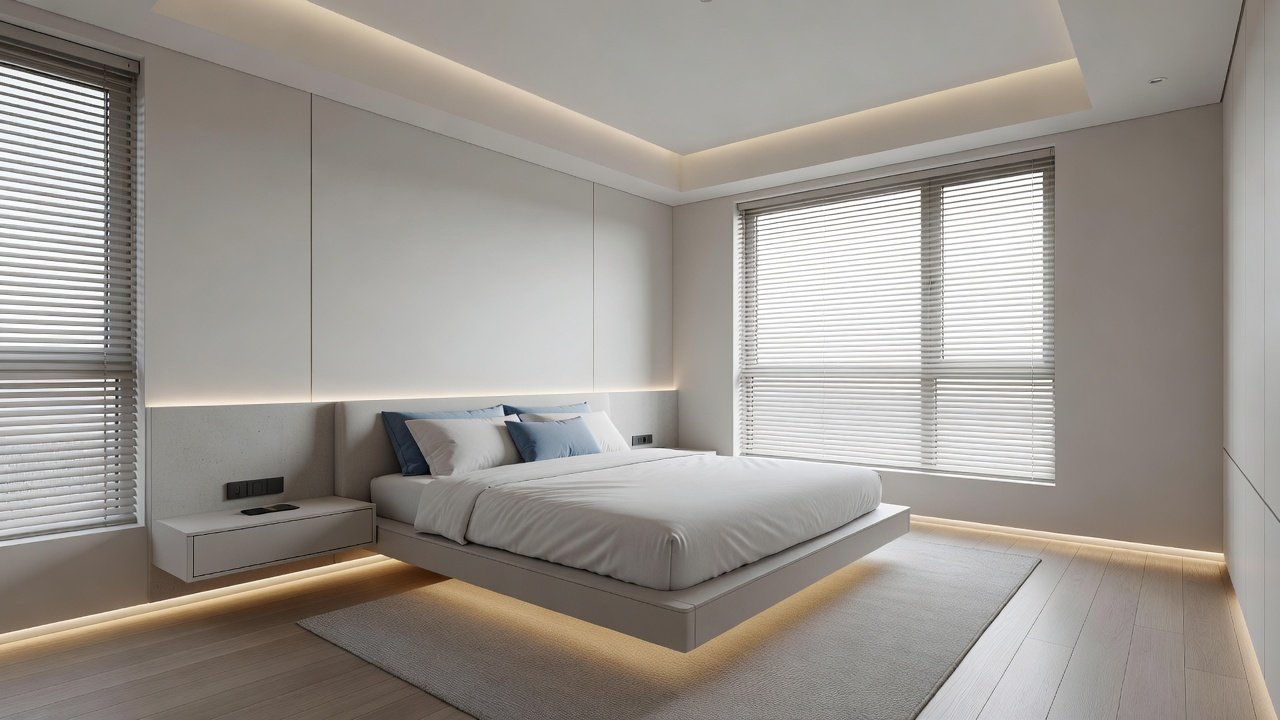
Introduction to Bedroom Renovation Timelines in 2026
Creating a modern bedroom that blends functionality, style, and smart technology requires careful planning. A well-structured timeline helps homeowners avoid common delays and achieve a cohesive result. This guide outlines a flexible 6-12 month process tailored for contemporary homes, covering every stage from initial ideas to final touches. Modern bedroom designs in 2026 emphasize sustainability, integrated technology, and flexible spaces that adapt to changing lifestyles. Whether updating an existing room or starting fresh in a new build, sequencing tasks logically reduces stress and improves outcomes. Homeowners searching for organized renovation approaches often face overwhelm from endless options, but breaking the project into clear phases brings clarity. This timeline accounts for typical permit processing, material lead times, and the growing demand for energy-efficient features that align with current building standards.
Throughout 2026, trends include seamless integration of AI-assisted lighting controls and multi-functional furniture that maximizes small urban spaces. Understanding these elements early prevents costly mid-project changes. The following sections provide actionable details, real-world sequencing examples, and decision frameworks to guide beginners through a successful upgrade.
Phase 1: Initial Planning and Research (Months 1-2)
Begin by defining your vision through detailed assessment of the current space. Identify pain points such as inadequate natural light, outdated electrical outlets, or insufficient storage. Research emerging 2026 trends including built-in wireless charging surfaces, modular wall systems, and voice-activated window treatments. Create digital mood boards using free tools and visit local showrooms to experience materials firsthand. Measure every dimension accurately, including ceiling heights and window placements, then document structural limitations like load-bearing walls. Consider family-specific needs, such as creating a quiet reading nook or accommodating remote work setups. This phase typically spans four to eight weeks and forms the foundation for all subsequent decisions. Skipping thorough research often leads to revisions later, extending the overall timeline unnecessarily.
Budgeting and Professional Consultations
Develop a comprehensive budget covering materials, labor, permits, and contingency reserves of at least 15-20 percent. Break costs into categories like structural work, finishes, technology integration, and furnishings. Early consultations with licensed contractors and designers reveal realistic timelines and hidden expenses. Homeowners frequently discover that smart device wiring requires more extensive electrical work than initially planned. Compare multiple quotes to identify value rather than lowest price alone. This stage clarifies whether a DIY approach or full professional management better suits your schedule and skill level.
Design Finalization and Permit Acquisition (Months 2-3)
Finalize room layouts, material palettes, and color schemes with input from professionals if structural modifications are involved. Use 3D visualization software to preview the finished space and make adjustments before ordering. Submit permit applications immediately after design approval, as local review periods can range from two to six weeks. Requirements often cover electrical upgrades for smart systems and any changes affecting ventilation or insulation. Delays at this stage ripple through the entire project, so incorporate extra buffer weeks from the start. Check EPA guidelines for sustainable material choices that meet modern environmental standards.
Demolition and Site Preparation (Months 3-4)
With permits in hand, proceed to demolition. Carefully remove outdated flooring, drywall sections, and fixtures while protecting adjacent rooms from dust and debris. Hire professionals for asbestos or lead paint testing if the home predates 1980. Inspect exposed structures for issues like outdated wiring or moisture damage that require immediate remediation. This phase generally lasts one to three weeks. Proper ventilation, dust barriers, and personal protective equipment are essential for safety. DIY demolition saves money but demands strict adherence to disposal regulations to avoid fines.
Electrical, Plumbing, and Infrastructure Upgrades (Months 4-5)
Modern bedrooms increasingly feature integrated smart lighting grids, automated climate controls, hidden cable management, and network boosters for seamless device connectivity. Upgrade all wiring to current codes, add dedicated circuits for high-draw appliances, and install conduit for future expansions. Coordinate closely with licensed electricians and low-voltage specialists to avoid conflicts with other trades. This stage may overlap slightly with demolition for efficiency but must follow precise sequencing to prevent rework. Review energy-efficient options from official government resources to optimize long-term performance and utility savings.
Painting, Flooring, and Finishing Work (Months 5-7)
Apply primer and multiple coats of low-VOC paint once dust-generating work concludes. Select finishes that complement 2026 trends such as matte textures and subtle metallic accents. Install flooring after painting to avoid damage, choosing durable options like engineered hardwood or luxury vinyl that withstand daily use. Follow with trim, baseboards, and any custom built-ins. Allow full curing times between steps and maintain consistent room temperatures for best adhesion. This phase benefits from professional application to achieve flawless results that last.
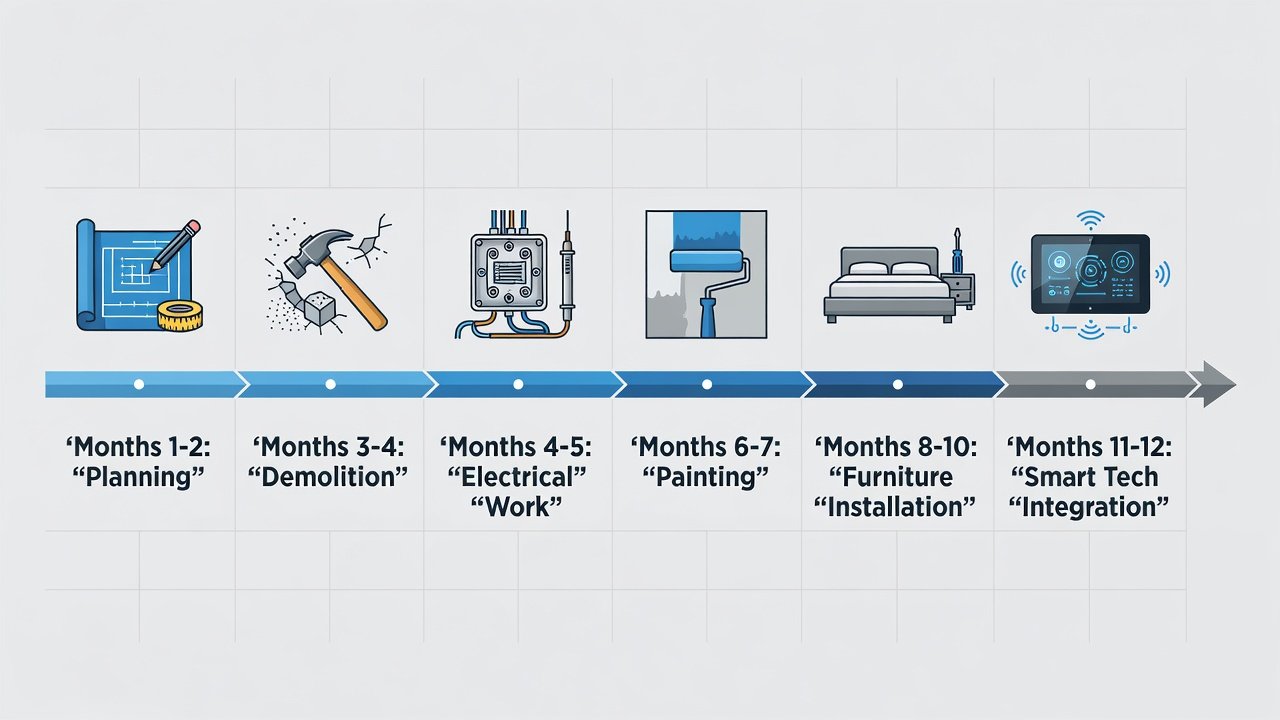
Furniture Installation and Smart Tech Integration (Months 7-9)
Position foundational furniture pieces first, including beds, wardrobes, and nightstands, to establish traffic flow. Layer in smart technology such as motorized blinds, under-bed lighting strips, and integrated speakers only after major construction dust settles. Test every system for reliability and compatibility with voice assistants. Professional integrators handle complex setups involving multiple protocols, reducing troubleshooting time. Homeowners who install tech prematurely often face damage or connection issues during later finishing work.
Final Styling and Punch List (Months 9-12)
Complete the space with textiles, artwork, mirrors, and greenery chosen to enhance the modern aesthetic. Conduct a systematic punch list walkthrough to address minor imperfections like touch-up paint or loose hardware. Allow several weeks for final adjustments and seasonal acclimation of materials. This buffer period prevents last-minute rushes and ensures every detail meets expectations before the room returns to daily use.
DIY vs Professional Timelines: Key Comparisons
DIY projects appeal to hands-on homeowners yet frequently extend timelines by 30-50 percent due to skill gaps, tool limitations, and scheduling conflicts around full-time jobs. Professionals leverage experienced crews, established supplier relationships, and streamlined permitting knowledge to deliver faster. Real-world examples demonstrate a typical professional bedroom renovation completing in seven months, whereas comparable DIY efforts often require ten to twelve months. Weigh your available time, physical capability, and risk tolerance before choosing. Hybrid models, where professionals handle electrical and plumbing while homeowners manage styling, offer a balanced middle path.
Seasonal Considerations for 2026 Material Availability
- Spring and early summer typically accelerate material deliveries as supply chains recover from winter slowdowns.
- Fall projects risk extended waits for custom items because manufacturers reduce output ahead of holidays.
- Order major elements eight to twelve weeks ahead to buffer against 2026 production and shipping variables.
- Monitor regional weather patterns that can disrupt outdoor transport of bulky items like drywall or flooring.
- Plan around peak contractor availability, which spikes in warmer months and creates scheduling competition.
Common Pitfalls and Building in Buffer Time
Underestimating permit processing or supply chain interruptions tops the list of frequent setbacks. Always insert two to four weeks of buffer per major phase. Incorrect sequencing, such as installing flooring before completing electrical runs, creates expensive rework. Poor communication between trades leads to missed deadlines and quality issues. Weekly progress meetings and shared digital timelines keep everyone aligned. Homeowners who ignore these precautions often see projects stretch beyond the original twelve-month window.
FAQs on Bedroom Renovation Timelines
How long does a typical 2026 bedroom renovation take? Most complete projects span six to twelve months, with simpler cosmetic updates finishing nearer the six-month mark and full smart-home integrations extending toward twelve months.
What if permits cause delays? Build generous contingency time into the initial schedule and maintain regular contact with local building departments for status updates.
Can smart tech be added later? Yes, but pre-wiring during construction avoids future drywall repairs and ensures cleaner cable routing.
How should supply chain issues be handled? Identify alternative suppliers early and maintain flexible material selections that allow substitutions without redesign.
Is professional project management worth the cost? For complex timelines involving multiple trades, yes, as it reduces coordination errors and keeps the schedule on track.
Conclusion
A structured timeline transforms potentially overwhelming bedroom renovations into a series of manageable, logical steps. By following the phases outlined above, anticipating seasonal variables, and preparing for common challenges, homeowners can create a modern, technology-forward bedroom suited to 2026 living standards. Begin planning now to enjoy a smoother, stress-free upgrade experience from start to finish.


No comments yet. Be the first!