 Fixated on Home
Introduction to Budget Ceiling Renovations in Fixer-Uppers
Ceiling upgrades represent one of the most impactful yet overlooked ways to transform a fixer-upper home. In 2026, many homeowners are seeking ways to refresh older properties without major structural work or high expenses. Focusing on ceiling height, texture, and integrated lighting delivers noticeable improvements in room feel and overall value. This comprehensive guide examines affordable strategies that typically stay under $600 while tackling real-world issues such as uneven surfaces, outdated materials, and poor lighting. Whether your project involves a living room, bedroom, or basement, these techniques provide practical solutions backed by material comparisons, detailed timelines, and troubleshooting advice.
Successful ceiling renovations start with careful assessment. Measure ceiling heights, identify obstructions like pipes or electrical runs, and evaluate the condition of existing surfaces. This preparation phase prevents costly delays and ensures the chosen method aligns with the room's needs. Popular approaches include installing exposed beams for architectural interest, applying textured finishes to mask imperfections, and replacing old drop ceilings with sleeker systems. Each option brings distinct advantages depending on the home's style and your DIY skill level.
Why Ceiling Height Matters in Renovations
Low or sagging ceilings can make even spacious rooms feel confined and dated. In fixer-uppers built before modern standards, original heights often range from seven to eight feet, limiting design flexibility. Raising the perceived height through visual tricks such as lighter paint colors, slim-profile fixtures, or strategic beam placement creates an airy atmosphere without actual structural lifting. Homeowners report improved comfort and better furniture arrangement possibilities after such updates.
Practical steps begin with documenting current measurements and noting any crown molding or trim that might interfere. Consider how natural light enters the room and plan accordingly. For example, pairing a lighter ceiling with reflective surfaces amplifies brightness. These changes also support better energy efficiency by allowing air circulation improvements when combined with updated insulation.
Exposed Beams: Adding Character on a Budget
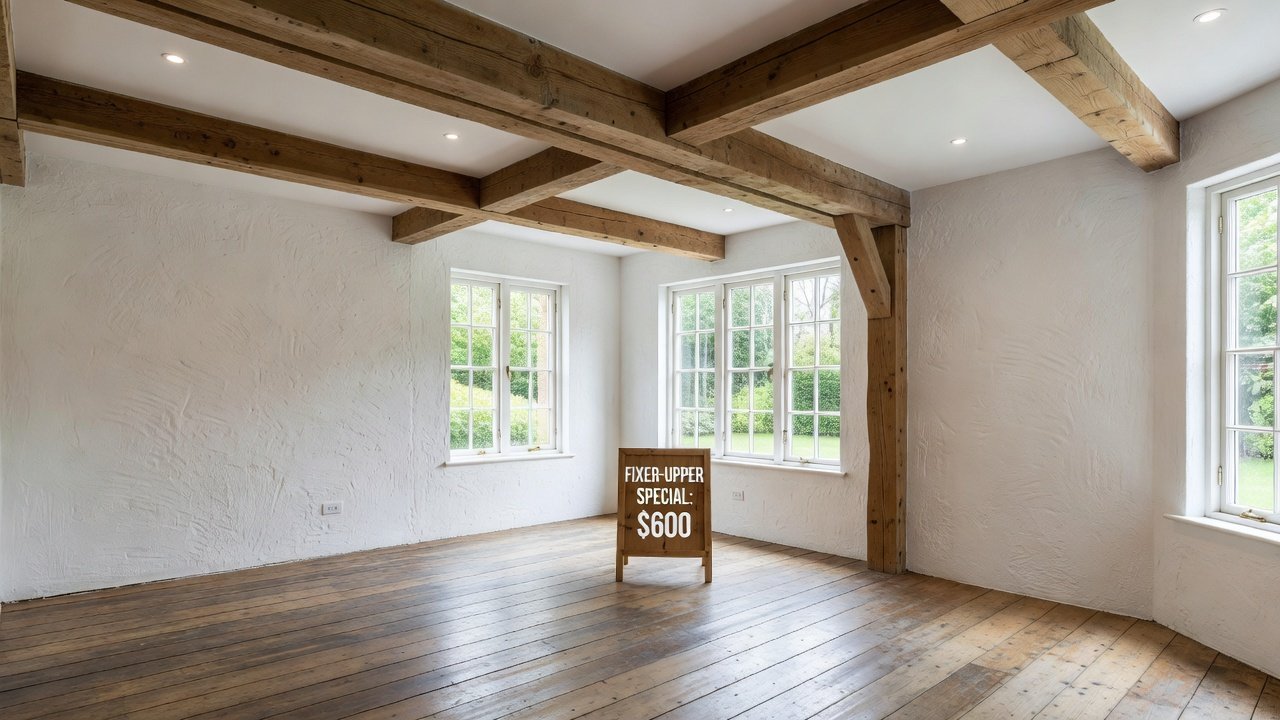
Exposed beams introduce warmth and structural definition to plain ceilings, making them ideal for living rooms and open-concept spaces. In budget renovations, faux beams constructed from lightweight pine, polyurethane, or even painted foam provide the look of authentic timber at a fraction of the weight and cost. Real wood suits those prioritizing longevity, while foam versions allow faster weekend projects.
Detailed installation begins with sketching a layout on paper or digitally. Secure mounting brackets or ledger boards to ceiling joists using appropriate fasteners. Position beams, check for level, and attach with screws or adhesive. Finish by staining or painting to match existing decor. Typical time estimate for a 12-by-14-foot room falls between 8 and 14 hours, including prep and cleanup. Before-and-after transformations often show how beams break up large ceiling planes and add cozy focal points.
Common challenges include uneven joists, which can be corrected with shims, and weight distribution in older plaster ceilings. Always verify load-bearing capacity before proceeding.
Textured Finishes for Visual Depth
Textured ceilings effectively conceal cracks, nail pops, and other flaws typical in aging homes. Options include knockdown texture for a subtle stucco effect, orange-peel for fine granularity, or full popcorn removal followed by a smooth or lightly textured coat. These finishes also improve acoustics by diffusing sound.
Step-by-step process starts with thorough cleaning and repair of the substrate using joint compound. Apply texture medium with a hopper gun, trowel, or brush depending on the desired pattern. Multiple thin coats prevent drips and allow better control. Drying time between layers usually requires 24 hours. For a standard bedroom, the full project spans two to three days with active work totaling six to eight hours. Real-world examples demonstrate how texture adds sophistication and reduces the need for frequent repainting.
Drop-Ceiling Swaps for Modern Updates
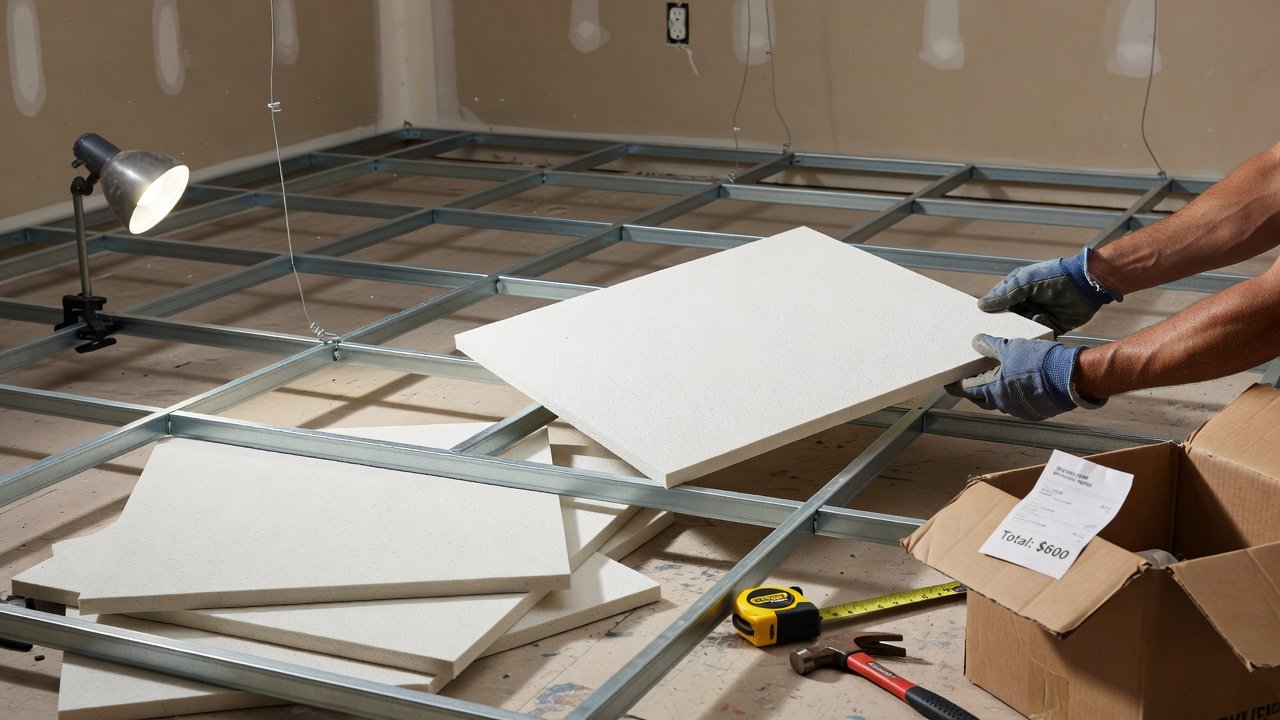
Outdated drop ceilings with stained or damaged panels detract from room aesthetics. Swapping them for contemporary grid systems with acoustic or decorative tiles modernizes the space while maintaining access to utilities above. Newer options include slim profiles that minimize height loss and integrated LED panels for even illumination.
Installation sequence involves removing old tiles and grid, installing a level new suspension system attached to joists, and inserting fresh panels. Plan cutouts for lights or vents early. Time estimates range from six to twelve hours for an average room, with additional time for electrical integration. Material comparisons highlight vinyl or metal tiles for moisture-prone areas versus mineral fiber for sound absorption in offices or media rooms.
Material Comparisons and Practical Decision-Making
Selecting materials requires balancing durability, appearance, and ease of installation. Exposed beams excel in dry, low-humidity environments but demand careful sealing. Textured finishes offer versatility across room types yet require skill to apply evenly. Drop-ceiling replacements provide quick updates but may slightly lower headroom. Evaluate each against your home's age, climate, and usage patterns.
Additional considerations include paint quality for longevity and fastener selection to prevent future sagging. Home improvement resources such as EPA.gov offer guidance on handling older building materials safely during renovations.
Tools, Safety, and Maintenance Considerations
Essential tools include a laser level, drywall knives, texture sprayers, and basic carpentry equipment. Safety protocols emphasize eye protection, dust masks, and proper ventilation, especially when disturbing old surfaces. For homes built before 1978, testing for lead is advisable.
Post-installation maintenance involves periodic dusting and touch-up painting. Avoid heavy cleaning products that could damage textures. These steps extend the life of your updates and preserve the refreshed appearance.
Lighting Integration and Real-World Examples
Integrating lighting enhances both function and drama. Recessed cans, track systems, or LED strips work well with all three techniques. Position fixtures to avoid glare and shadows. One case study involved adding beams and cove lighting in a 1950s ranch home, resulting in a brighter kitchen that felt taller. Another project replaced a basement drop ceiling with textured drywall and pendant lights, creating a welcoming family room.
Conclusion
Budget ceiling renovations empower fixer-upper owners to achieve professional-grade results through thoughtful planning and execution. By addressing height perception, surface challenges, and lighting needs, these projects deliver lasting satisfaction and improved livability in 2026.
FAQ
Do ceiling renovations require permits?
Most purely cosmetic updates do not require permits, but any electrical modifications or structural alterations typically need local inspection. Contact your building department early to confirm requirements and avoid compliance issues.
How durable are these budget options?
Properly installed exposed beams, textured finishes, and updated drop ceilings routinely last ten to fifteen years with routine care. Factors such as humidity control and quality materials directly influence longevity.
What is the ROI for 2026 ceiling projects?
Well-planned ceiling improvements contribute to overall home appeal and can support stronger resale positioning. Local market conditions vary, so reviewing recent neighborhood sales data provides the clearest picture of potential returns.
No comments yet. Be the first!