 Fixated on Home
Introduction to Budget Recording Studio Renovations
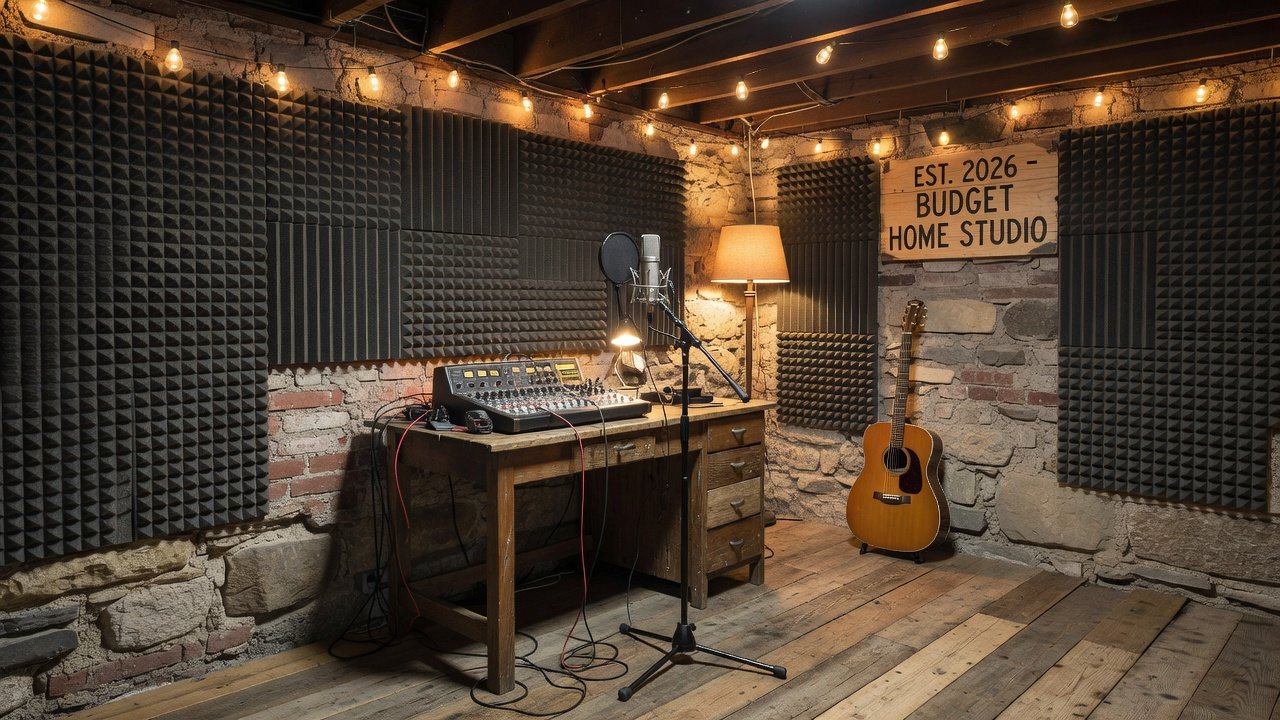
Homeowners tackling fixer-uppers frequently seek ways to transform overlooked spaces into creative hubs. Building a recording studio on a budget allows for strong home improvement ROI while aligning with 2026 trends in sustainable and low-impact renovations. This comprehensive guide explores soundproofing methods, DIY acoustic treatments, and strategic equipment placement that require no major structural alterations. By focusing on practical swaps and preparation steps, you can achieve professional results that enhance both property value and personal productivity.
Fixer-uppers often feature irregular layouts and outdated materials, making them ideal for creative acoustic solutions. Rather than expensive overhauls, the emphasis lies on targeted upgrades that address sound reflection, absorption, and isolation effectively.
Selecting the Right Room in Your Fixer-Upper
Begin by assessing available spaces such as basements, attics, spare bedrooms, or even converted garages. Prioritize rooms with thick existing walls and fewer windows to naturally limit sound transmission. Measure the floor area and ceiling height to determine optimal equipment arrangement and panel coverage needs.
Evaluate external factors including proximity to busy streets, HVAC systems, and family living zones. A room positioned away from high-traffic areas reduces the workload for additional noise barriers. Consider natural light sources and electrical outlet placement early, as these influence workflow once the studio is operational.
Affordable Material Swaps for Soundproofing
Effective soundproofing starts with increasing mass and sealing gaps. Replace or layer standard insulation with denser alternatives behind existing drywall where access is available. Add mass-loaded vinyl sheets over walls to block airborne noise without requiring full demolition.
Focus on doors and windows by installing heavy weatherstripping and door sweeps. Apply acoustic sealant around outlets, light switches, and baseboards to eliminate flanking paths for sound. These swaps deliver noticeable improvements while remaining budget-conscious and reversible for future updates.
Step-by-Step Room Preparation
Preparation forms the foundation for lasting acoustic performance. First, remove all furniture and inspect surfaces for damage or moisture issues. Clean thoroughly to ensure adhesives and treatments bond properly.
Next, apply underlayment materials to floors for impact noise reduction. Test the room by clapping and noting echo patterns to identify reflection points. Finally, mark locations for future treatments using painter's tape. This methodical approach prevents costly rework later.
DIY Acoustic Panel Builds
Creating custom acoustic panels provides targeted absorption at a fraction of retail costs. Use rigid fiberglass or rockwool boards cut to size, then wrap them in breathable fabric secured with staples. Mount panels at first-reflection points on side walls and the ceiling using simple French cleats or command strips for easy removal.
Experiment with varying panel thicknesses to address different frequencies. Thicker panels handle lower mids effectively while thinner ones manage higher ranges. 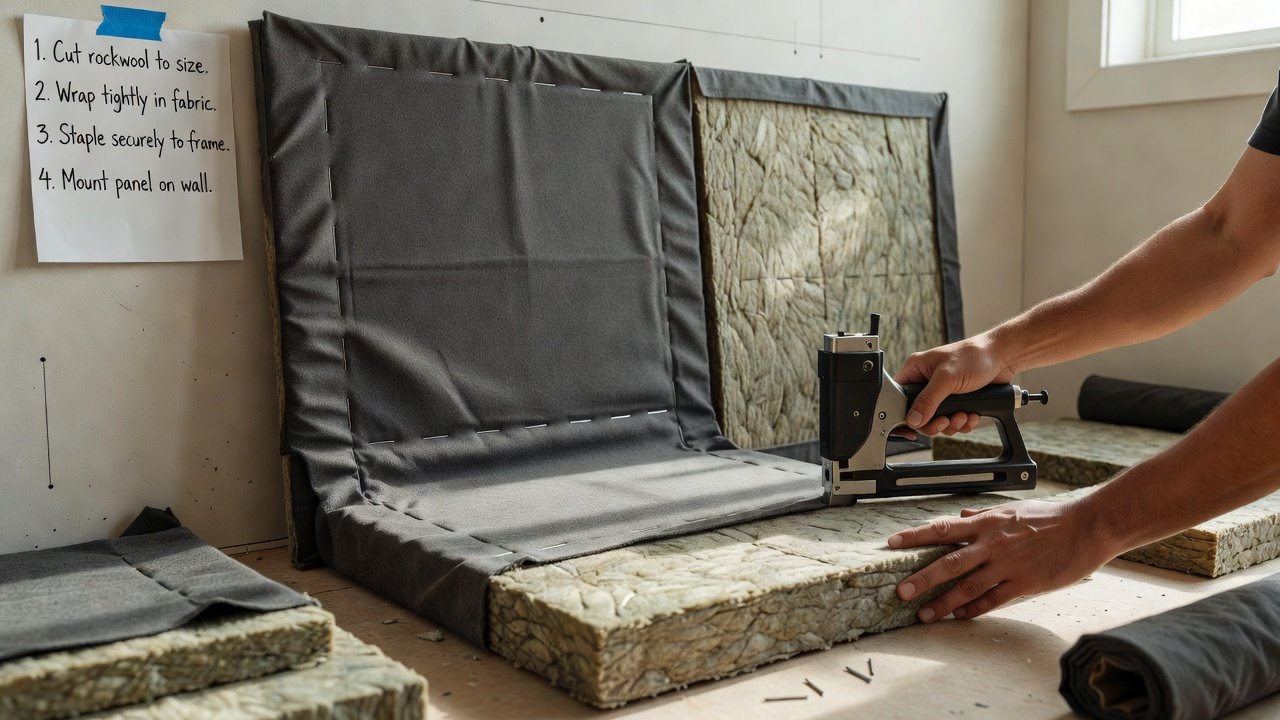
Equipment Placement Strategies
Proper placement maximizes studio functionality. Position studio monitors to form an equilateral triangle with the primary listening spot at ear height. Angle speakers slightly inward to focus sound directly at the mix position.
Place the microphone stand on an isolation pad away from corners and parallel walls to minimize bass buildup. Route cables neatly along walls using clips to avoid tripping hazards and signal interference. Test multiple configurations by recording short samples and adjusting based on playback results.
Noise Control Comparisons
Different treatments serve distinct purposes. Bass traps in corners control low-frequency buildup more efficiently than flat panels alone. Full-wall coverage offers broad absorption but may over-dampen lively spaces needed for certain instruments.
Compare temporary options like moving blankets hung from rods versus permanent panel installations. Blankets provide quick testing solutions, while panels deliver consistent, professional outcomes. Evaluate your specific room acoustics through trial recordings rather than following one-size-fits-all recommendations.
Real Fixer-Upper Case Studies
In one example, a homeowner converted an unused basement corner using layered sealing techniques and modular panels. The project transformed a previously echoey space into a reliable vocal recording area within weeks. Another case involved an attic studio where strategic door modifications and ceiling treatments reduced external noise intrusion significantly, allowing consistent creative work.
These real-world applications demonstrate how incremental changes compound into professional-grade environments without disrupting the rest of the home.
Tool and Material Lists for Success
Essential tools include a tape measure, spirit level, utility knife, staple gun, cordless drill, and caulk gun. Materials typically involve insulation boards, fabric yardage, acoustic sealant, weatherstripping, and mounting hardware. Organize supplies before beginning to maintain momentum throughout the project.
Additional helpful items feature a laser distance measurer for precise panel layout and a simple sound level app on your phone for initial testing.
Common Mistakes to Avoid
Many beginners overlook sealing gaps, which undermines other efforts. Avoid overcrowding panels in one area while leaving opposite walls untreated, as this creates uneven acoustics. Do not rush equipment positioning without testing multiple spots first.
Another frequent error involves ignoring ventilation needs, leading to uncomfortable sessions. Plan for quiet airflow solutions from the outset.
FAQ Section
What are common remodeling challenges in fixer-uppers?
Uneven surfaces, outdated electrical systems, and hidden moisture problems often arise. Address these with leveling compounds, updated outlets, and moisture barriers before acoustic work begins.
How do I handle ventilation without compromising acoustics?
Incorporate baffled vent designs or low-noise inline fans positioned away from recording zones to maintain air quality while preserving sound isolation.
Can I achieve good results without professional help?
Absolutely. With careful planning, basic tools, and iterative testing, most homeowners successfully complete these upgrades independently.
What maintenance keeps the studio performing well over time?
Regularly inspect seals, clean panels to prevent dust buildup, and retest acoustics seasonally as seasonal humidity changes can affect materials.
Conclusion
Budget recording studio renovations empower fixer-upper owners to unlock creative potential through smart acoustic planning. These low-impact methods deliver functional spaces that support both artistic projects and long-term property value. For additional guidance on environmental considerations, consult resources from EPA and housing improvement programs at HUD. Start small, test often, and enjoy the transformation of your space.

No comments yet. Be the first!