 Fixated on Home
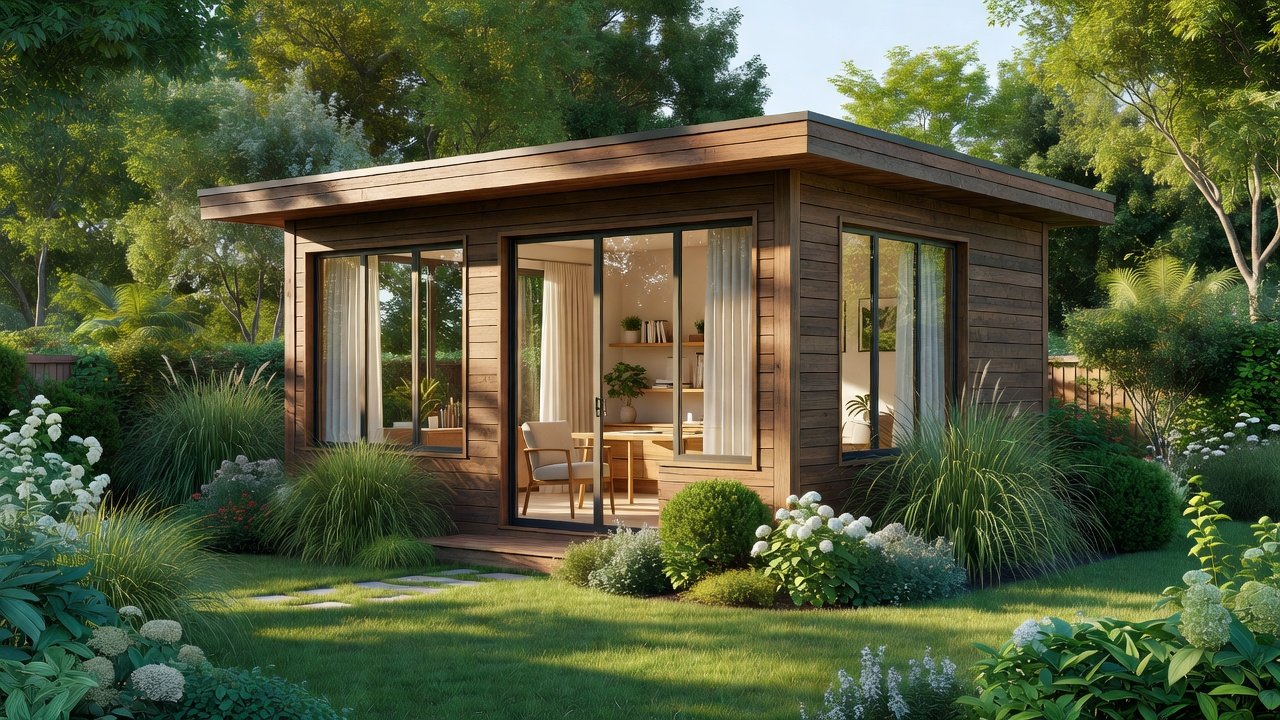
Introduction: Turning Neglected Sheds into Functional Studios
Many homeowners dream of a private backyard studio for work, hobbies, or relaxation but face high construction costs. Converting an existing shed offers a budget-friendly path forward. This guide covers practical steps for fixer-uppers seeking versatile spaces in 2026, focusing on insulation upgrades, flooring swaps, basic wiring, material sourcing, phased timelines, and real-world examples. The search intent behind budget shed renovations often centers on maximizing limited funds while creating a usable, comfortable space that adds value to the property without requiring a full teardown and rebuild.
Before starting, assess your shed's condition thoroughly. Walk around the exterior and inspect the roof for missing shingles or sagging areas. Inside, check walls for rot, the floor for soft spots, and the foundation for cracks or settling. A solid base prevents costly repairs later. Research local zoning rules early to avoid setbacks, as even small structures may fall under building codes in certain neighborhoods. Understanding these fundamentals sets the stage for a successful conversion that feels professional rather than makeshift.
Planning Your Shed Conversion Project
Successful renovations begin with clear goals. Decide the studio's primary use—office, art space, or guest room—to guide material choices. Measure the interior and sketch layouts on paper or with free digital tools. Prioritize weatherproofing to protect your investment from rain, wind, and temperature swings. Create a simple project binder or digital folder to track ideas, measurements, and supply lists so nothing gets overlooked during execution.
Break the project into phases: structural fixes, insulation and sealing, flooring, electrical work, and finishing touches. This approach spreads costs and effort over time. Gather basic tools such as a level, tape measure, utility knife, and cordless drill before purchasing materials. Consider how the studio will connect to the main house for utilities if needed, and factor in ventilation to prevent moisture buildup that could lead to mold over time.
Insulation Upgrades for Year-Round Comfort
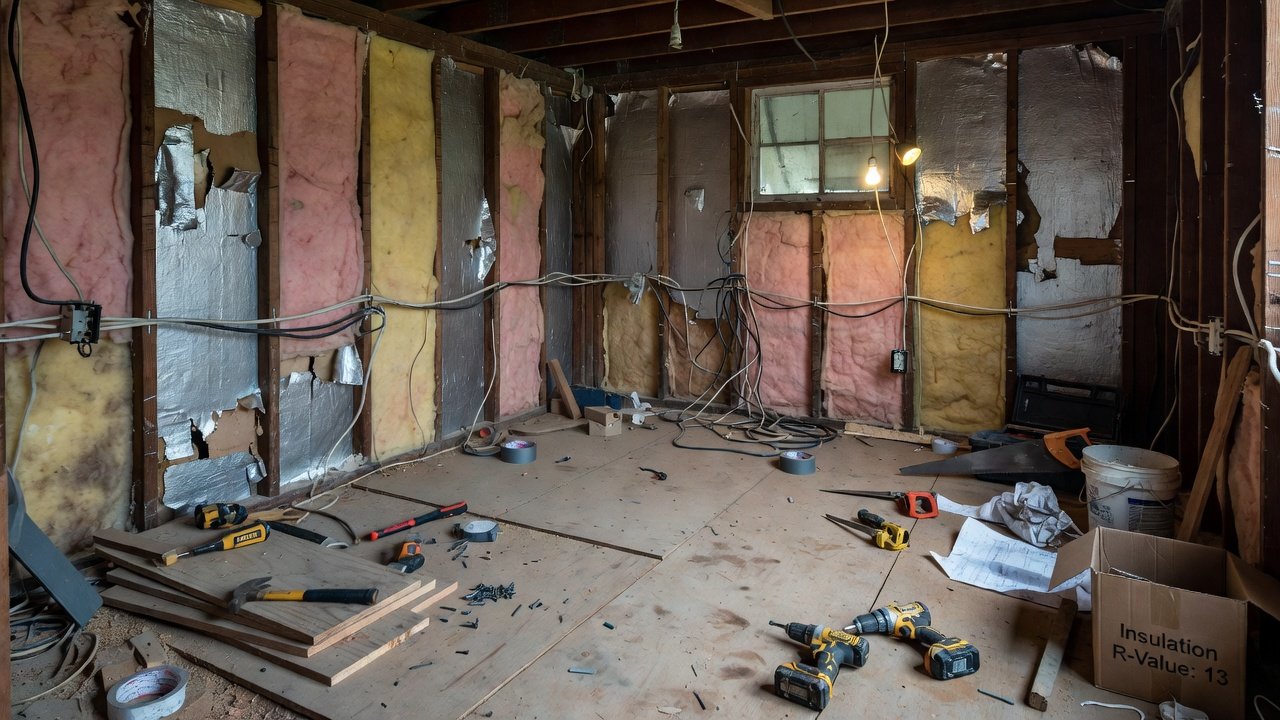
Proper insulation transforms a drafty shed into a comfortable space. Rigid foam boards or fiberglass batts work well for walls and ceilings. Focus on the roof first, as heat escapes upward. Seal gaps with expanding foam to block moisture and pests. Pay special attention to corners and around any existing windows or doors, where drafts commonly occur. Layering insulation with overlapping seams helps create a continuous thermal barrier that improves energy efficiency dramatically.
Compare options by R-value and ease of installation. For budget projects, recycled denim or sheep's wool provides eco-friendly alternatives that also offer sound dampening benefits. Always add a vapor barrier in humid climates to stop condensation from forming inside walls. Test fit pieces before final installation to minimize waste and ensure a snug fit. Homeowners who skip this step often report noticeable temperature fluctuations that make the space unusable during extreme weather.
Learn more about energy-efficient insulation from the U.S. Department of Energy.
Simple Flooring Swaps That Last
Original shed floors often need replacement. Plywood subfloors topped with vinyl plank or laminate offer durability on a budget. For a rustic look, consider sealed concrete or rubber tiles that resist wear from foot traffic. Choose materials rated for moisture exposure if the shed sits close to the ground. Underlayment adds cushioning and helps with minor leveling issues that could otherwise cause uneven wear.
Install underlayment for sound reduction and moisture control. Level the floor before laying new material to prevent warping. These swaps improve both aesthetics and functionality, making the studio feel more like an extension of your home. Walk through different flooring samples in person when possible to judge texture and color under natural light conditions similar to your shed's location.
Basic Wiring Steps for Safe Power
Adding electricity requires careful planning. Run conduit along walls for outlets and lighting. Use GFCI protection for outdoor-adjacent spaces. If you're not experienced, hire a licensed electrician for the final connection to avoid safety hazards. Map out where each outlet and switch will go based on your intended furniture layout so cords do not cross walkways.
Start with LED fixtures to reduce energy use. Plan circuits for future expansions like mini-split HVAC units. Always follow local electrical codes and obtain necessary inspections. Document every wire run with photos for future reference or troubleshooting. This documentation proves invaluable when adding features later or selling the property.
Additional guidance on home electrical safety is available via the U.S. Environmental Protection Agency.
Material Sourcing Hacks for Lower Costs
Shop reclaimed lumber yards and online marketplaces for discounted materials. Bulk purchases from home improvement stores often yield savings. Repurpose items like old doors or windows for character. Check local building material exchanges for free or low-cost finds. Visit salvage yards on weekdays when new stock arrives to get first pick of quality pieces. Join community forums or neighborhood apps to learn about upcoming demolition projects where usable materials may be available for the taking.
Phased Timelines for Manageable Progress
Complete the project in stages over several weekends or months. Phase 1 focuses on repairs and insulation, allowing you to work in comfortable weather. Phase 2 covers flooring and walls once the structure is sealed. Phase 3 handles electrical and finishes, bringing the space to completion. Build in buffer days for weather delays or supply shortages. Track progress with weekly photos to stay motivated and spot any issues early.
Real Before-and-After Case Studies
One homeowner converted a 10x12 shed into a home office by reusing existing framing and adding affordable insulation. The project emphasized sealing every joint and resulted in a quiet workspace that stayed comfortable through summer and winter. Another transformed a storage shed into an art studio with vinyl flooring and basic lighting, achieving a cozy workspace within three months by prioritizing quick wins like painting before tackling electrical. A third example involved turning a larger garden shed into a small yoga studio where the owner added skylights during the roof repair phase to maximize natural light without extra wiring.
Common FAQs on Permits, Weatherproofing, and ROI
- Do I need permits? Check with your local building department—many areas require permits for electrical work or structural changes. Starting without them can lead to fines or forced removal later.
- How do I weatherproof effectively? Use exterior-grade sealants, proper flashing, and quality roofing materials to prevent water intrusion. Reapply sealant annually as part of routine maintenance.
- What about long-term ROI? A well-done studio can increase property value and provide rental income potential, especially in growing housing markets. Keep records of all improvements for tax or resale purposes.
- Can I do the work myself? Basic tasks like painting and insulation are accessible for most DIYers, but always defer to professionals for anything involving structural changes or electricity.
Mistakes to Avoid During Your Renovation
Common pitfalls include underestimating moisture issues, skipping proper ventilation, and rushing electrical work without permits. Another frequent error is choosing cheap materials that fail quickly in outdoor conditions. Take time to research product reviews and test small sections before committing to large purchases. Overloading circuits or ignoring local codes can create safety risks that outweigh any short-term savings.
Conclusion: Start Your Budget Studio Today
With thoughtful planning and phased execution, any neglected shed can become a valuable backyard studio. Focus on durable, affordable upgrades that enhance comfort and usability. Begin with an assessment and small wins to build momentum toward your 2026 renovation goals. The result is a personalized space that serves your needs for years to come while staying within reasonable financial limits.
No comments yet. Be the first!