 Fixated on Home
Introduction to Budget Greenhouse Renovations
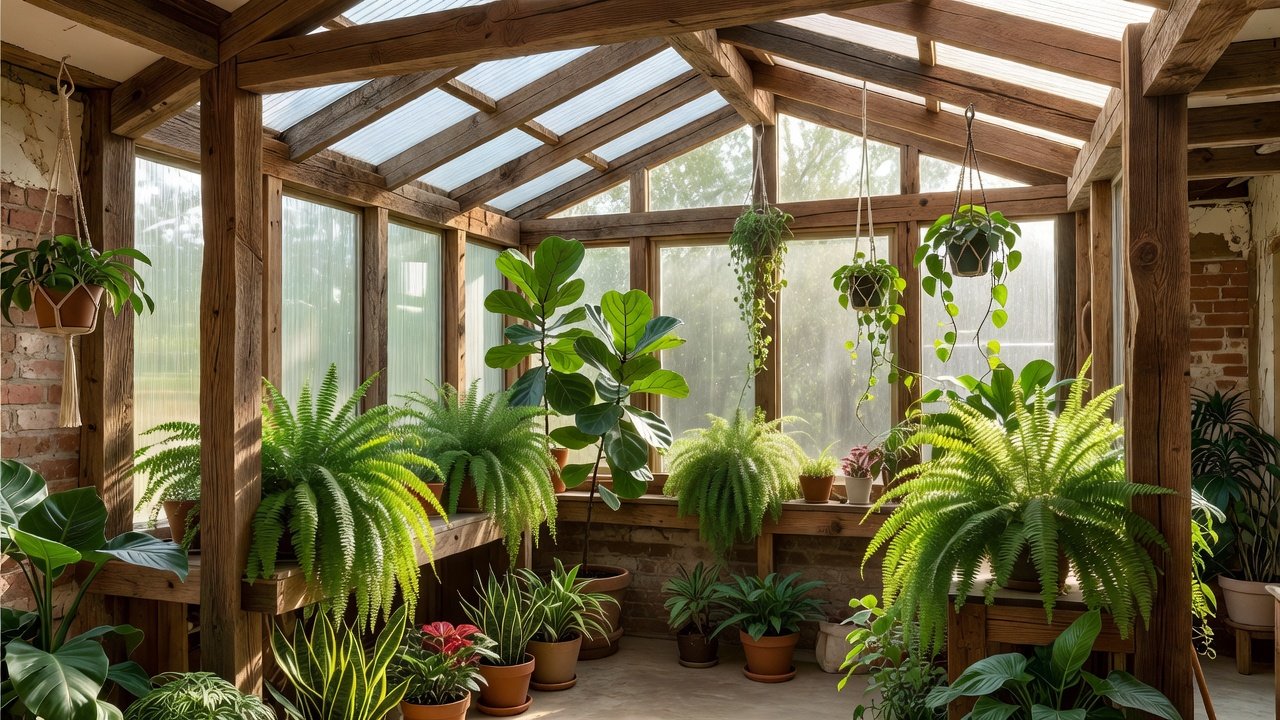
Transforming an unused room, basement corner, or attic space into a thriving indoor garden can bring fresh produce and year-round greenery into your home without breaking the bank. This guide focuses on practical, budget-friendly renovation strategies that align with home improvement best practices, emphasizing reclaimed materials, simple climate control, and efficient lighting. Whether you're a beginner or an experienced DIYer, these fixer-upper ideas prioritize functionality and natural light maximization while delivering measurable returns on your investment through enhanced property appeal and self-sufficiency.
Indoor greenhouses offer significant benefits, including improved air quality, reduced grocery bills over time, and the ability to grow herbs, vegetables, and flowers regardless of outdoor weather. By focusing on sustainable swaps and step-by-step framing, you can create a productive space that enhances your property's value. Many homeowners in 2026 are turning to these projects as part of broader fixer-upper strategies to maximize underutilized square footage in older homes.
Planning Your Space and Material Swaps
Start by assessing available areas in your home that receive partial natural light. South-facing rooms often work best, but east or west exposures can succeed with supplemental lighting. Consider basements for temperature stability, sunrooms for maximum daylight, or even a partitioned garage corner. Measure the space carefully and sketch a simple layout that includes pathways for easy access and maintenance.
For materials, consider reclaimed wood from local salvage yards instead of new lumber, and opt for polycarbonate panels over traditional glass for durability and ease of installation. Heavy-duty plastic sheeting serves well for temporary enclosures during initial setup, while recycled metal framing provides longevity. These choices reduce waste while maintaining structural integrity. Compare options by evaluating factors such as insulation value, weight, and ease of cleaning. Reclaimed supplies frequently deliver comparable strength and character at lower environmental impact, supporting practices endorsed by the EPA.
Step-by-Step Framing and Glazing Instructions
Begin framing with basic 2x4 lumber secured to existing walls or floors using appropriate anchors. Measure twice to ensure level surfaces, then attach vertical supports every 16 inches for stability. Add horizontal cross-bracing at mid-height and near the top to prevent racking. For larger spans, incorporate diagonal braces. Always wear safety gear and double-check load-bearing capacity if attaching to existing structures.
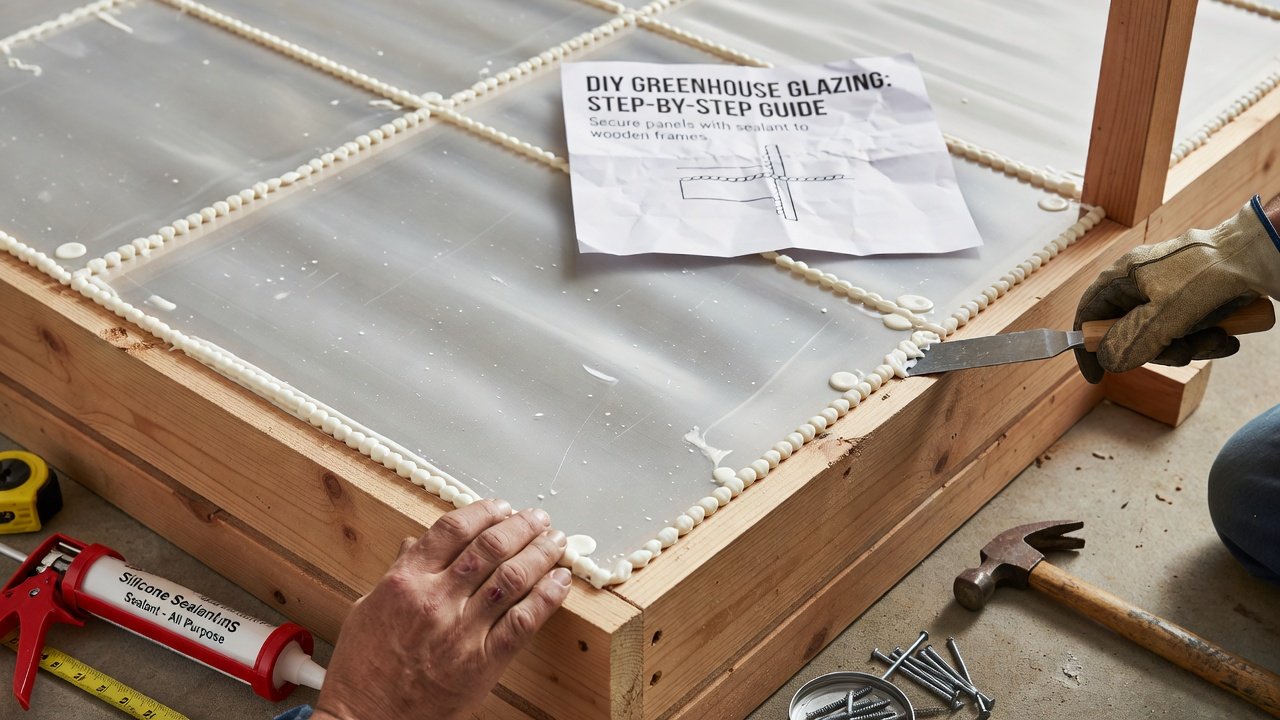
For glazing, cut polycarbonate sheets to fit and secure them with weatherproof sealant and screws placed every six inches along edges. Overlap seams slightly and apply additional tape for extra protection against drafts. Install a simple door frame using hinges and a lightweight panel that swings outward. Test for drafts by running a smoke test once assembled. This process typically takes a weekend for a small 8x10 foot space, but allow extra time for sealing and adjustments. Potential issues include uneven floors, which can be corrected with shims, or condensation buildup, mitigated by proper ventilation planning.
Cost Comparisons: Reclaimed vs. New Supplies
Reclaimed materials often provide comparable strength at a fraction of the expense of new supplies. Focus on quality checks like checking for rot in wood or clarity in panels. New options may offer warranties and uniform sizing, but reclaimed choices support eco-friendly practices promoted by organizations like the EPA. Weigh decisions based on project scale, long-term durability needs, and personal preference for aesthetics.
Climate Control Hacks for Indoor Gardens
Maintain optimal temperatures with affordable fans, humidifiers, and insulation blankets. Use a basic thermostat to monitor levels between 65-75 degrees Fahrenheit for most plants. Ventilation through small exhaust fans prevents mold while allowing fresh air circulation. In colder months, add reflective insulation to walls and consider a small space heater on a timer for early morning boosts.
For humidity, place trays of water near heat sources or use pebble trays under pots. These hacks align with energy-efficient recommendations from the USDA extension services. In humid climates, prioritize dehumidification to avoid fungal issues, while dry regions benefit from misting systems. Monitor with inexpensive digital hygrometers placed at plant level for accurate readings throughout the day.
Plant-Friendly Lighting Options
Maximize natural light with reflective surfaces like white paint or mylar sheets on walls and ceilings. Supplement with full-spectrum LED grow lights positioned 12-18 inches above plants. Timers ensure consistent 12-16 hour cycles daily, mimicking seasonal sunlight patterns. Choose fixtures with adjustable arms for flexibility as plants grow taller.
Avoid cheap bulbs that overheat; instead, choose energy-efficient models designed for horticulture. This setup supports healthy growth without high electricity use and pairs well with tips from the U.S. Department of Energy on efficient lighting. Experiment with light intensity by starting at lower settings and increasing based on plant response, watching for signs of stretching or leaf burn.
Plant Selection Guide and Real-World Examples
Choose plants suited to indoor conditions such as leafy greens, herbs like basil and mint, compact tomatoes, and flowering varieties like begonias. Start with seedlings rather than seeds for faster results. Group plants by similar light and water needs to simplify care. Real budget examples often involve starting with a 4x6 foot section using mostly reclaimed lumber and secondhand shelving, then expanding as confidence grows.
One common approach is converting a spare bedroom closet into a micro greenhouse for herbs, yielding fresh ingredients within weeks. Another involves partitioning a basement area with clear panels to create zones for different plant types. These setups demonstrate how small investments in framing and lighting can produce ongoing harvests.
Maintenance Checklists and Common Pitfalls
- Weekly: Inspect seals for leaks, wipe down glazing for maximum light transmission, and water plants according to individual needs.
- Monthly: Check plant health for pests, prune as needed, calibrate climate controls, and clean fans and filters.
- Seasonally: Deep clean frames, replace worn insulation, test electrical connections, and rotate plants for even growth.
Common mistakes include poor ventilation leading to pests and disease, overcrowding plants which reduces airflow, and neglecting light levels during winter months. Always start small, document what works, and adjust gradually. Proper planning prevents most issues and ensures long-term success.
FAQ on Remodeling Tips for Beginners
How do I choose the right location?
Select areas with at least four hours of indirect sunlight and easy access to water and electricity. Avoid spaces prone to extreme temperature swings unless additional insulation is planned.
What plants work best indoors?
Leafy greens, herbs like basil, and compact tomatoes thrive in controlled environments. Research each variety's specific requirements before purchasing.
Are permits required?
Check local building codes, especially for larger structures or electrical additions. Many small indoor projects fall under standard home improvement guidelines.
How can I improve energy efficiency?
Use LED lighting on timers, seal all gaps thoroughly, and choose insulated panels to reduce heating and cooling demands.
Conclusion
With thoughtful planning and budget reno techniques, your indoor greenhouse can become a rewarding addition to any home. Focus on durable materials, efficient climate management, and consistent maintenance to enjoy fresh harvests year after year. These strategies deliver practical ROI through enhanced living spaces and self-sufficiency in 2026, turning unused areas into productive, beautiful environments that grow with your needs.
No comments yet. Be the first!