 Fixated on Home
Introduction to Budget Entryway Renovations
First-time renovators tackling a fixer-upper often overlook the entryway, yet it sets the tone for the entire home. A well-planned budget entryway reno can deliver quick visual impact and added functionality without draining savings. This guide focuses on affordable strategies using materials like peel-and-stick tiles and thrifted fixtures to achieve professional-looking results in 2026. The entryway serves as both a functional transition space and the first impression for guests, making it a high-priority area for improvements that enhance daily life and property appeal.
Whether you're dealing with worn flooring, outdated lighting, or cramped storage, these remodeling tips prioritize cost-effective choices that boost home value fast. We'll cover practical steps, real-world examples, and key decisions between full DIY and minimal professional help. By focusing on accessible techniques, beginners can complete meaningful upgrades over a single weekend or spread them across several evenings.
Evaluating Your Entryway Before Starting
Begin by assessing the space thoroughly. Measure the floor area, note existing lighting positions, and identify storage needs such as coat hooks or shoe racks. In older homes, inspect for issues like uneven subfloors, water damage, or lead paint that may require extra care or professional testing. This evaluation prevents costly surprises later and helps prioritize high-impact changes that align with your skill level and available time.
Take photos from multiple angles to track progress and inspire your design choices. Consider traffic flow, especially in homes with narrow hallways, and think about how the entryway connects to adjacent rooms like the living area or kitchen.
Cost-Effective Material Choices
Peel-and-stick tiles offer an easy flooring refresh without demolition or heavy tools. They adhere directly to clean, level surfaces and come in versatile patterns that mimic hardwood, stone, or concrete. Thrilled fixtures from secondhand shops provide character at a fraction of retail prices while supporting sustainable reuse practices. Pair these with simple paint updates using neutral or welcoming tones for a cohesive, timeless look.
Always test materials in your specific lighting conditions first by ordering samples. Quality peel-and-stick products resist moisture when properly sealed, making them suitable for entryways exposed to outdoor elements. Compare options by durability ratings and ease of installation to ensure long-term satisfaction.
Planning Your Budget and Timeline
Outline a realistic timeline by breaking projects into phases: demolition and prep, installation, and finishing touches. Allocate resources to high-visibility items first, such as flooring and lighting, before moving to accessories. Track all purchases and keep a buffer for unexpected needs like extra adhesive or paint.
This phased approach keeps momentum high and allows adjustments based on early results. Many successful renovations span two to four weekends, giving time for drying and curing between steps.
Tools You'll Need for Success
Gather basic tools including a utility knife, level, measuring tape, sandpaper, paintbrushes, and a cordless drill. For electrical work, add a voltage tester and wire strippers. Rent specialized items like a tile cutter only if needed for larger areas. Having everything organized in advance reduces frustration and speeds up each task.
Lighting Swaps for Instant Impact
Replace outdated fixtures with energy-efficient LED options that provide better illumination and lower energy use. Start by turning off power at the breaker, remove the old light, and install the new one following manufacturer instructions. This swap brightens the space and improves safety for evening arrivals.
Consider wall sconces or a statement pendant for added style. Energy-efficient lighting upgrades help reduce long-term utility costs while enhancing curb appeal. Experiment with dimmable bulbs to create different moods throughout the day.
Adding Functional Storage Benches
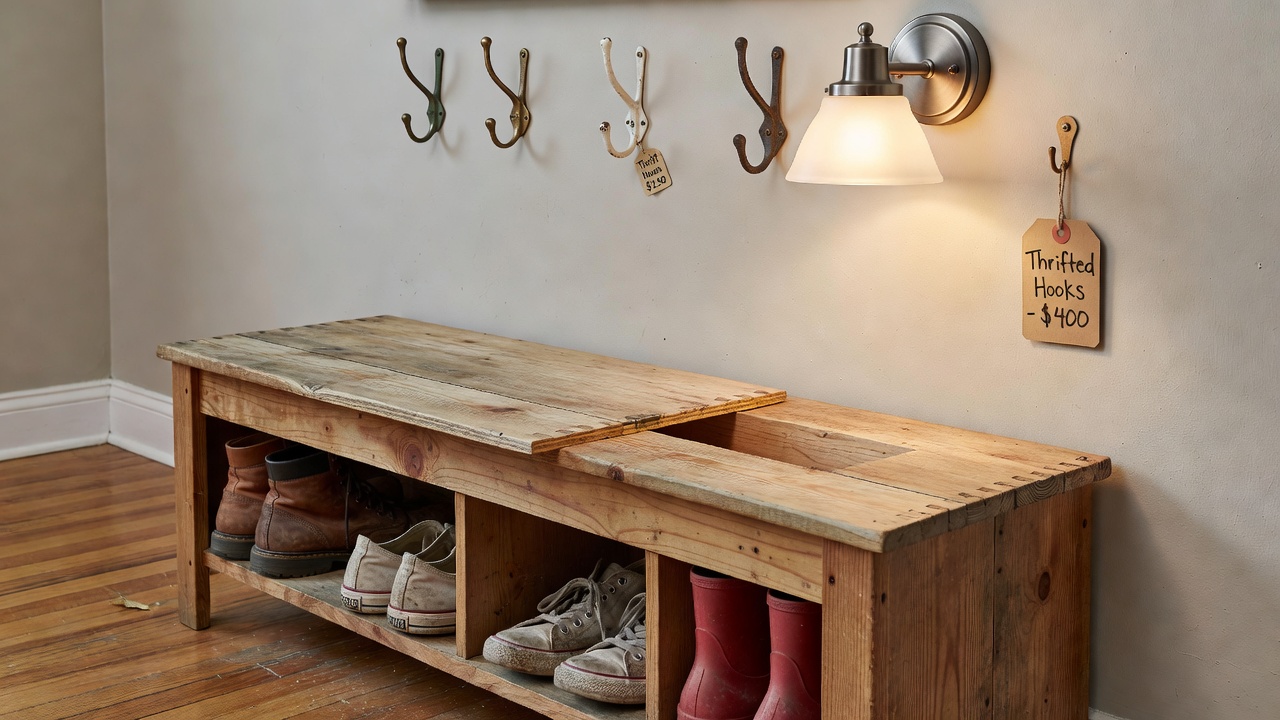
A storage bench combines seating with hidden compartments for shoes, bags, and accessories. Build or buy a simple wooden bench, then add cushions and hooks above it. This creates an organized welcome area without eating into floor space. Thrifted doors or crates can be repurposed into custom benches for unique flair and personal character.
Secure everything firmly to the wall for stability, especially in homes with children or pets. Add felt pads to the bottom to protect flooring and make the bench easy to move for cleaning.
Refreshing Doors and Hardware
Update the front door with a fresh coat of paint and new hardware. Sand lightly, apply primer, then two coats of exterior paint. Swap knobs or add a new deadbolt for security and style. These changes take a weekend and transform the entryway dramatically while improving weather resistance.
Step-by-Step Installation Guides
For peel-and-stick tiles, clean the subfloor thoroughly, lay out the pattern dry first, then peel and press each tile firmly. Start from the center and work outward. For benches, assemble the frame, attach the lid with hinges, and finish with stain or paint. Always follow safety guidelines during electrical and cutting tasks.
Before-and-After Examples and Comparisons
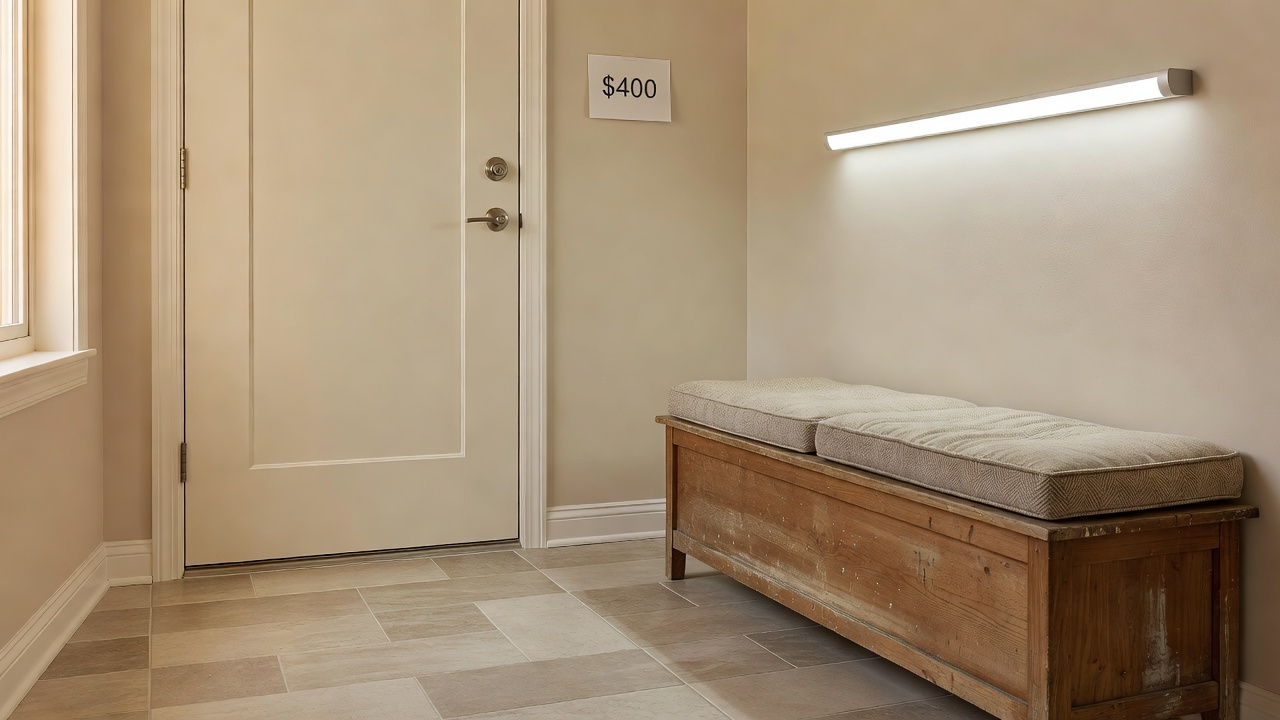
One homeowner transformed a dated 1970s entry with peel-and-stick tiles and thrifted lighting for under $400 total. The result featured a welcoming bench area and brighter ambiance that increased perceived home value. Another example involved refreshing a narrow apartment entryway using only paint, hooks, and a slim console table, achieving a spacious feel through clever vertical storage.
DIY works well for painting and basic installs, but consider hiring a pro for electrical work if you're unsure about wiring. Minimal professional help on tricky tasks often saves time and prevents errors while keeping overall costs low. Compare quotes from local handymen for perspective on when to outsource.
High-Impact Changes Under $400
Focus spending on visible elements like flooring, lighting, and hardware. Allocate budget to quality paint and fixtures while sourcing storage solutions secondhand. Track expenses to stay within limits and document progress for inspiration. These targeted investments deliver noticeable transformations that feel substantial without exceeding modest spending thresholds.
Common Mistakes to Avoid
- Skipping surface preparation, which leads to poor adhesion of tiles or paint.
- Choosing materials that clash with existing home style instead of complementing it.
- Overlooking ventilation during painting, resulting in uneven finishes.
- Ignoring weight limits when mounting shelves or benches.
Maintenance After Your Renovation
Regular cleaning with appropriate products extends the life of new materials. Wipe tiles gently and check hardware periodically for tightness. Reapply sealant to flooring every year or two depending on traffic levels. These simple habits preserve your investment and keep the space looking fresh.
FAQs on Durability and Permits
- How durable are peel-and-stick tiles? With proper prep and sealing, they hold up well in low-traffic entryways for several years while resisting everyday wear.
- Do I need permits for entryway work? Simple cosmetic updates rarely require permits, but check local codes for electrical or structural changes. EPA guidelines offer helpful safety info for older homes.
- Can these upgrades work in rental properties? Many are reversible, making them ideal for renters seeking temporary improvements that can be undone at move-out.
- What if my subfloor is uneven? Use a leveling compound before installing tiles to ensure a smooth, long-lasting result.
Conclusion
Budget entryway renovations prove that thoughtful updates can revitalize a fixer-upper without overspending. By focusing on peel-and-stick materials, thrifted finds, and strategic swaps, you create a functional, stylish space that welcomes guests and boosts daily living. Start small, follow the steps, and enjoy the transformation that turns an overlooked area into a standout feature of your home.
No comments yet. Be the first!