 Fixated on Home
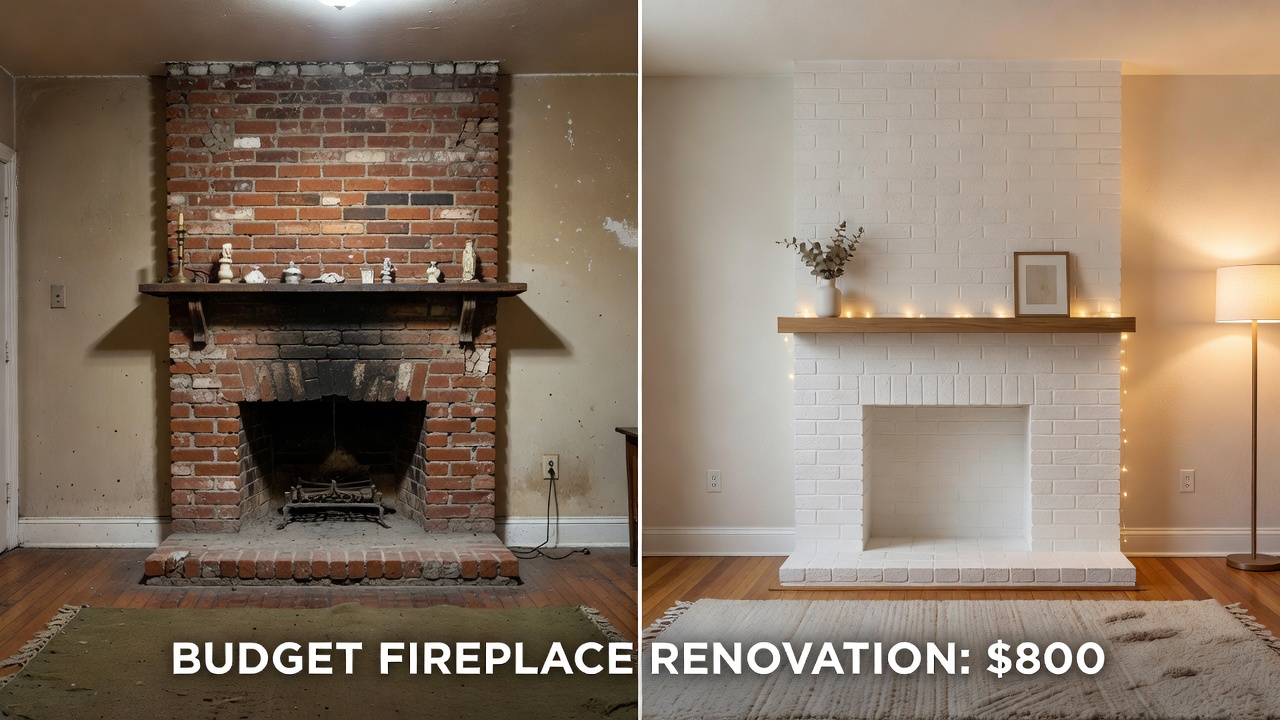
Introduction: Transforming Your Fireplace on a Budget
Fixer-upper homes frequently come with outdated or inefficient fireplaces that can make a living room feel neglected rather than inviting. Updating these features does not require a large investment when you apply thoughtful budget reno strategies focused on high-impact changes. This comprehensive guide covers everything from initial assessment through material selection, DIY execution, and long-term efficiency improvements. Homeowners can achieve noticeable transformations while maintaining strong home improvement ROI by prioritizing simple swaps and refreshes that enhance both aesthetics and functionality.
Assessing Your Fireplace for Renovation
Start every project with a careful evaluation of the existing structure. Examine the firebox for cracks, inspect the chimney for debris buildup, and verify that the damper operates smoothly. Note any signs of water damage or loose masonry that could affect safety. Local building codes often dictate what modifications are allowed, so research permit needs early. Taking these steps prevents mid-project surprises and ensures the renovation aligns with both safety standards and personal goals for the space.
Planning Your Budget Reno Strategy
Successful budget fireplace updates begin with clear prioritization. Identify the most visible elements first, such as the surround and mantel, before tackling internal components. Create a phased approach that spreads work over several weekends if needed. Gather inspiration from similar fixer-upper projects to visualize outcomes. Focus on versatile materials that offer durability without requiring specialized tools, allowing you to stretch resources while delivering professional-looking results.
Material Swaps for Instant Visual Impact
Replacing tired tile, brick, or stone surrounds can dramatically refresh the entire room. Consider lightweight options like cultured stone panels or heat-resistant decorative boards that mimic premium finishes. Reclaimed wood mantels add character when paired with neutral paint colors on surrounding walls. These swaps work well in older homes because they require minimal structural alteration. Real examples include swapping dark 1970s brick for crisp white panels that brighten the space and make the fireplace a true focal point.
DIY Surround Refreshes: Detailed Step-by-Step Instructions
Begin by protecting the floor and nearby furniture with drop cloths. Thoroughly clean the surface using a masonry cleaner to remove soot and dust. Apply a high-quality primer formulated for porous surfaces to ensure proper adhesion. Cut new surround materials to fit precisely, then secure them with construction adhesive rated for high temperatures. Finish edges with trim pieces and caulk for a seamless appearance. Allow full curing time before lighting any fires. This methodical process yields lasting results even for first-time renovators.
Additional tips include testing paint colors on small sections first and using spacers to maintain even gaps during installation. Homeowners who followed these steps in similar projects reported transformations that increased the perceived value of their living areas significantly.
Energy-Efficient Inserts for Long-Term Comfort
Adding an EPA-certified insert improves heat distribution while reducing fuel consumption and emissions. These units fit inside existing fireboxes and often include blowers for better air circulation. Benefits extend beyond warmth to include lower maintenance needs and improved indoor air quality. Explore energy-efficient heating options through official resources for model comparisons. Another helpful reference is available at EPA certified wood heaters for understanding performance standards.
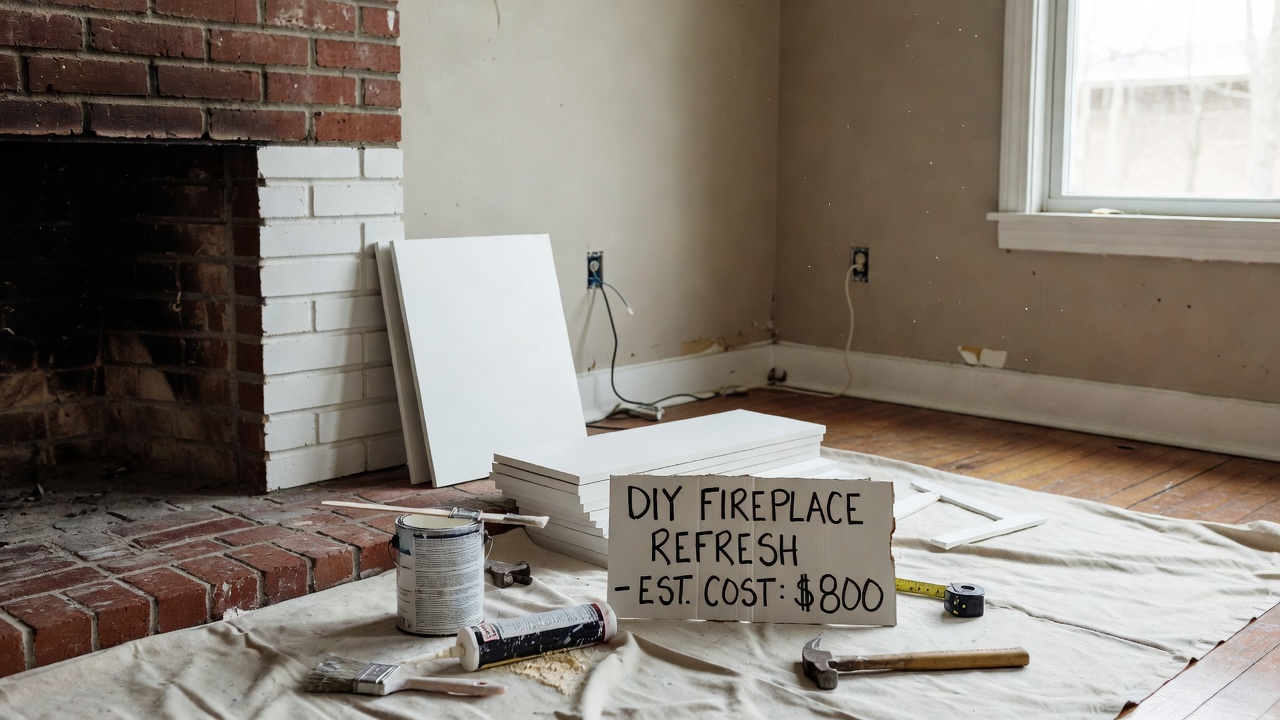
Cost Breakdowns and Smart Budget Allocation
Divide expenses into categories such as surface materials, safety upgrades, and optional accessories. Allocate the largest portion to durable items that deliver the most visual change. Track spending on tools that can be reused for future projects. Qualitative planning helps maintain focus on value rather than volume, ensuring the final result feels cohesive and complete.
DIY Versus Professional Approaches for Optimal ROI
DIY execution appeals to those with basic handyman skills and provides excellent returns through personal labor. It allows full control over design choices and timing. Professional help becomes advantageous for tasks involving gas lines, electrical connections, or complex venting adjustments. Weigh factors like project scope, personal experience, and time constraints when deciding. Many fixer-upper owners combine both methods by handling cosmetic work themselves while hiring specialists for safety-critical elements.
Real-Home Before-and-After Examples
In one suburban fixer-upper, a soot-covered brick fireplace was updated with a whitewashed finish and a simple floating mantel, turning a dark corner into a bright reading nook. Another project involved installing an insert in a rural cabin, resulting in more consistent heating and reduced wood usage during winter months. These examples demonstrate how targeted changes create welcoming atmospheres without extensive demolition.
Common Mistakes to Avoid During Renovation
- Skipping safety inspections before beginning work
- Using materials not rated for high heat exposure
- Neglecting proper ventilation checks after modifications
- Overlooking local permit requirements that could delay completion
- Choosing finishes that clash with the overall room style
Maintenance and Safety Tips After Completion
Regular chimney sweeps and annual inspections keep the updated fireplace operating efficiently. Store combustible materials away from the surround and install a sturdy screen to prevent sparks. These habits protect your investment and ensure ongoing enjoyment of the refreshed space.
FAQ: Addressing Venting, Permits, and Common Challenges
Do I need a permit for fireplace updates?
Many jurisdictions require permits for any changes affecting gas lines, venting, or structural elements. Contact your local building department early to confirm requirements and avoid fines.
How do I handle venting issues safely?
Schedule a professional chimney inspection to assess liner condition and draft performance. Address blockages or damage before installing new inserts or surrounds.
What if my budget is very tight?
Focus first on cosmetic refreshes such as painting or adding decorative trim. These low-cost steps still create noticeable improvements while you save for larger additions like inserts.
Can I convert a wood-burning fireplace to gas?
Conversion is possible with proper venting and permits. Consult certified technicians to ensure compliance with safety codes and optimal performance.
How long does a typical DIY refresh take?
Most surround updates can be completed over one or two weekends when following organized steps and allowing adequate drying times between coats.
These practical strategies empower homeowners to revitalize outdated fireplaces affordably while enhancing both comfort and property appeal. Always emphasize safety and consult professionals when projects exceed personal skill levels.
No comments yet. Be the first!