 Fixated on Home
Introduction: Transforming Fixer-Uppers into Fitness Havens
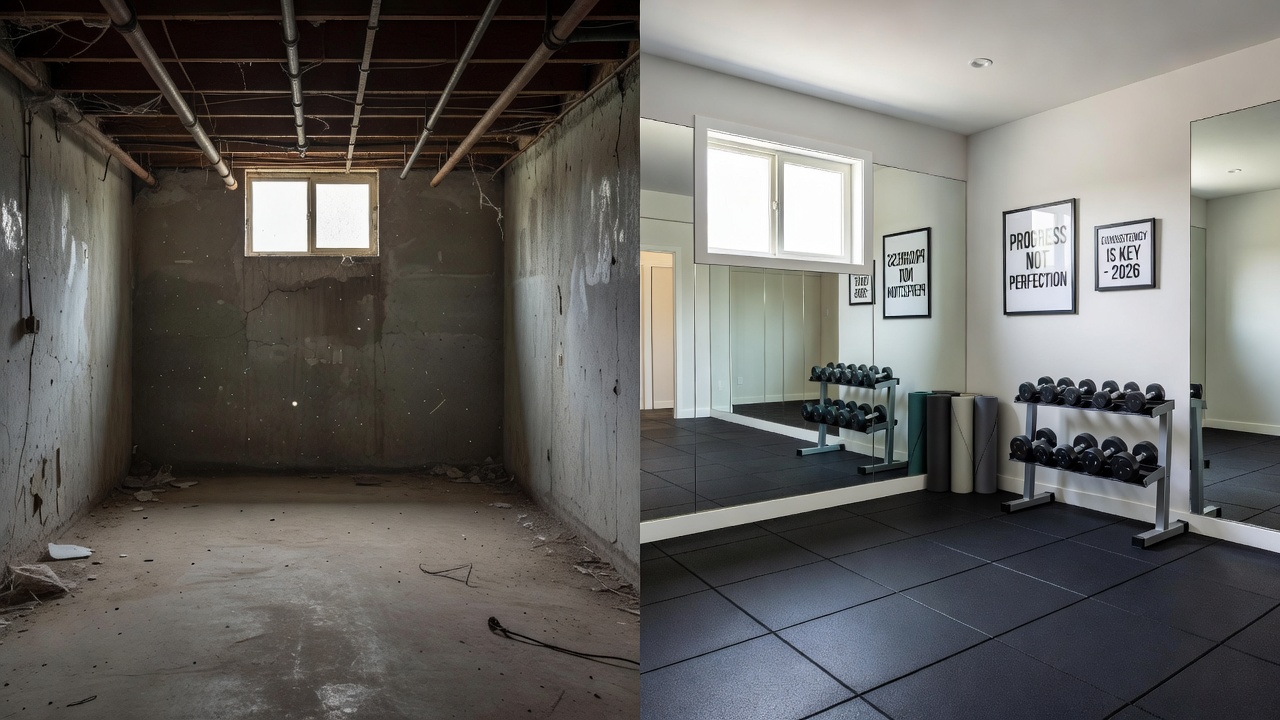
Homeowners frequently discover that neglected spaces such as basements, garages, or spare rooms hold untapped potential as productive workout zones. In 2026, budget-conscious renovation projects emphasize practical material swaps, straightforward DIY techniques, and smart layout planning to deliver safe and effective home gyms without excessive spending. This comprehensive guide covers everything from initial space assessment to long-term upkeep, ensuring readers gain actionable insights for creating personalized fitness environments that support consistent training routines.
Unused areas often suffer from issues like uneven surfaces, poor lighting, or unfinished walls, yet targeted updates can convert them into motivating workout destinations. Real-world transformations demonstrate how modest investments in flooring protection, wall refreshes, and versatile equipment placement produce dramatic before-and-after improvements that enhance both functionality and property value.
Planning Your Budget Home Gym Project
Begin every project with a thorough evaluation of the chosen space. Inspect for moisture problems, structural weaknesses, or ventilation deficiencies that could affect comfort during exercise. Measure the exact square footage and note ceiling height, door widths, and existing outlets to inform equipment choices. Compact or foldable gear proves ideal for rooms under 200 square feet, while larger areas accommodate more variety.
Map out traffic flow and designate zones for cardio, strength training, and recovery. Incorporate natural light sources or plan for supplemental LED fixtures that reduce eye strain during evening sessions. Free online layout tools allow visualization of multiple arrangements before any purchases occur, helping avoid costly mistakes later.
Affordable Material Swaps for Flooring and Walls
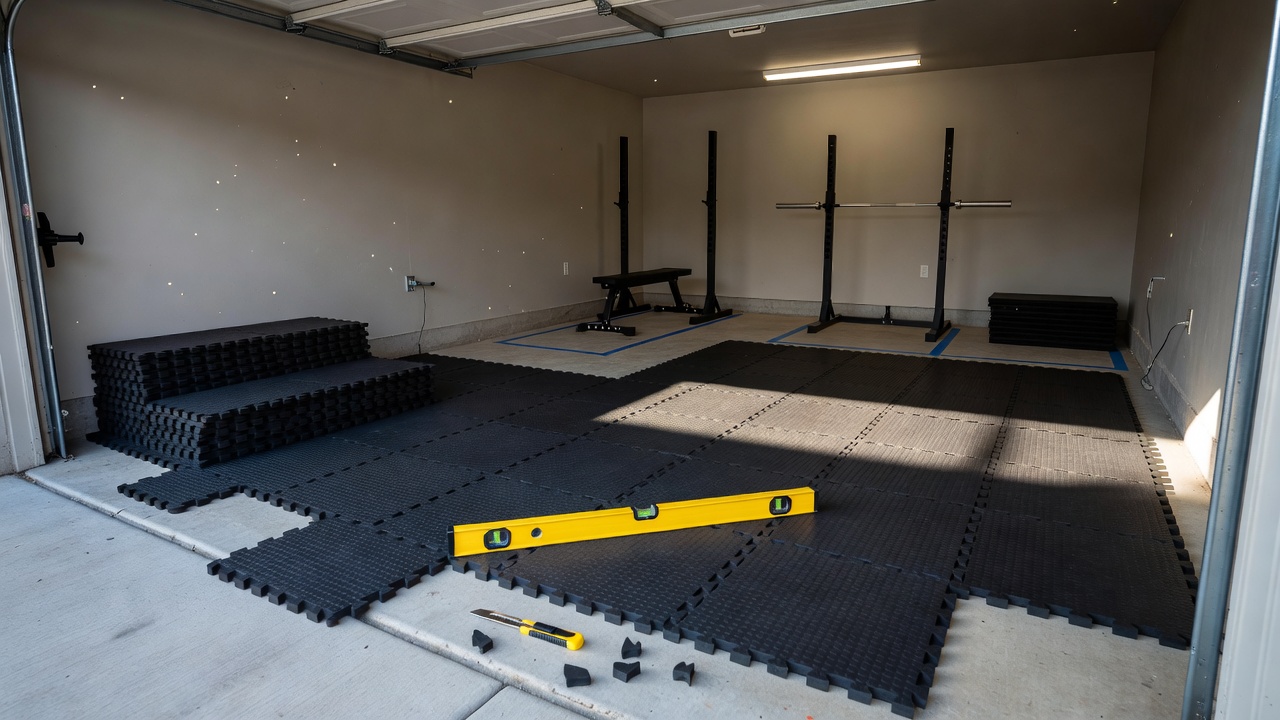
Flooring upgrades form the foundation of any home gym by protecting joints and minimizing noise transmission to other parts of the house. Replace cracked concrete or worn carpet with interlocking rubber tiles or dense foam mats that provide cushioning and easy maintenance. These materials install directly over existing surfaces without adhesives in many cases, allowing future removal if needed.
Wall treatments focus on durability and visual appeal. Repair damaged drywall sections with joint compound, then apply peel-and-stick acoustic panels or simple paint in light, reflective shades that make the room feel more spacious. Mirrors on one wall serve dual purposes by expanding perceived space and enabling form checks during lifts or yoga poses. Avoid textured finishes that collect dust and complicate cleaning routines.
Step-by-Step DIY Flooring Installation
Proper preparation ensures long-lasting results. Clear the entire area and sweep away dust and debris. Address minor floor irregularities with a self-leveling compound, allowing full drying time according to product instructions. In moisture-prone locations such as basements, roll out a thin vapor barrier to protect the new flooring from below.
Start tile placement from the center of the room and work outward in a symmetrical pattern. Use a rubber mallet to lock pieces together firmly. Trim border tiles with a sharp utility knife for clean edges around pipes or door frames. Once complete, allow at least 24 hours before moving heavy equipment onto the surface. This methodical approach typically finishes in one or two weekends for average-sized rooms using only basic hand tools.
Wall Updates and Finishing Touches
After flooring, turn attention to walls. Fill holes and cracks with spackle, sand surfaces smooth, and apply primer followed by two coats of durable paint. Install heavy-duty shelving units anchored into studs for storing weights, resistance bands, and cleaning supplies. Add a small whiteboard or chalkboard for tracking workouts and goals. These finishing elements contribute to an organized, professional atmosphere that encourages regular use.
Equipment Placement Strategies for Small Spaces
Strategic positioning maximizes every square foot. Place larger items such as adjustable benches or squat racks against perimeter walls to keep central floor space open. Vertical wall-mounted racks hold dumbbells and kettlebells efficiently, freeing floor area for movement. Foldable cardio machines like treadmills or rowing units can collapse and store against a wall when not in use.
Multi-use furniture hacks multiply functionality. Choose ottomans with internal storage compartments for yoga mats and foam rollers, or select benches that convert between flat and incline positions. Compare budget modular systems against premium fixed installations: budget options deliver sufficient versatility for most home users while allowing incremental upgrades, whereas premium pieces excel in heavy-duty durability for advanced lifters who train daily.
Budget Versus Premium Options Comparison
Budget selections prioritize adaptability and ease of replacement. Modular flooring tiles and adjustable racks permit future reconfiguration as fitness goals evolve. Premium alternatives provide superior longevity and refined features but require larger initial outlays. Most fixer-upper projects benefit from starting with quality budget components, testing the space thoroughly, then selectively upgrading high-use items over time based on actual needs.
Safety Considerations During and After Reno
Safety must guide every phase. Wear gloves, eye protection, and dust masks during demolition and installation work. Verify that electrical circuits can handle equipment demands and install GFCI outlets in any damp environment. Maintain clear exit paths and secure temporary lighting to prevent trips or falls.
After completion, anchor all tall equipment to wall studs and keep floors free of loose items. Establish a regular inspection schedule for mats, cables, and hardware to catch wear early. Homeowners can reference established workplace safety standards and adapt relevant practices for residential settings. Good ventilation also supports respiratory health during workouts; consider cross-referencing indoor air quality recommendations when planning exhaust fans or air purifiers.
Real-World Cost Breakdowns and Examples
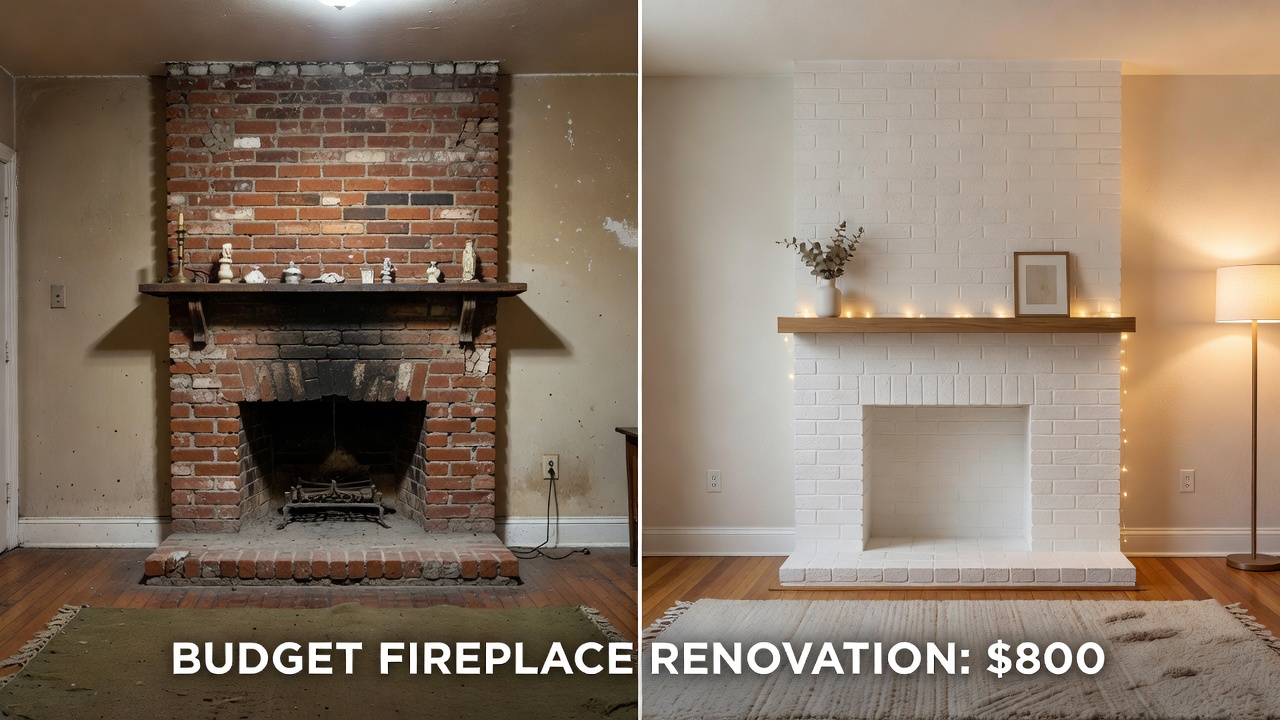
Successful projects break expenses into clear categories such as flooring materials, wall treatments, hardware, and basic lighting. Sourcing from local suppliers or clearance sections often keeps totals manageable. Document each purchase and compare against initial estimates to refine future planning. Numerous before-and-after photo collections online illustrate how targeted flooring and wall refreshes convert dim, cluttered corners into bright, inviting fitness zones that homeowners use daily.
Short FAQ on Permits and Maintenance
Do budget home gym renos require permits?
Most cosmetic improvements including new flooring, painting, and shelving installation do not require permits. However, any structural modifications, electrical additions, or plumbing changes typically need local approval. Always consult your municipal building department before beginning work that alters load-bearing elements or wiring.
How do I maintain a budget gym long-term?
Perform weekly cleaning of mats and equipment surfaces. Rotate heavy items periodically to distribute wear evenly across the floor. Inspect anchoring hardware every few months and address any moisture intrusion immediately. These habits extend the lifespan of materials and keep the space functional for years.
Additional guidance on physical activity environments appears through resources such as CDC physical activity guidelines, which emphasize safe and accessible exercise spaces for all ages.
Conclusion: Building a Sustainable Fitness Space
A well-planned budget home gym renovation transforms underutilized fixer-upper areas into reliable training environments that support health goals without high costs. By focusing on durable yet affordable materials, methodical DIY execution, thoughtful equipment placement, and ongoing safety practices, homeowners achieve professional-looking results that stand the test of time. The strategies outlined here provide a complete roadmap for turning potential into performance.
No comments yet. Be the first!