 Fixated on Home
Introduction to Budget Hallway Renovations in Fixer-Uppers
Transforming a narrow, outdated hallway in a fixer-upper doesn't require a massive budget or professional crew. With targeted budget reno approaches, homeowners can maximize limited space while boosting functionality and style. This guide focuses on practical 2026-specific ideas that emphasize smart lighting, vertical storage solutions, and durable flooring swaps suitable for high-traffic areas. Narrow hallways often serve as the first impression of a home, yet they are frequently neglected during renovations due to their limited square footage. By applying thoughtful design principles and affordable materials, you can convert these transitional spaces into organized, well-lit zones that enhance daily movement and add visual appeal throughout the property.
Whether your hallway measures just three feet wide or serves as a main thoroughfare, these strategies deliver visible results without exceeding typical homeowner spending limits. Emphasis is placed on beginner-friendly steps, material comparisons, and real-world examples to help you achieve a polished outcome. In 2026, trends lean toward sustainable choices and multifunctional elements that support modern lifestyles while respecting older home structures common in fixer-uppers.
Assessing Your Narrow Hallway Space
Start by measuring the hallway dimensions and noting problem areas like poor lighting or worn surfaces. In fixer-uppers, common issues include outdated paneling, scuffed floors, and lack of storage. Document before photos to track progress and identify priorities such as maximizing vertical space or improving flow. Use a tape measure, notepad, and smartphone camera to record every detail, including ceiling height and any existing electrical outlets or switches. High-traffic hallways benefit from durable materials that withstand daily use. Consider traffic patterns from family members or pets when planning upgrades, and check for underlying issues like uneven subfloors or moisture problems that could affect new installations.
Evaluate the overall style of adjacent rooms to ensure your hallway updates create a seamless transition. This assessment phase prevents costly rework later and helps prioritize which elements deliver the greatest impact on both aesthetics and usability.
Smart Lighting Solutions for Narrow Spaces
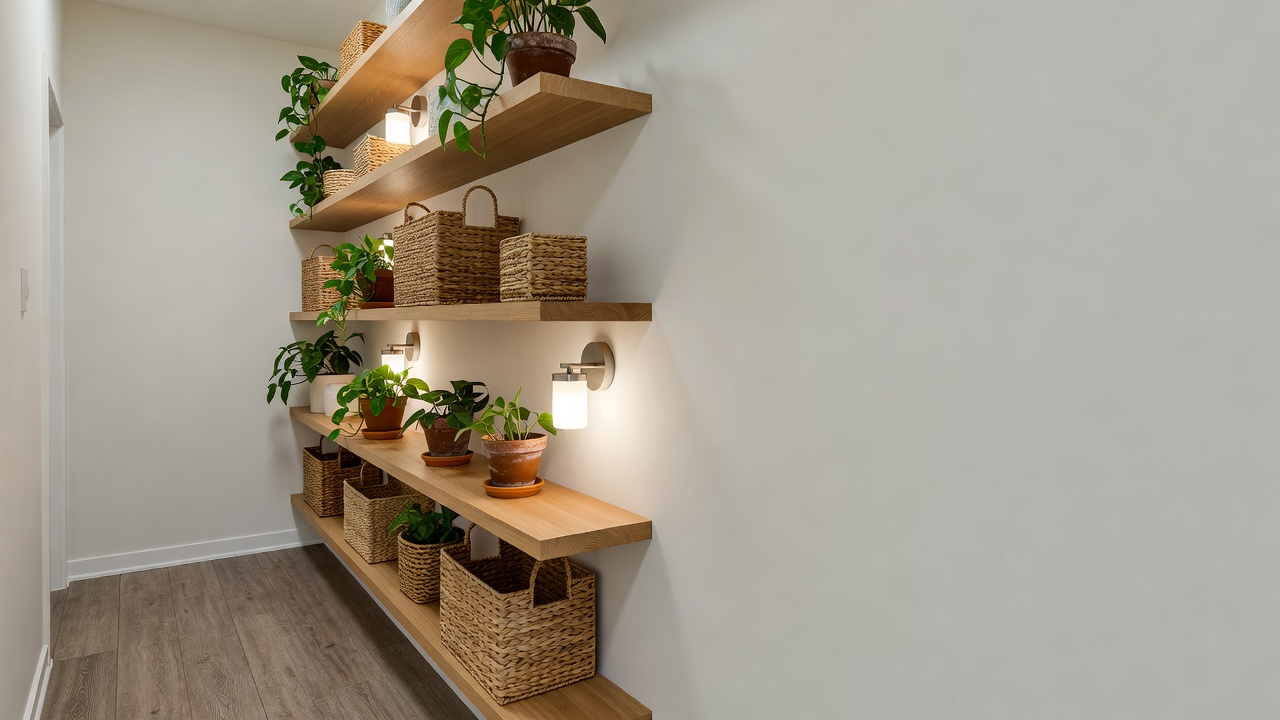
Effective lighting makes narrow hallways feel wider and more inviting. Install wall sconces or recessed LED fixtures to eliminate shadows. Battery-operated options provide flexibility for renters or temporary fixes in fixer-uppers. Explore layered lighting by combining overhead sources with accent wall lights to highlight artwork or architectural features. Choose fixtures with adjustable arms or dimmers for versatility during different times of day. Energy Star certified products offer reliable performance and reduced energy consumption over time.
Mirror placement paired with lighting amplifies brightness. Choose energy-efficient bulbs to keep long-term costs low while aligning with modern home improvement standards. Test various color temperatures, such as warm white for cozy atmospheres or cool white for a crisp, spacious feel, before final installation.
Vertical Storage Ideas to Maximize Space
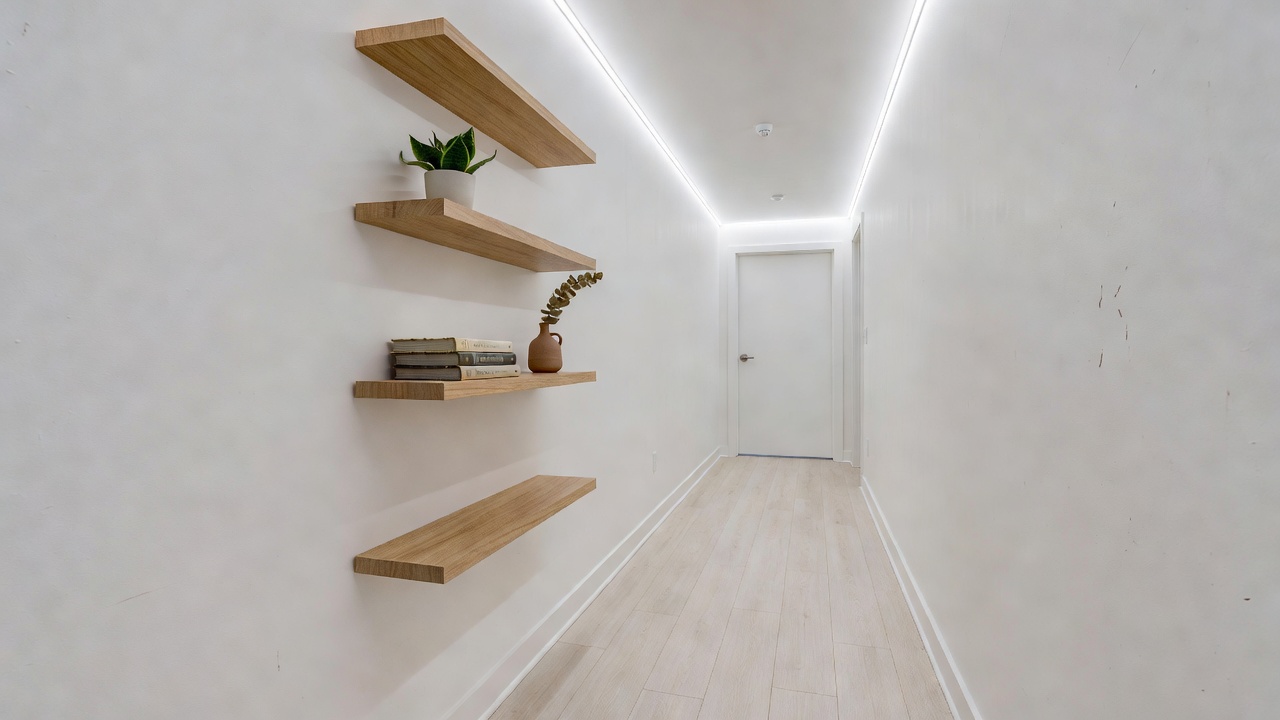
Vertical storage transforms wasted wall space in tight hallways. Floating shelves, slim cabinets, or over-the-door organizers keep essentials accessible without cluttering floors. Select modular systems that can be reconfigured as needs change, such as adding baskets for seasonal items or hooks for outerwear. For a cohesive look, select matching finishes. Incorporate hooks for coats or bags near entry points. These additions turn a simple passageway into a functional storage zone. Secure all units to wall studs for safety, especially in homes with children or frequent visitors.
Consider built-in niches if walls allow minor construction, or use tension rods for temporary hanging solutions. This approach maximizes every inch while maintaining clear walking paths.
Durable Flooring Swaps on a Budget
Flooring often shows the most wear in hallways. Affordable swaps include vinyl plank or laminate that mimics hardwood while resisting scratches. Peel-and-stick tiles offer quick installation for DIY enthusiasts. Examine wear layers and warranty details when comparing options, focusing on products rated for heavy residential traffic. Proper subfloor preparation ensures longevity and prevents buckling over time.
Compare materials based on durability ratings and ease of maintenance. Focus on waterproof options for areas near entryways to handle moisture from shoes or weather. Installation typically begins at the center and works outward, with careful cutting around door frames and transitions to other rooms.
Material Comparisons for Under-Budget Projects
When selecting materials, evaluate longevity against initial outlay. Budget-friendly paints with high-traffic formulas outperform standard options in hallways. For storage, lightweight woods or metal brackets provide strength without excess weight. Review samples in your actual lighting conditions. This step prevents mismatches that could require costly replacements later. Sustainable materials, such as those with recycled content, align with 2026 eco-conscious trends and may qualify for local incentives.
Before-and-After Examples
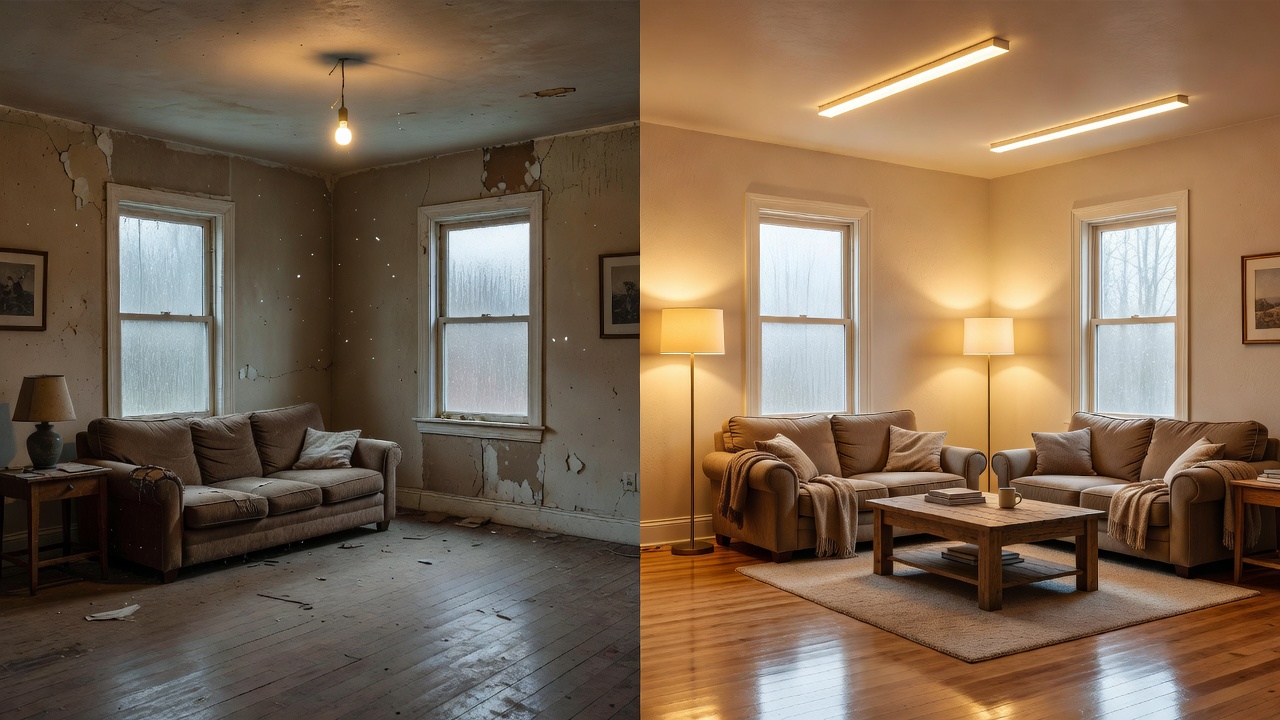
One common transformation involves a dark, carpeted hallway updated with light paint, LED strip lighting, and wall-mounted shelving. The result creates an open feel despite the narrow width. Another example features a dated linoleum floor replaced with durable vinyl planks alongside vertical hooks, turning the space into a welcoming entry that doubles as drop-zone storage. These real-life cases demonstrate how small, targeted changes compound into significant improvements in both appearance and daily function.
Beginner-Friendly Remodeling Checklist
- Measure hallway length, width, and height accurately.
- Clear the area and protect adjacent rooms with drop cloths.
- Prime and paint walls using light, reflective colors.
- Install lighting fixtures following safety guidelines.
- Add vertical storage units and secure them properly.
- Lay new flooring starting from the farthest point.
- Touch up trim and add finishing details like rugs or art.
- Inspect all work for safety and stability before regular use.
Step-by-Step Installation Guides for Key Updates
Begin with painting by cleaning walls thoroughly and applying primer suited to the surface type. Roll on two coats of paint in a light hue to reflect available light. For lighting, turn off power at the breaker before mounting fixtures and follow manufacturer wiring diagrams. Flooring installation requires acclimating materials to the room temperature for at least 48 hours prior to laying. Always leave expansion gaps along walls as recommended by the product guidelines.
Maintenance Tips for Long-Term Durability
Regular cleaning with appropriate products extends the life of new surfaces. Vacuum or sweep floors weekly and spot-clean spills immediately. Dust vertical storage units monthly to prevent buildup. In high-traffic zones, rotate rugs or mats seasonally to distribute wear evenly. These habits keep your renovated hallway looking fresh well into future years.
Remodeling Tips for High-Traffic Areas
Reinforce corners and baseboards with durable trim to prevent damage. Choose finishes that clean easily, such as semi-gloss paint. Test all new elements for stability before daily use. Incorporate non-slip elements on floors if the hallway connects to exterior doors. HUD resources provide additional guidance on safe home modifications for older properties.
Common Pitfalls and How to Avoid Them
Overlooking measurements leads to ill-fitting storage or flooring. Always double-check dimensions. Skipping primer on walls can cause paint adhesion issues over time. Avoid overloading vertical shelves beyond weight recommendations to maintain safety. Rushing the project without proper planning often results in visible imperfections that detract from the overall renovation quality.
FAQ Section
What is the best flooring for a narrow, high-traffic hallway?
Durable vinyl plank or laminate works well due to scratch resistance and simple installation, making them ideal for budget reno projects in fixer-uppers.
How can I make a narrow hallway feel wider without major construction?
Use light paint colors, strategic mirrors, and vertical storage to draw the eye upward and create an illusion of space.
Are there affordable lighting options suitable for DIY installation?
Yes, LED wall sconces and plug-in fixtures offer easy upgrades that require minimal tools while improving ambiance significantly.
What storage solutions work best in hallways under four feet wide?
Slim floating shelves and wall-mounted hooks maximize vertical space without encroaching on walkways.
How do I ensure safety during a DIY hallway renovation?
Always shut off electricity when working with fixtures, wear protective gear, and follow product instructions precisely to avoid accidents.
Conclusion
With thoughtful planning and budget reno techniques, any fixer-upper hallway can become a stylish, functional asset. Apply these ideas step by step to achieve lasting improvements that enhance your home's value and daily livability in 2026. Continued attention to maintenance and design cohesion will ensure the space remains an asset for years ahead.
No comments yet. Be the first!