 Fixated on Home
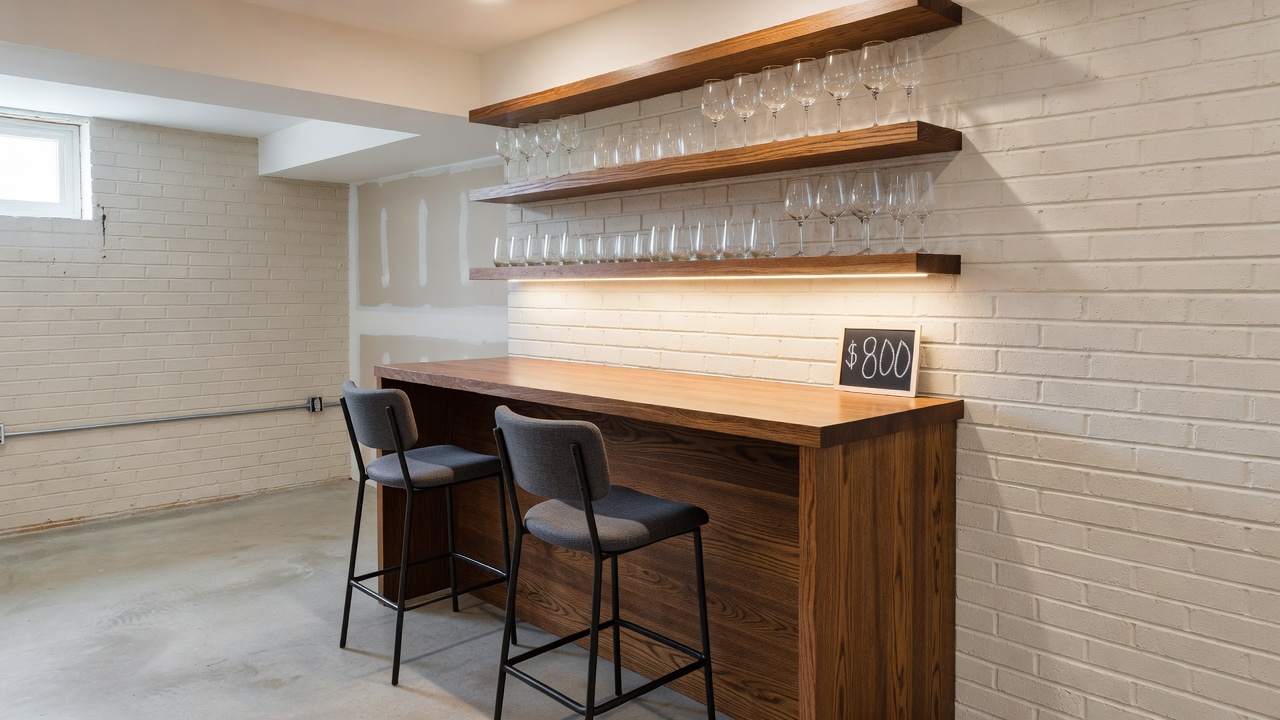
Introduction to Budget Home Bar Renovations in Fixer-Uppers
Transforming unused space into a functional home bar can elevate entertaining without breaking the bank. This guide focuses on budget-friendly strategies tailored for fixer-upper homes, targeting total costs under $800 (as of 2026-08-30). Homeowners can achieve professional results by prioritizing practical material swaps, efficient lighting, and smart storage while addressing common challenges like limited plumbing and permit requirements. In older properties, these upgrades not only create a dedicated entertaining zone but also improve overall home functionality and appeal to potential buyers seeking modern amenities.
Before starting, assess your space for structural issues common in older homes. Integrating home improvement fundamentals ensures durability and boosts ROI through increased property appeal. Many fixer-uppers feature awkward corners or underutilized basements that lend themselves perfectly to compact bar setups, allowing you to maximize every square foot.
Planning Your Project and Assessing Constraints
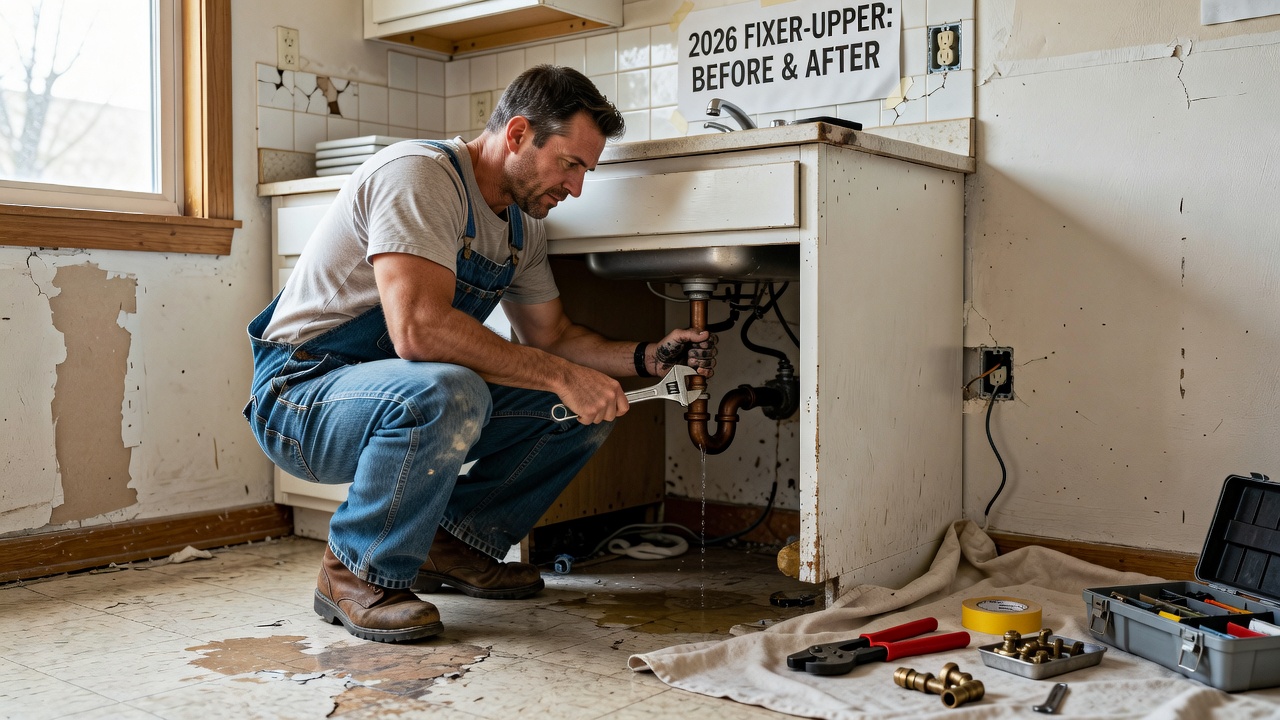
Begin with a clear plan. Measure the area and identify electrical outlets or plumbing access. In fixer-uppers, check for outdated wiring or pipes that may need updates. Review local building codes early—permits are often required for electrical or plumbing work. For guidance on housing standards, consult resources from HUD. Consider traffic flow during parties and position the bar near seating areas for convenience.
Set a realistic timeline: allocate 2-4 weekends for a basic setup. Factor in material delivery and drying times for adhesives or paint. Safety should come first; inspect for hazards like asbestos or lead paint common in pre-1978 homes by reviewing guidelines from EPA. Sketch a simple layout on paper or use free design apps to visualize the final result before purchasing supplies.
Material Swaps for Counters and Shelving
Replace worn surfaces with budget options that withstand spills and wear. Laminate or butcher block counters offer durability at lower costs compared to stone. For shelving, opt for pine boards sealed with polyurethane for moisture resistance. These swaps can dramatically refresh the space while keeping expenses controlled.
Compare materials: Laminate resists stains well but can chip; solid wood provides a premium look yet requires maintenance. Choose based on your entertaining frequency and climate. For example, in humid regions, prioritize moisture-resistant options to prevent warping over time. Reclaimed wood from local salvage yards adds character and supports sustainable practices.
Lighting Upgrades for Ambiance and Functionality
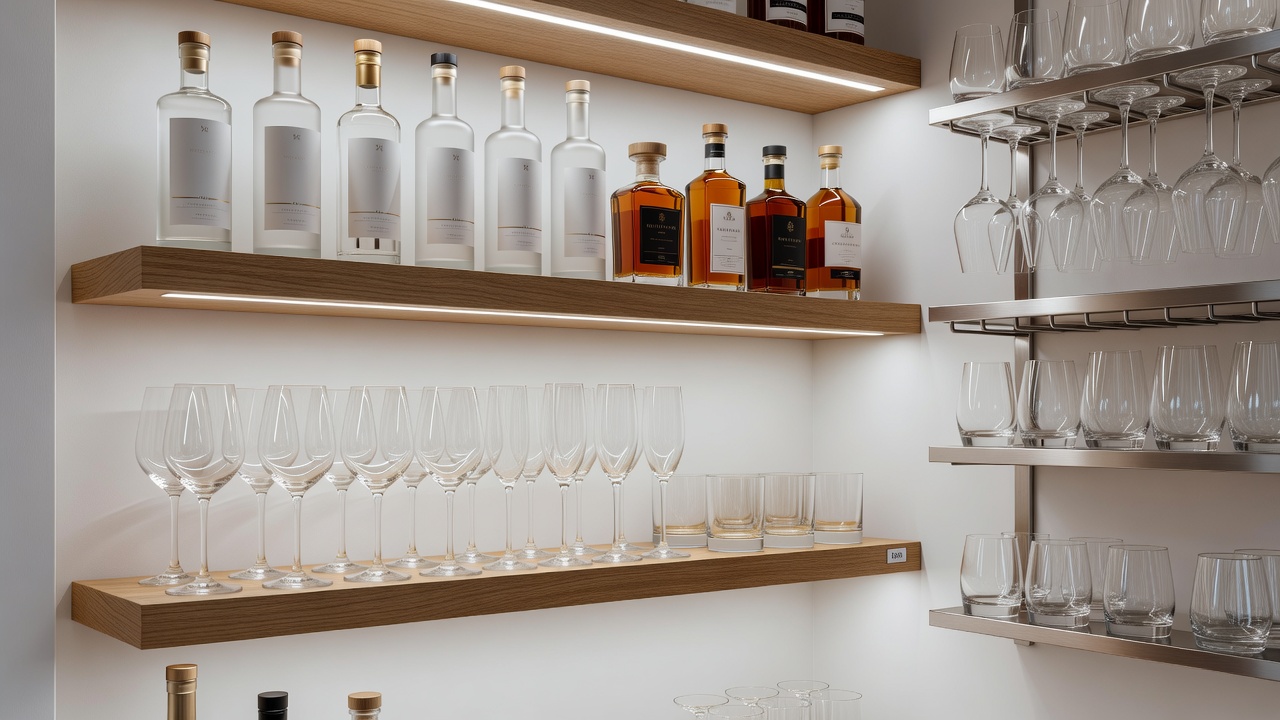
Lighting transforms the bar area. Install LED strip lights under shelves for a modern glow and task lighting above the counter. Energy-efficient options reduce long-term costs—explore selections at Energy Star. Layered lighting, including dimmable overhead fixtures, creates versatility for casual gatherings versus formal events.
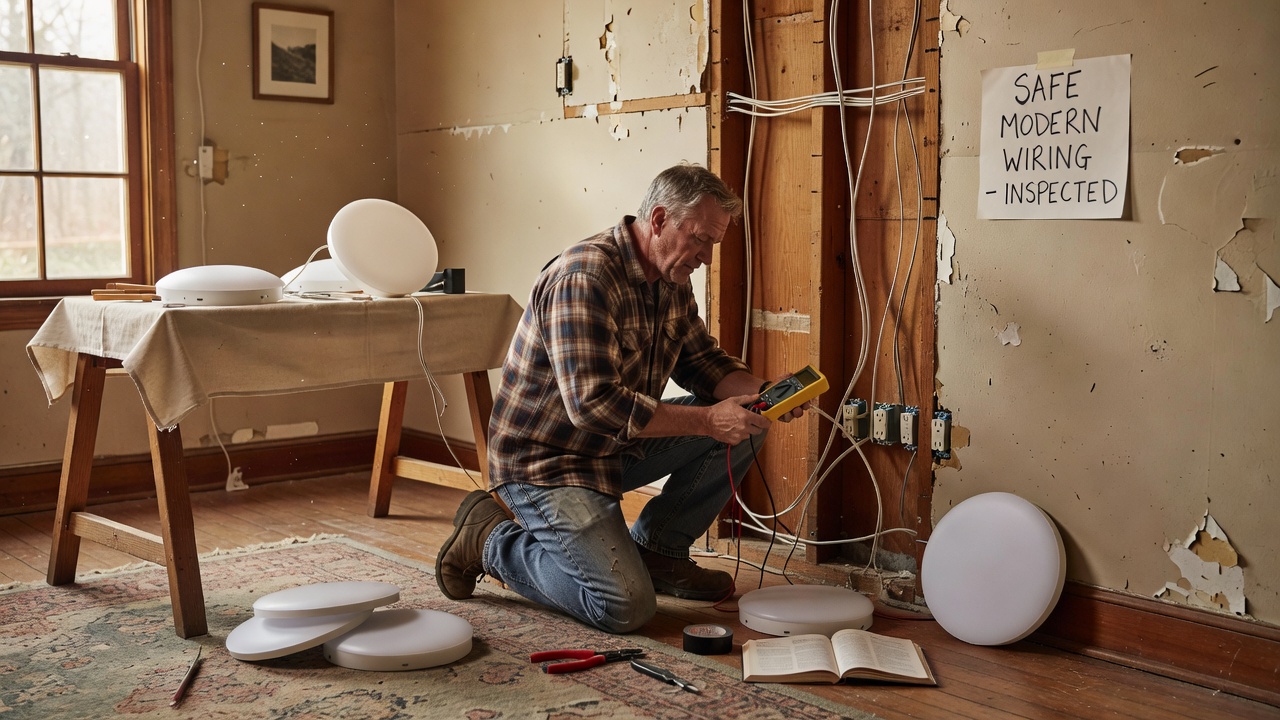
Steps include: 1) Map light placement based on bar height and user movement, 2) Run low-voltage wiring along walls or ceilings, 3) Mount fixtures securely with appropriate anchors for older plaster surfaces. Avoid overloading circuits in older homes by consulting an electrician if needed. Adding smart bulbs allows app-controlled ambiance that impresses guests.
Storage Hacks and Organization Solutions
Maximize limited space with floating shelves, wall-mounted racks, and under-counter bins. Repurpose crates or install pegboards for glassware and tools. These hacks keep essentials accessible during gatherings.
- Use magnetic strips for bottle openers and small tools to free up counter space.
- Install pull-out drawers for spirits and mixers, making retrieval effortless.
- Add hooks for towels and aprons near the prep area.
- Incorporate labeled bins for garnishes and napkins to maintain order.
- Consider corner shelves for awkward angles typical in fixer-uppers.
Step-by-Step Installation Sequence
- Clear and clean the space thoroughly, removing debris and old finishes.
- Install shelving and counter supports first, ensuring level surfaces with a carpenter's level.
- Run electrical for lighting upgrades, testing connections before finalizing.
- Apply finishes like sealant to counters, allowing full cure time.
- Test all elements and add decor such as coasters or themed accents.
- Perform a final walkthrough to confirm stability and safety.
Document progress with photos for before-and-after comparisons to inspire future projects or share on home improvement forums.
Real Cost Breakdowns and ROI Considerations
Typical expenses break down into materials for shelving, lighting, sealant, and minor fixtures. Focus on multipurpose items to stay under budget. These upgrades often yield strong returns by enhancing entertaining spaces that appeal to buyers, increasing perceived home value in competitive markets.
Material Comparisons for Durability
Evaluate options side-by-side: Budget laminate versus mid-range wood. Durability tests show sealed surfaces handle daily use better in humid areas. Avoid cheap plastics that degrade quickly under repeated cleaning. Consider factors like scratch resistance and ease of repair when selecting products for long-term satisfaction.
Before-and-After Examples
One homeowner converted a basement nook using reclaimed wood and LEDs, creating a welcoming bar area that became the centerpiece of family events. Another tackled a garage corner with modular storage, turning clutter into a social hub that hosted neighborhood gatherings. These transformations highlight how thoughtful planning turns limitations into opportunities.
FAQ: Addressing Common Challenges
How do I handle plumbing limitations?
Opt for a dry bar setup without sinks initially. Add portable ice makers or use existing nearby facilities to simplify the process and avoid costly pipe rerouting.
Do I need permits for a simple bar?
Electrical additions usually require permits. Check with your local authority to avoid fines and ensure compliance with safety standards.
What if space is very small?
Focus on vertical storage and foldable elements to maintain functionality without overcrowding the area.
How can I ensure the bar withstands frequent use?
Select high-quality sealants and reinforced hardware, and plan for easy maintenance routines like weekly wiping and periodic resealing.
Conclusion
With strategic planning and quality budget materials, your fixer-upper home bar can become a standout entertaining feature. Follow these steps for lasting results that enhance both daily life and home value, turning an overlooked space into a source of pride and enjoyment for years to come.
No comments yet. Be the first!