 Fixated on Home
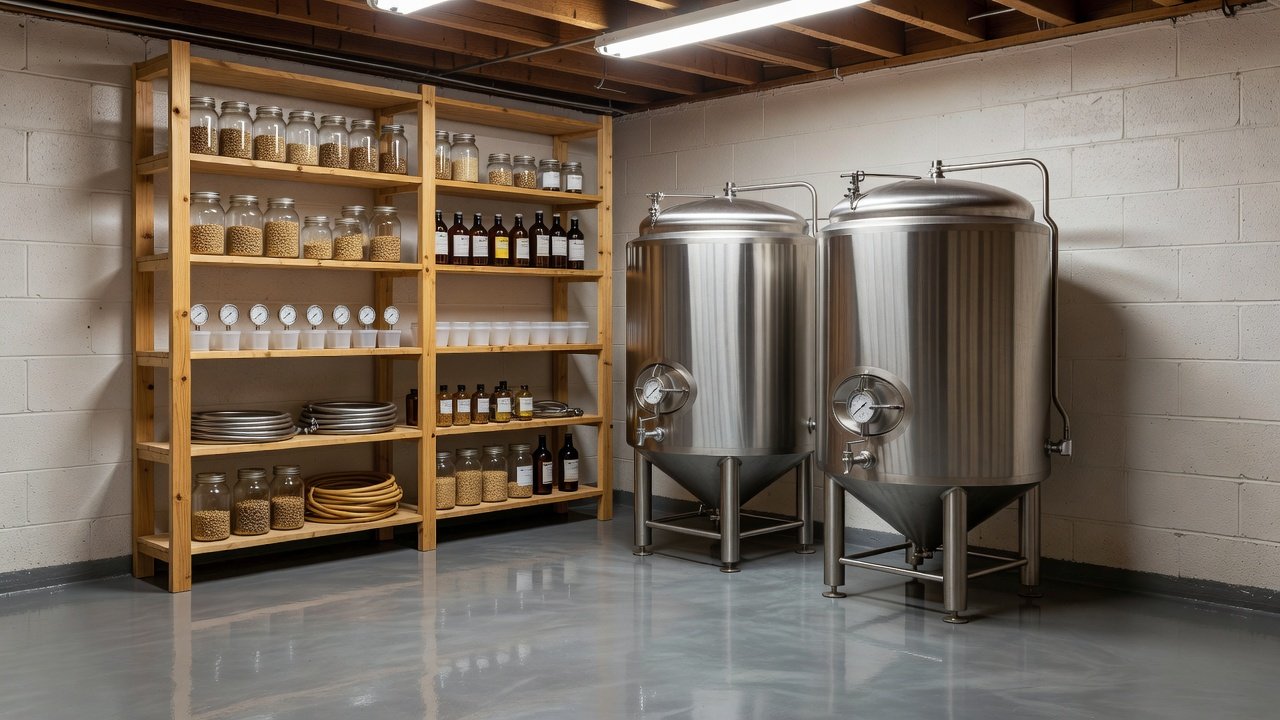
Introduction to Budget Home Brewery Renovations
Converting unused spaces like a basement corner or garage nook into a home brewery is an appealing project for fixer-uppers seeking functional and personalized areas. This guide provides actionable strategies for achieving a professional setup without overspending, focusing on practical material choices, essential upgrades, and long-term considerations. Home brewing enthusiasts can create efficient workspaces that support fermentation, storage, and cleaning while enhancing overall property value. Many homeowners start with limited square footage and basic tools. The key is prioritizing scalable solutions that grow with your brewing ambitions. Whether you're a beginner or expanding an existing hobby, careful planning ensures the space remains safe, organized, and adaptable over years of use.
Search trends show increasing interest in space-saving solutions that also boost long-term home improvement value. A well-planned brewery corner can serve as both a hobby hub and a selling point when listing the property. By addressing common pain points such as moisture control, ventilation, and workflow efficiency, you avoid costly rework later.
Assessing Your Space and Planning the Layout
Begin by evaluating available areas for suitability. Basements offer natural temperature stability ideal for fermentation, while garages provide easy access for ventilation and deliveries. Measure the footprint and note existing utilities like electrical outlets, water sources, or floor drains. Sketch a simple floor plan that allocates zones for brewing equipment, fermentation stations, and ingredient storage. Consider traffic flow and workflow: raw materials should move efficiently to mash tun, then to fermenters, and finally to bottling or kegging areas. Incorporate vertical storage solutions such as wall-mounted shelves to maximize floor space in compact fixer-upper homes. Account for future expansion by leaving open wall sections and extra electrical capacity.
Key Layout Considerations
- Measure ceiling height for tall fermenters and shelving units.
- Identify load-bearing walls before mounting heavy racks.
- Plan for easy access to cleaning stations and waste disposal.
- Ensure adequate lighting with moisture-rated fixtures.
Cost-Effective Material Swaps and Remodeling Tips
Focus on durable yet affordable materials that withstand moisture and spills common in brewing. Swap standard drywall for moisture-resistant alternatives in high-humidity zones. For flooring, opt for epoxy coatings over concrete to create a seamless, easy-to-clean surface that resists stains from wort or cleaning solutions. Plumbing and ventilation upgrades are critical but can be handled affordably. Install basic exhaust fans and flexible ducting to manage steam and odors. Use PVC piping for water lines connected to existing fixtures, ensuring proper slopes for drainage. These steps help maintain air quality and prevent mold growth. When remodeling, prioritize insulation upgrades around the space to maintain consistent temperatures without relying on expensive HVAC modifications.
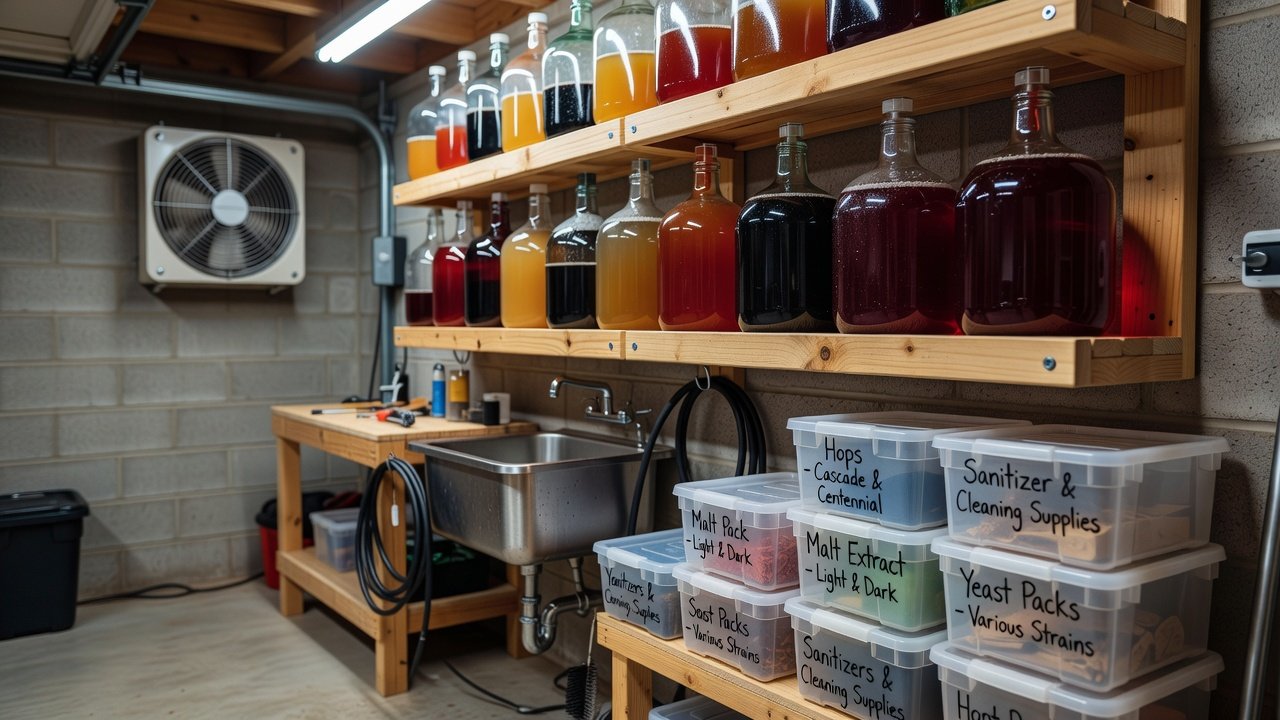
Step-by-Step Installation of Fermentation Stations and Storage
Start with a sturdy work surface at comfortable height for mashing and transferring liquids. Mount adjustable shelving units for carboys, buckets, and kegs. Secure fermentation vessels with straps or racks to prevent tipping during active fermentation. Next, integrate storage solutions like labeled bins for grains, hops, and yeast. Add a small utility sink if space allows, or position a portable washing station nearby. Test all connections for leaks before first use, and label electrical circuits dedicated to pumps or temperature controllers. Break the process into phases: first secure the base structure, then add utilities, and finally install organization elements. This phased approach minimizes disruption in active homes.
Essential Tools and Supplies for the Project
Gather reliable tools before starting. A basic kit includes a cordless drill, level, measuring tape, pipe cutter, and stud finder. For finishing touches, keep sandpaper, caulk, and paint supplies on hand. Having everything ready reduces trips to the store and keeps momentum high during weekend work sessions.
DIY Versus Affordable Professional Options
DIY approaches suit those with basic carpentry and plumbing skills, allowing full customization at lower labor costs. However, for electrical or gas line work, hiring a licensed handyman often proves more reliable and safer. Compare timelines: self-installation may take weekends over several months, while pros can complete core upgrades faster. Many fixer-uppers blend both methods—handling cosmetic finishes themselves while outsourcing critical safety elements like ventilation systems. Weigh your comfort level with each task against local permit requirements to decide the best split.
Real Fixer-Upper Examples and Long-Term Value
One homeowner transformed a 10x12 basement section by adding insulated walls and a dedicated exhaust. The project improved daily usability and contributed to better home resale appeal through increased functional square footage. Another garage conversion incorporated modular racks that adapted as the brewing scale increased over time. A third example involved converting a narrow laundry room corner using fold-down tables and overhead pulley systems for storage. These renovations often deliver strong ROI by turning underutilized areas into specialized hobby spaces that appeal to future buyers interested in craft beverages.
Safety Considerations for Home Brewing Spaces
Prioritize ventilation to disperse carbon dioxide produced during fermentation. Install carbon monoxide detectors if using gas appliances. Keep all electrical components away from wet zones and use GFCI outlets. Follow guidelines from CDC for indoor air quality and proper chemical storage. Regular cleaning routines prevent bacterial contamination and maintain a healthy environment. Always wear appropriate protective gear during cleaning cycles involving sanitizers. Additional resources from EPA cover best practices for managing indoor humidity and OSHA provides general workplace safety principles adaptable to home settings.
Scalability and Future Expansion
Design the initial layout with modular elements so additional fermenters or a larger mash system can be added later. Plan for extra electrical capacity and floor space to accommodate growth without major re-renovation. Think ahead about water filtration upgrades or dedicated cooling units as production volume rises.
Common Mistakes to Avoid
Skipping moisture barriers leads to mold issues. Overlooking proper drainage causes standing water problems. Ignoring workflow efficiency results in cramped, frustrating workspaces. Always double-check local building codes before permanent installations.
Conclusion
A thoughtfully executed budget home brewery renovation transforms overlooked corners into productive, enjoyable spaces. By focusing on smart material choices, essential safety features, and flexible layouts, fixer-uppers achieve functional results that support both immediate brewing needs and future home value. With careful planning and phased execution, your brewing space can evolve alongside your skills and passion for years to come.
No comments yet. Be the first!