 Fixated on Home
Introduction: Turning a Fixer-Upper into Your Personal Wellness Oasis
Creating a dedicated home yoga studio on a budget is an achievable goal for homeowners tackling fixer-uppers in 2026. This beginner-friendly guide focuses on practical remodeling strategies that prioritize moisture resistance, natural light, and smart storage while keeping total costs manageable. By assessing your space thoughtfully and choosing durable yet affordable materials, you can build a serene environment that supports your practice and potentially boosts home value through thoughtful upgrades.
Whether you have a spare room, attic corner, or basement area, the key is starting with a realistic evaluation of existing conditions. Homeowners often overlook issues like humidity or poor lighting, which can affect both comfort and long-term durability. This article walks through each step with real-world examples drawn from recent 2026 projects, offering concrete advice to maximize your investment in wellness and property appeal.
Assessing Your Space for a Budget Yoga Studio
Begin by measuring the available square footage and noting structural challenges. Look for level floors, adequate ceiling height (ideally 8 feet or more for standing poses), and proximity to electrical outlets for any added lighting or fans. In fixer-uppers, check for signs of water damage or mold, especially in older homes where previous leaks may have gone unnoticed.
Practical tip: Sketch a simple floor plan and identify zones for practice, storage, and relaxation. This prevents wasted effort later. Many successful 2026 renovations started with just 100-150 square feet of underutilized space. Consider traffic flow and how the room connects to the rest of the house to ensure the space feels inviting rather than cramped. Take photos during assessment to track progress and spot hidden issues like uneven subfloors that could affect stability during poses.
Moisture-Resistant Flooring Swaps on a Budget
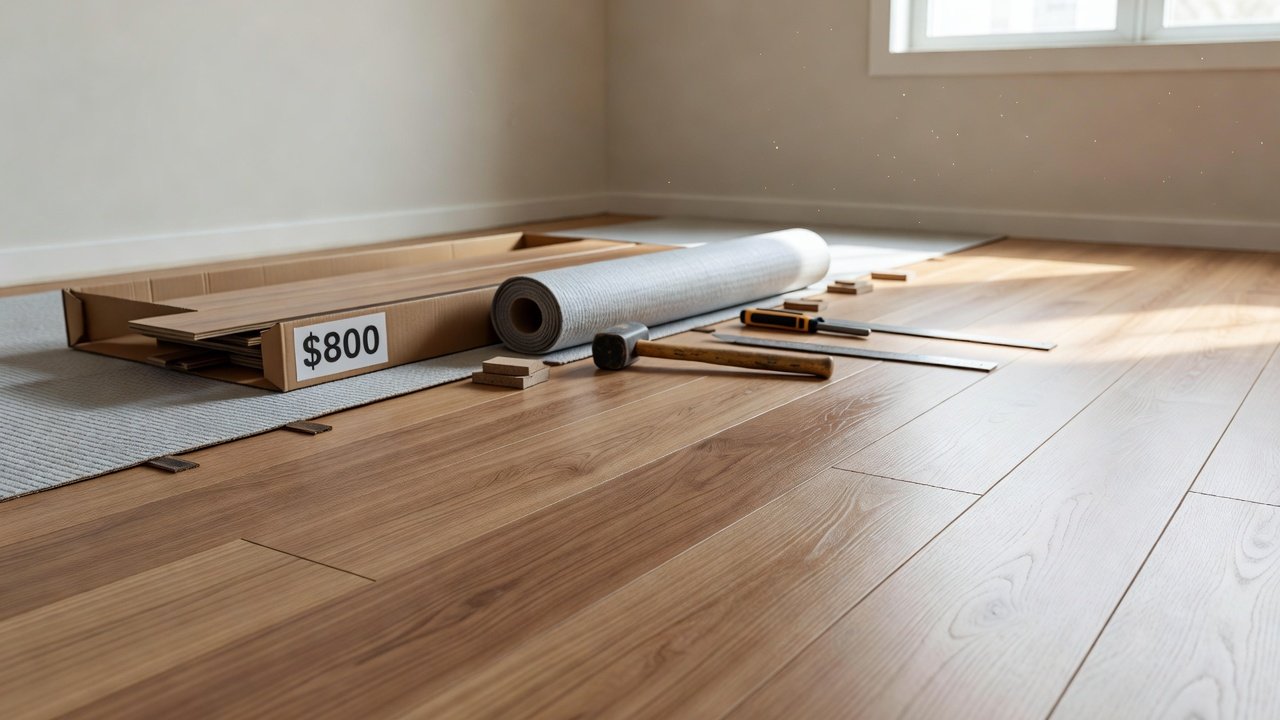
Flooring is critical in wellness spaces where sweat and humidity are common. Vinyl plank or laminate options designed for moisture resistance offer durability without high expense. Compare materials by weighing initial cost against lifespan—waterproof vinyl often outperforms basic carpet in high-humidity areas because it resists warping and easy cleaning.
Step-by-step installation: 1) Remove old flooring and repair subfloor. 2) Install underlayment for cushioning and sound absorption. 3) Lay planks starting from the longest wall, ensuring tight seams and expansion gaps. 4) Add baseboards for a finished look. Always test a small area first to confirm the material handles foot traffic from yoga sessions.
Material comparison: Waterproof vinyl plank provides better value for moisture-prone fixer-uppers compared to traditional hardwood, which can warp over time. Laminate with a waterproof core is another option but may require more careful sealing at edges. Case studies from 2026 show homeowners achieving professional results with weekend DIY efforts when they followed manufacturer guidelines precisely.
Enhancing Natural Light for an Inviting Atmosphere
Natural light elevates mood and reduces the need for artificial lighting, creating a more energizing space for morning or evening flows. Consider adding or expanding windows if permitted by local codes, using sheer curtains, or installing skylights if structurally feasible. For budget options, reflective surfaces like mirrors or light-colored walls amplify existing light without major construction.
Before-and-after examples from 2026 projects demonstrate how simple additions like solar tubes transformed dim basements into bright sanctuaries, improving both usability and energy efficiency. Position mirrors strategically opposite windows to bounce light deeper into the room, and choose paint colors with high light reflectance values for maximum effect.
Modular Storage Solutions for Yoga Props
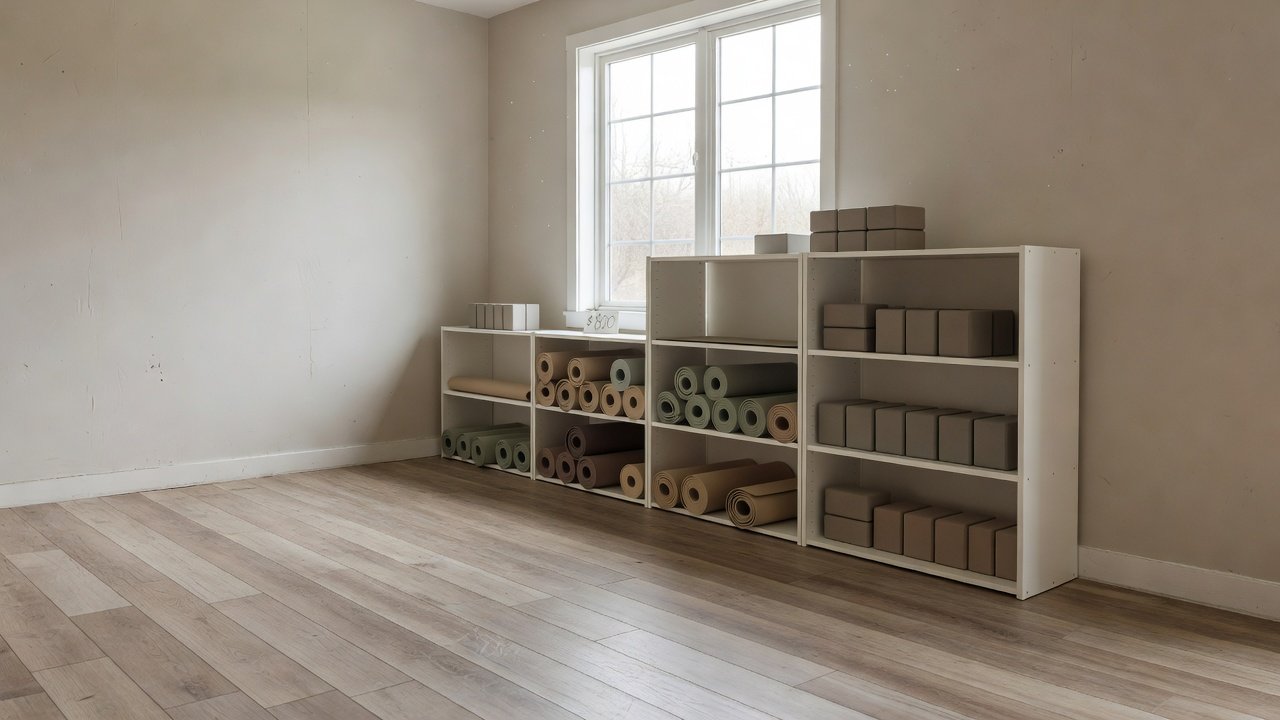
Keep props organized with modular shelving or wall-mounted racks. These systems allow flexibility as your collection grows and make it easy to rearrange the space. Focus on affordable, easy-to-assemble units made from moisture-resistant materials such as sealed wood or metal.
Integration tip: Position storage along one wall to maximize open floor space. Real 2026 renovations often incorporated pegboards or cube organizers that kept mats, blocks, and straps accessible yet out of the way. Add labeled bins for smaller items like resistance bands to maintain a clutter-free environment that supports mindfulness.
Step-by-Step Installation Tips and ROI Focus
Follow a phased approach: assessment first, then flooring, followed by lighting and storage. Always prioritize ventilation upgrades during the process to prevent mold. Mistakes to avoid include skipping moisture barriers or choosing non-durable finishes that require frequent replacement. Homeowners report strong ROI through increased property appeal and personal wellness benefits, as a dedicated space encourages consistent practice.
Material Comparisons: Durability vs. Cost
- Vinyl plank vs. carpet: Vinyl wins for moisture areas due to easy cleaning and resistance to stains from sweat or spills.
- LED lighting vs. traditional bulbs: LEDs offer longer life and lower energy use, making them ideal for spaces used at varying times of day.
- Modular vs. custom storage: Modular provides better adaptability on tight budgets and allows future expansions without full replacement.
- Paint finishes: Low-VOC matte paints are preferable for air quality while still offering good coverage on imperfect fixer-upper walls.
Case Studies from Real 2026 Projects
One suburban fixer-upper converted a 120-square-foot laundry room into a yoga studio using moisture-resistant flooring and mirror accents, completing the project in under two weekends with family help. The result was a calm retreat that doubled as a meditation nook. Another attic renovation emphasized natural light with strategic window placement and added modular shelving, resulting in a versatile space used daily by multiple household members for stretching and restorative sessions. A third example involved a basement corner where cross-ventilation was improved with a small fan, turning a previously musty area into a popular wellness zone that increased the home's marketability.
Practical Tips for Maximizing Your Renovation
Start with high-impact, low-cost changes like painting and lighting before tackling flooring. Test materials in the actual space for color and texture under different lighting conditions. Involve family members in planning to ensure the space meets everyone's needs, and document the process for future reference or to share with other homeowners facing similar challenges.
FAQ: Addressing Ventilation and Soundproofing Concerns
How do I improve ventilation affordably? Install a simple exhaust fan or use cross-ventilation with operable windows. Refer to guidance from EPA resources on indoor air quality for best practices in residential spaces.
What about soundproofing on a budget? Acoustic panels or heavy curtains help contain noise without major construction. Check energy efficiency tips for related home improvements that also support comfort.
Is under $800 realistic? Yes, with careful planning and DIY labor, many 2026 projects stayed within this target by focusing on high-impact, low-cost changes and sourcing materials from local suppliers.
How can I address common beginner mistakes? Avoid overcrowding the space with too many props at once and ensure the floor is fully level before final installation to prevent slips during practice.
Conclusion
With thoughtful planning, your fixer-upper can become a functional budget yoga studio that enhances daily wellness. Start small, prioritize durable materials, and enjoy the transformation that turns an ordinary room into a personal sanctuary.

No comments yet. Be the first!