 Fixated on Home
Budget Laundry Room Reno: Fixer-Upper Remodeling Tips 2026
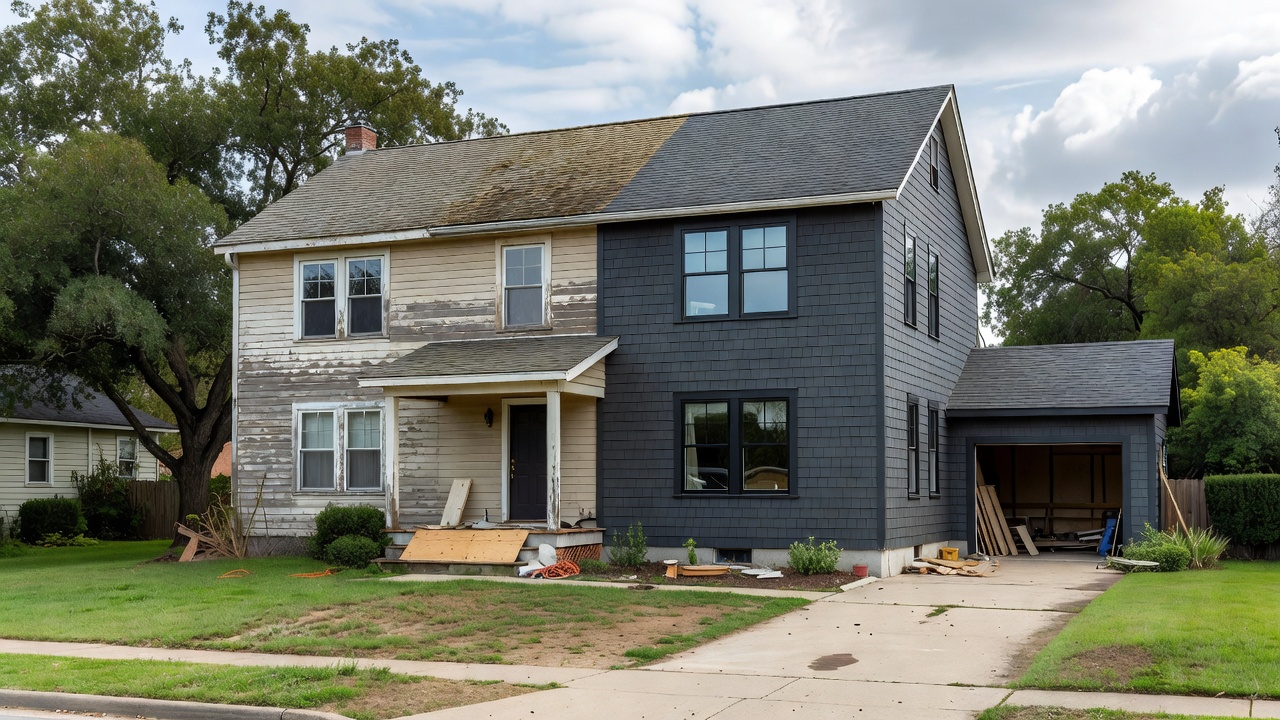
Renovating a laundry room in a fixer-upper home presents a unique opportunity to create a highly functional space without overspending. Many older properties have laundry areas that are cramped, poorly ventilated, or inefficiently laid out, leading to frustration during daily chores. By focusing on space-saving layouts, durable yet affordable materials, and smart workflow improvements, homeowners can achieve professional-looking results that enhance both usability and home value. This comprehensive guide walks through every stage of the process, from initial assessment to final touches, with practical examples tailored for beginners tackling projects in 2026.
Step-by-Step Planning for Your Laundry Room Reno
Effective planning begins with a thorough evaluation of your existing laundry space. Measure the room's length, width, and height, and document the locations of plumbing lines, electrical outlets, windows, and doors. Identify pain points such as inadequate storage or awkward appliance placement that disrupts the natural flow of sorting, washing, drying, and folding. Create a prioritized list of goals, such as improving moisture resistance or adding better lighting, while keeping 2026 energy-efficiency standards in mind. Sketch several layout variations and consider how the room might serve multiple purposes, like doubling as a mudroom entry point. Consult free planning resources from reputable organizations to ensure compliance with basic building practices before purchasing any materials.
Establish a realistic timeline by breaking the project into phases: demolition and prep, rough-ins for plumbing or electrical, installation of finishes, and final organization. Factor in drying times for paints or adhesives and allow buffer days for unexpected issues common in older homes. This structured approach prevents costly delays and helps maintain momentum throughout the renovation.
Space-Saving Layouts for Small Fixer-Uppers
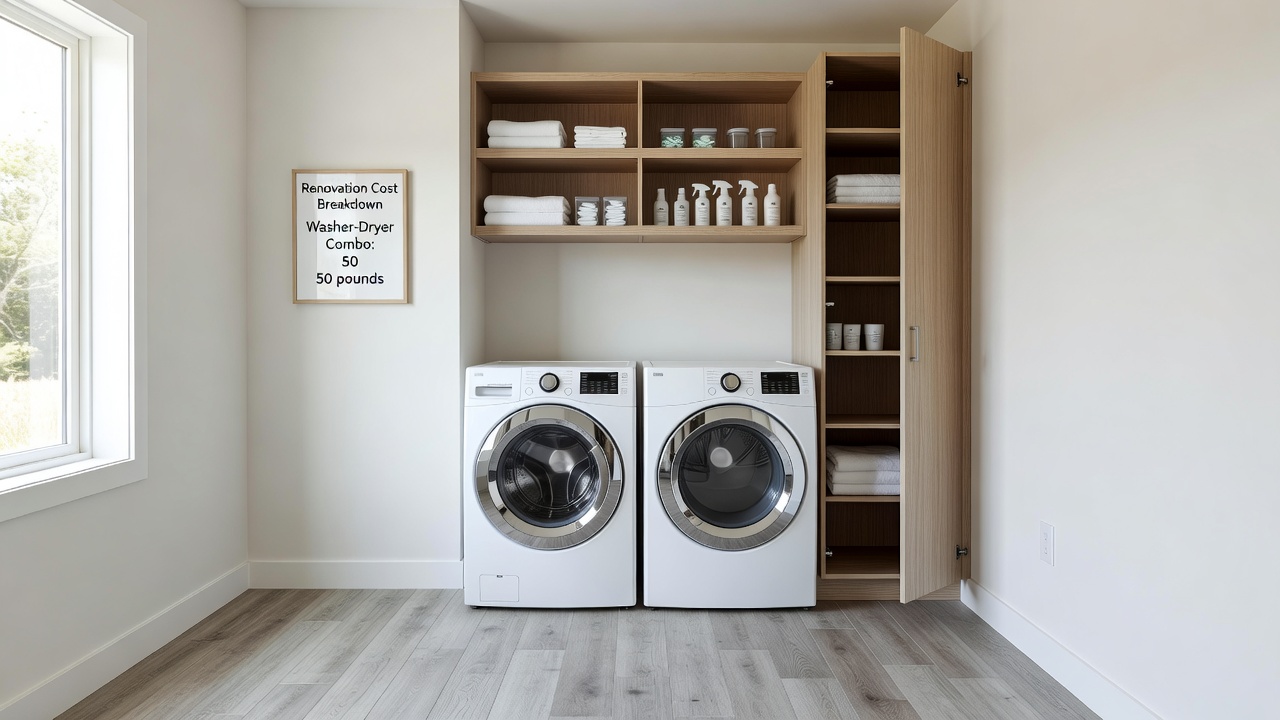
Small laundry rooms benefit greatly from vertical thinking and multi-functional elements. Install floor-to-ceiling shelving units on one wall to store detergents, baskets, and linens while keeping the floor clear for movement. Stackable or front-loading washer and dryer combinations paired with matching pedestals raise the machines to a comfortable working height and create hidden storage drawers underneath. In L-shaped rooms, place appliances along the shorter wall and add a narrow folding counter with integrated hanging rods on the adjacent side.
For extremely tight spaces, consider a single-wall layout where everything aligns linearly: utility sink, washer, dryer, and storage tower. Incorporate pull-down hanging racks and over-the-door ironing board holders to maximize every inch. Real-world examples show that these configurations can increase usable storage by 40 percent without expanding the room's footprint, making daily tasks faster and less physically taxing.
Material Comparisons for Longevity and Cost
Selecting materials that balance affordability with durability is crucial for a renovation that lasts. Vinyl plank flooring resists water spills better than carpet and installs more easily than ceramic tile, offering a practical middle ground for high-moisture environments. Laminate countertops provide a wipeable surface at a fraction of the cost of quartz, though they may show wear faster around sinks. Stock melamine cabinets outperform particleboard options in humid conditions because their sealed surfaces prevent swelling. For walls, moisture-resistant drywall combined with beadboard wainscoting adds both protection and visual appeal while remaining budget-friendly.
When comparing options, evaluate factors like ease of maintenance, expected lifespan, and compatibility with your climate. For instance, in humid regions, prioritize materials rated for high moisture exposure over purely decorative choices. These decisions directly impact how often future repairs will be needed.
DIY Plumbing and Storage Hacks
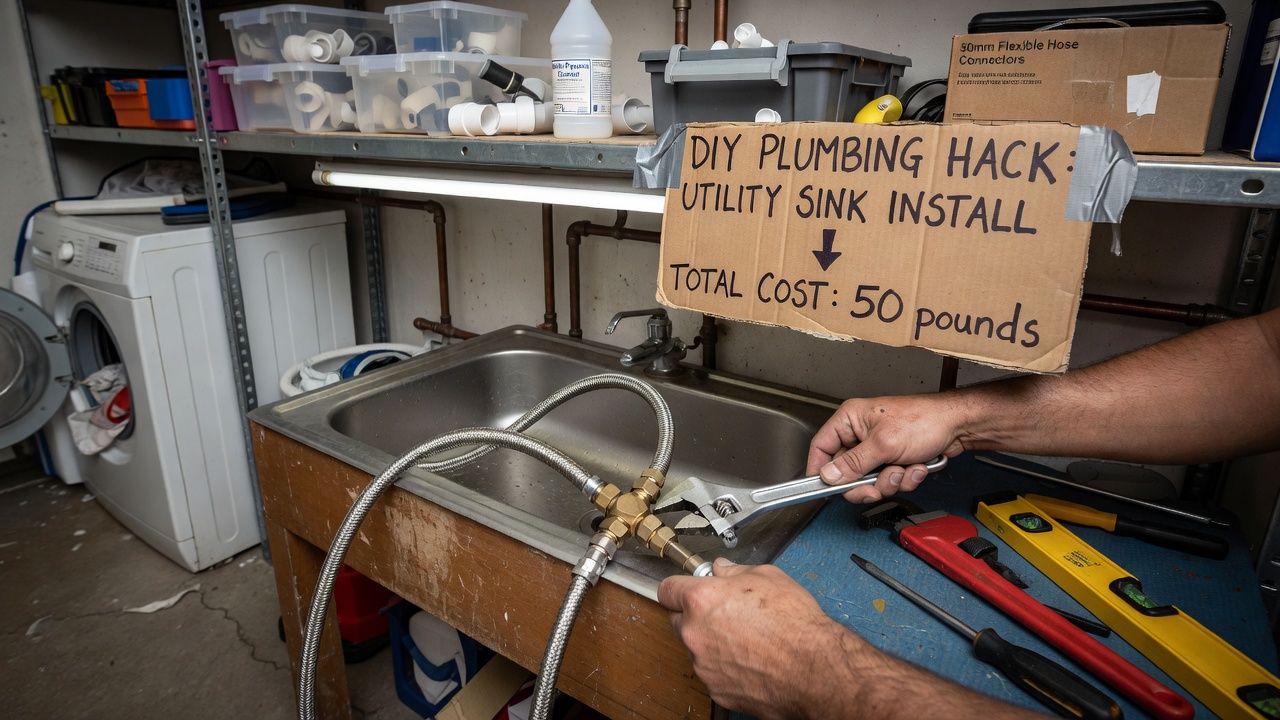
Many plumbing updates can be completed safely by beginners using basic tools and flexible connectors. To relocate a utility sink, first shut off the main water supply, then use compression fittings to extend supply lines while maintaining proper slope for drainage. Always test connections thoroughly before closing up walls. For storage solutions, construct open shelving from pine boards and heavy-duty brackets rated for at least 50 pounds per shelf, or convert wooden crates into stackable cubbies for sorting clothes by color or fabric type.
Additional hacks include mounting a tension rod between two walls for air-drying delicates and attaching magnetic knife strips inside cabinet doors to hold scissors and measuring tapes. These modifications improve workflow without requiring advanced carpentry skills. Step-by-step tutorials from established home improvement sources can guide each phase if you encounter unfamiliar techniques.
Energy-Efficient Appliance Choices and Workflow Improvements
Upgrading to Energy Star certified appliances reduces long-term utility costs while improving performance. Front-loading models typically use less water and spin clothes drier, shortening drying times. Pair these with a high-efficiency dryer that features moisture sensors to prevent over-drying. To optimize workflow, arrange the space so clean clothes move directly from dryer to folding surface without backtracking. Add task lighting above work zones and a small charging station for devices used during laundry sessions.
These improvements create a smoother process from start to finish. For example, positioning a sorting table near the entrance allows family members to deposit dirty items immediately upon entering the room.
Common Pitfalls to Avoid
Overlooking ventilation is one of the most frequent errors, often resulting in mold growth within months. Always upgrade or add an exhaust fan vented to the exterior. Another common issue involves insufficient electrical capacity; older circuits may not support modern appliances, leading to tripped breakers. Measure all components twice before cutting or drilling to avoid material waste. Finally, neglecting to seal gaps around pipes and windows can allow moisture infiltration that undermines even the best finishes.
FAQ on Permits and Timelines
Do I need permits for a laundry room renovation? Local building departments typically require permits for any plumbing or electrical modifications, while purely cosmetic changes like painting or adding shelves usually do not. Check with your municipality early in the planning stage.
How long does a typical budget renovation take? Basic refreshes can be completed in one to two weekends, whereas projects involving appliance relocation or new cabinetry may extend to three or four weeks depending on material availability.
Can I do this without professional help? Many tasks are accessible to beginners, yet gas line work, complex wiring, or structural changes should be handled by licensed professionals to ensure safety and code compliance.
Conclusion
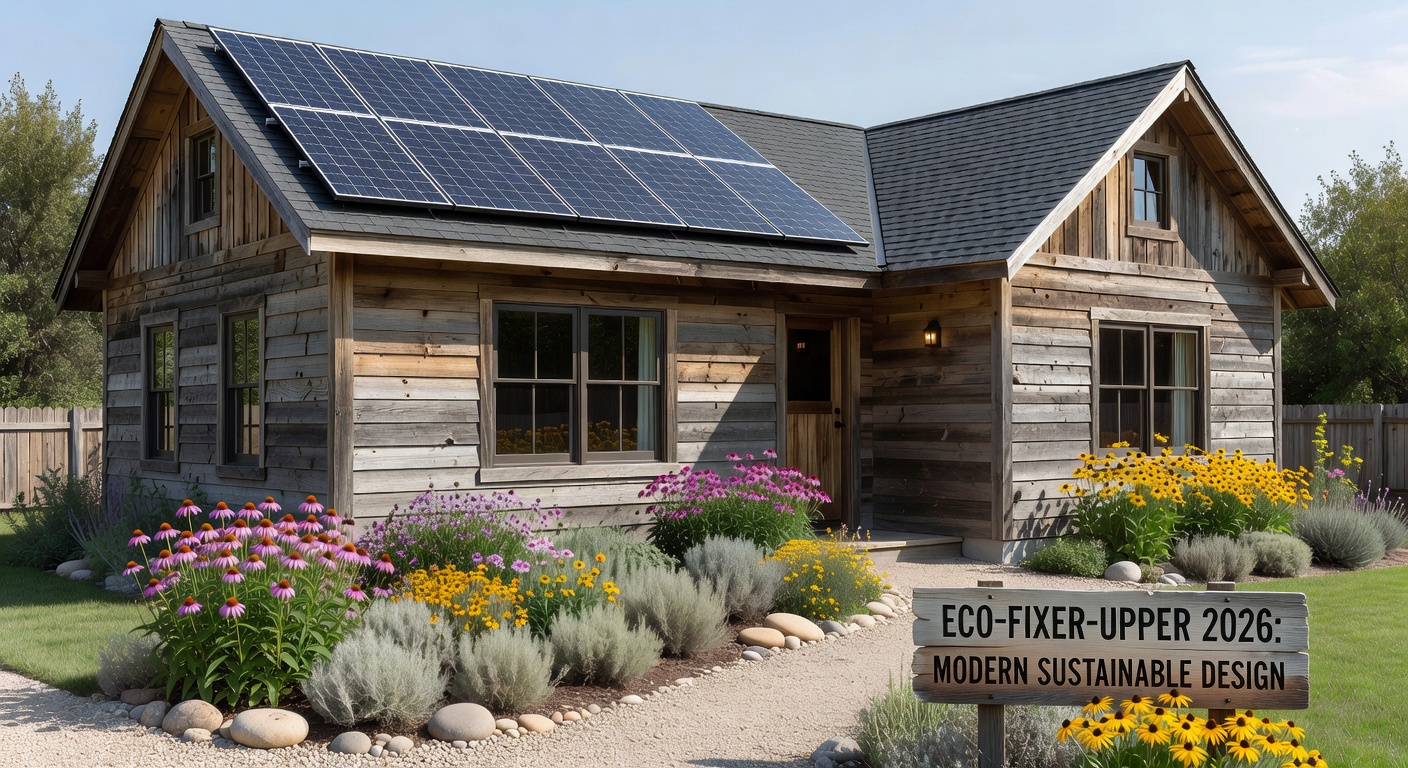
A well-planned budget laundry room renovation transforms an overlooked space into a reliable hub for household chores. By emphasizing thoughtful layouts, resilient materials, and accessible DIY techniques, you can achieve lasting results that support efficient daily routines. Apply these strategies to your fixer-upper project in 2026 and enjoy a more organized, functional laundry area for years to come.
No comments yet. Be the first!