 Fixated on Home
Introduction: Why a Phased Approach Wins for Fixer-Uppers
Buying a full-home fixer-upper offers incredible potential for long-term value, but without structure, costs can spiral. A phased budget reno plan lets homeowners address critical needs first while spreading expenses over time. This guide walks through assessing your property, sequencing work by impact and cost, and executing a realistic 6-month timeline in 2026. Homeowners who follow a structured sequence often see better outcomes because they avoid the common trap of starting multiple projects simultaneously without finishing any.
Successful renovations start with clear priorities rather than tackling everything at once. By focusing on high-impact, lower-cost projects early, you build momentum and protect your budget. This method also reduces stress since you can live in the home during many phases rather than moving out entirely. The key is to treat the process like a series of connected stages that each add measurable improvement.
Step 1: Assessing Property Needs
Begin with a thorough inspection. Hire a professional home inspector to identify structural issues, plumbing, electrical systems, and roof condition. Document everything in a prioritized list: safety and structural items first, followed by functional upgrades, then cosmetic improvements. Take detailed photos and notes during the walk-through so you have a reference when planning each phase months later.
Walk through each room and note moisture damage, outdated wiring, and inefficient windows. Check the attic for insulation levels and the basement for foundation cracks. This assessment forms the foundation of your phased plan and helps avoid surprises later. Consider ordering specialized reports such as radon testing or sewer line camera inspections if the property is older. The more complete your initial data, the smoother subsequent phases become.
Sequencing Projects by Impact and Cost
Order projects strategically. Start with systems that affect livability and safety, such as electrical panels or HVAC. Next, tackle kitchens and bathrooms for the highest return on investment. Finish with aesthetics like flooring and paint. This sequence ensures you never invest in finishes that might be damaged by later mechanical work.
Budget reno principles emphasize using durable, affordable materials that boost resale value without luxury markups. Consider how each phase improves daily life while controlling spending. For example, fixing a leaky roof before installing new drywall prevents water damage to fresh surfaces. Compare short-term disruption against long-term gains when deciding the exact order for your specific property.
Room-by-Room Prioritization
Kitchen Renovation Priorities
Focus on cabinet refacing and new countertops before full gut jobs. Replace outdated appliances only after confirming the electrical service can handle the load. Many homeowners find that swapping out cabinet hardware and adding under-cabinet lighting creates a surprisingly fresh look at minimal cost.
Bathroom Updates
Update fixtures and tile first; save luxury vanities for later phases. Address any mold or ventilation issues early so new finishes last longer. A new showerhead and toilet can refresh the space while you plan larger plumbing changes for a future phase.
Living Areas and Common Spaces
Repair floors and walls, then add energy-efficient lighting. Open floor plans benefit from consistent flooring materials across connected rooms, so plan those purchases together even if installation happens in stages.
Bedroom and Private Spaces
Address closets and windows last among interior spaces. These rooms often require the least structural work, making them ideal for final cosmetic phases when your budget feels tighter.
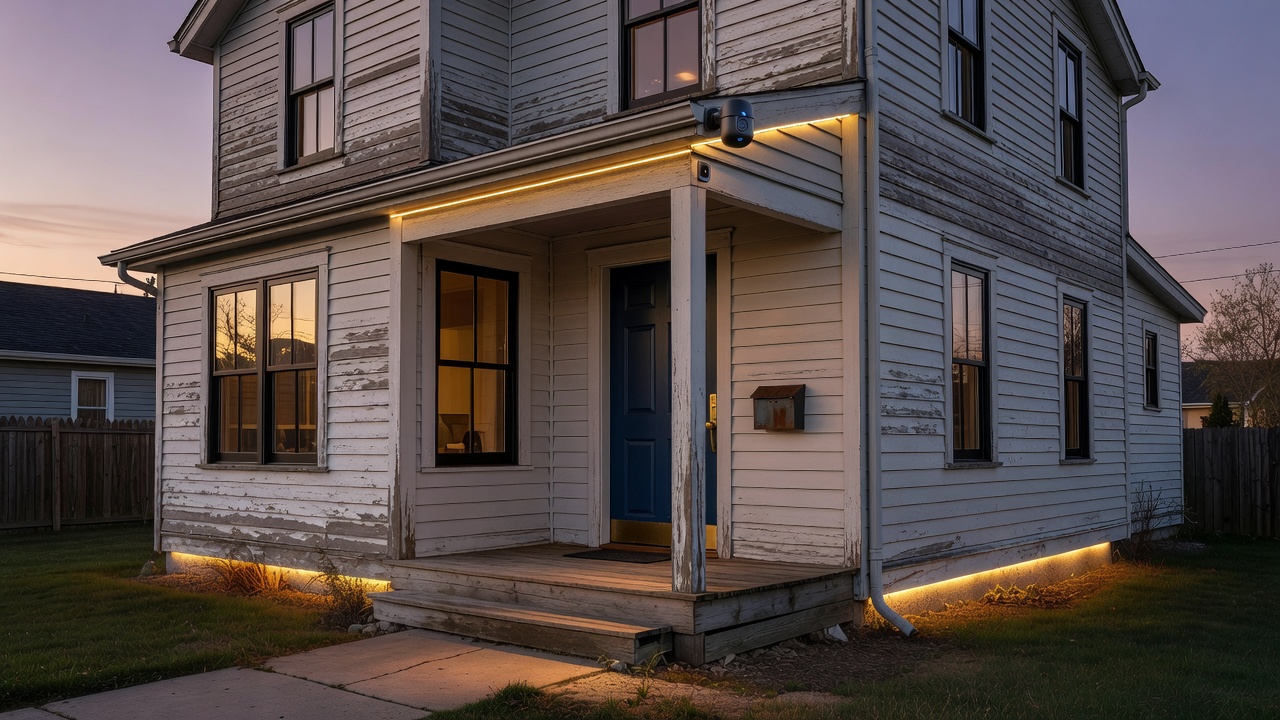
Exterior and Site Work
Prioritize roof repairs, then landscaping and siding touch-ups. Curb appeal projects performed last give the home a polished appearance once interior dust has settled.
Material Sourcing Hacks for 2026
Shop remnant sales at local suppliers and check online marketplaces for overstock. Reclaimed wood and gently used fixtures from reputable salvage yards reduce costs significantly. Always verify quality to avoid future repairs. Create a spreadsheet that tracks current pricing trends so you can buy when deals appear rather than when you are in a rush.
Partner with contractors who offer bulk discounts on common items like drywall and insulation. Track prices weekly as material costs fluctuate. Visit warehouse clubs and reuse centers on weekdays when stock is freshest. Many successful budget renovators also join local contractor networks that share leftover materials from larger jobs.
Learn more about home improvement resources from HUD.

6-Month Timeline Example
Months 1-2 focus on structural and systems work including electrical updates and plumbing fixes. Hire licensed trades first so all rough-in work passes inspection before walls are closed. Schedule the electrical panel upgrade early in month one and follow with HVAC duct cleaning or replacement.
Months 3-4 cover kitchen and bath renovations using phased material deliveries. Order cabinets and fixtures in advance so they arrive exactly when rough plumbing is complete. This overlap prevents idle time on site. Months 5-6 handle flooring, painting, and final cosmetic details plus exterior cleanup. Reserve the last two weeks for punch-list items and final inspections.
Build in buffer weeks for unexpected delays. Schedule inspections at the end of each major phase. Keep a shared digital calendar with your contractors so everyone sees upcoming milestones. Adjust the timeline monthly based on weather or supply-chain realities.
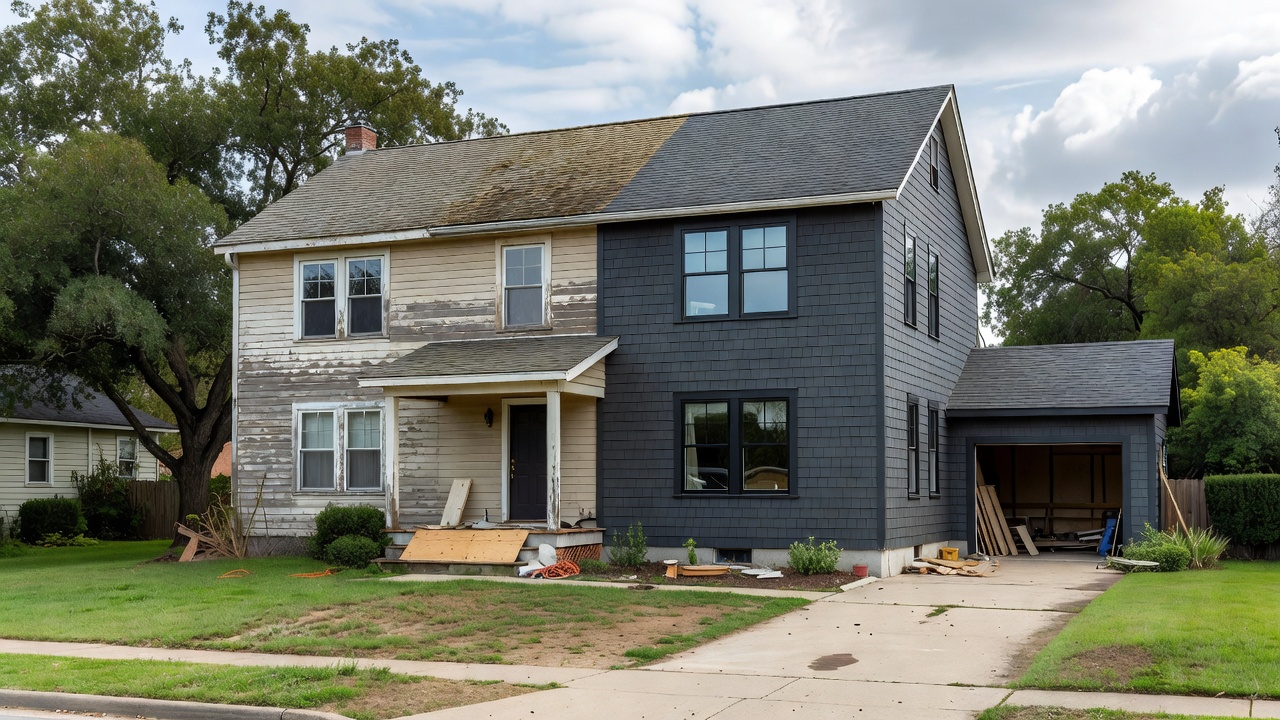
Before-and-After Comparisons
Imagine a dated 1970s kitchen transformed into a functional space with new cabinet fronts and energy-efficient appliances. The workflow improves dramatically once you add a central island and better lighting. Living rooms gain warmth through refinished hardwood and neutral paint that reflects more natural light. Bedrooms become calmer retreats after window replacements reduce drafts and noise.
These staged updates create noticeable improvements without overwhelming the budget. Photograph each room at the start and end of every phase so you can track progress and celebrate small wins. Side-by-side images also help when applying for future financing because they demonstrate responsible use of funds.
Common Pitfalls to Avoid
Never skip permits or professional inspections. Avoid impulse purchases of trendy materials that may not hold value. Underestimating labor time leads to rushed decisions. Always maintain a contingency fund for surprises. Another frequent mistake is ordering materials too early, which creates storage problems and potential damage before installation.
Stay disciplined about scope creep by writing down exactly what each phase includes. Share the written plan with all household members so expectations remain realistic. Review the plan every two weeks and only add new items if they fit within the current phase budget.
Tracking Progress and Adjusting the Plan
Use a simple project management app or even a whiteboard to mark completed tasks. Weekly walk-throughs with your contractor keep communication clear. If a phase finishes under budget, decide in advance whether to roll the savings into the next phase or hold them as emergency reserves.
FAQ: Financing Options for Your Reno
What financing works best for phased renovations? Home equity loans or lines of credit allow draws as phases progress. Personal loans suit smaller budgets and usually close faster.
Are there government programs available in 2026? Check current offerings through federal and local agencies for energy-efficiency incentives that can offset certain upgrades.
How do I protect my credit during a long renovation? Pay contractors on schedule and keep all receipts organized for potential tax documentation.
Explore financing tools and guides at Consumer Financial Protection Bureau.
Conclusion
A well-planned phased budget reno turns a fixer-upper into a valuable home without financial strain. Start with assessment, follow logical sequencing, and stay disciplined with sourcing and timelines. The result is a transformed property built for lasting enjoyment and equity in 2026. Consistent documentation and flexible but firm planning turn what could be an overwhelming project into a manageable series of achievable steps.

No comments yet. Be the first!