 Fixated on Home
Introduction to Smart Tech in Budget Fixer-Upper Renovations
Integrating smart home technology into a fixer-upper doesn't require breaking the bank. Homeowners tackling older properties in 2026 can blend modern convenience with cost-effective upgrades that address common issues like outdated wiring and inefficient systems. This guide explores practical strategies for adding smart features during renovations, focusing on long-term savings and compatibility with legacy homes. Whether your project involves a 1920s bungalow or a mid-century ranch, thoughtful tech integration can transform daily living while respecting tight budgets.
Search intent for budget smart renos often centers on balancing initial investments with energy efficiency gains. By choosing entry-level devices over premium ones, you can achieve similar functionality while prioritizing phased implementation. Real-world examples show how targeted rollouts enhance security, lighting, and control without overwhelming a renovation timeline. The key is understanding how these additions interact with existing structures to avoid surprises during remodeling.
Benefits of Adding Smart Technology to Older Homes
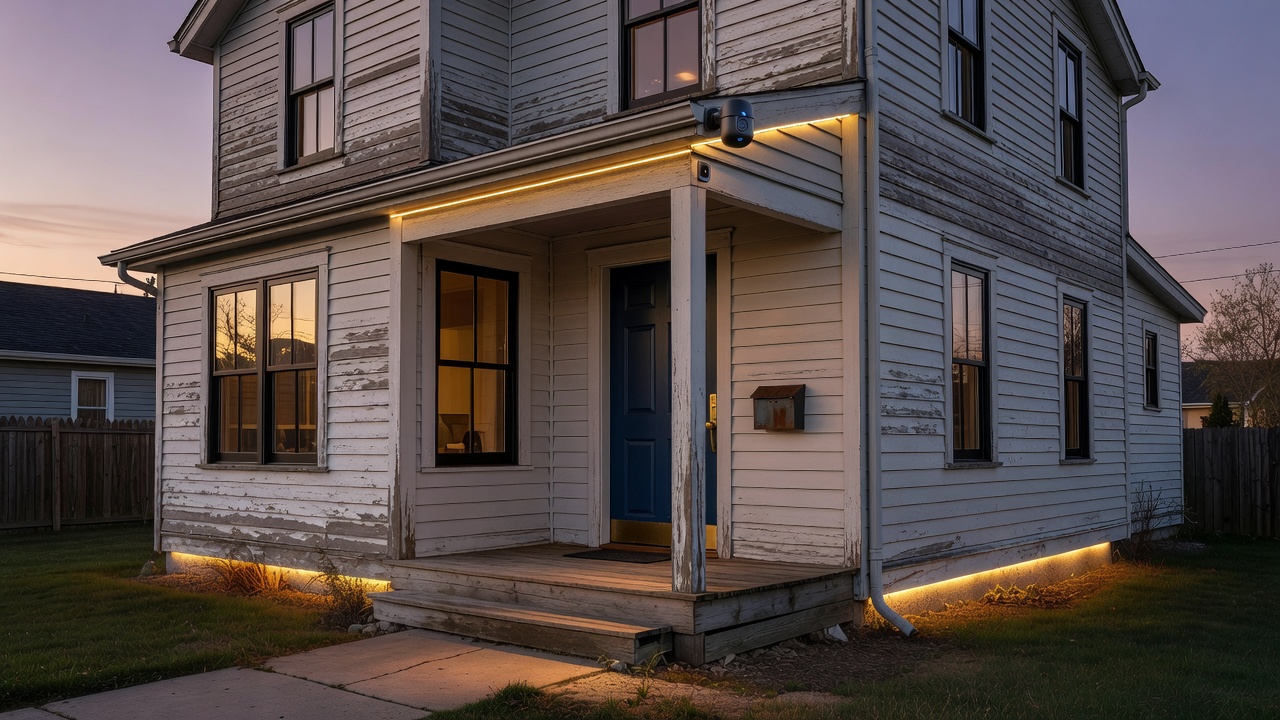
Older homes often suffer from inconsistent heating, poor lighting control, and limited security features. Smart upgrades address these pain points directly. For instance, automated lighting reduces energy waste in rooms that see sporadic use, while smart security provides peace of mind without invasive installations. Homeowners frequently notice improved comfort and lower maintenance demands after integration. These systems also future-proof properties, making them more appealing if resale becomes a consideration later.
Another advantage lies in remote monitoring. Whether you're away for work or managing a multi-phase renovation, app-based controls let you check status from anywhere. This proves especially useful in fixer-uppers where contractors may need occasional access. Overall, the blend of convenience and efficiency makes smart tech a natural fit for budget-conscious remodels.
Comparing Entry-Level vs Premium Smart Devices
When selecting technology for fixer-uppers, compare options carefully. Entry-level smart bulbs and plugs often provide core automation at a fraction of the cost of high-end ecosystems. Premium alternatives may offer advanced AI features or better build quality, but for most budget projects, basic Wi-Fi-enabled devices suffice and integrate well with older infrastructure. Entry-level choices typically focus on essential functions like on/off scheduling and basic voice commands, whereas premium models add predictive analytics and multi-room synchronization.
Material comparisons reveal that entry-level LED smart lights consume less power over time, aligning with goals for reduced utility bills. Premium security cameras might include superior night vision, yet budget models paired with a reliable hub deliver adequate performance for typical residential needs. Always verify compatibility with existing electrical setups to avoid costly rewiring. In practice, many homeowners start with entry-level options and upgrade specific components only when advanced features prove necessary.
Selecting Budget-Friendly Hubs, Lighting, and Security
A central hub acts as the brain of your smart system. Look for affordable options that support multiple protocols like Zigbee or Z-Wave, ensuring they work with older homes lacking modern wiring standards. Popular choices include voice assistants or dedicated controllers that connect via Wi-Fi. These hubs simplify management across devices and often include built-in routines for morning or evening automation.
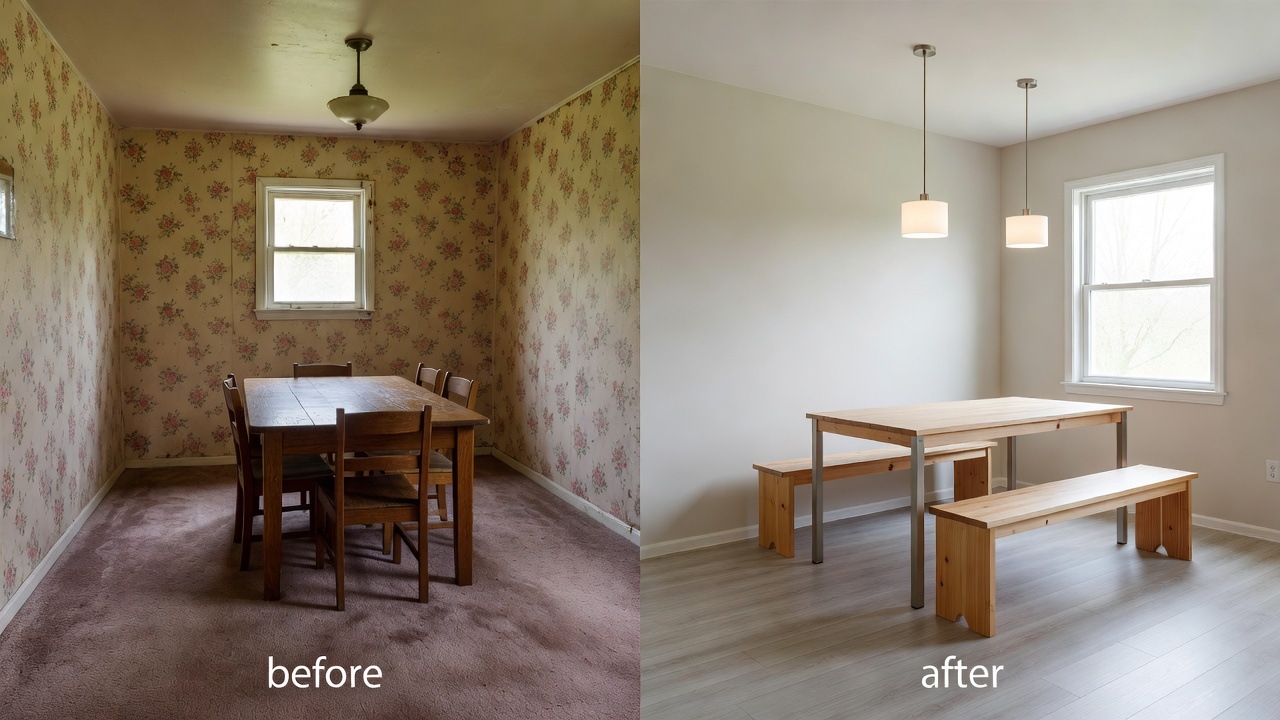
For lighting, start with smart bulbs that replace standard fixtures directly. These allow scheduling and dimming through apps, improving ambiance in renovated spaces. Security systems benefit from wireless cameras and smart locks that install without running new cables, ideal for fixer-uppers with plaster walls or knob-and-tube wiring remnants. Consider adding smart doorbells for visitor screening and motion sensors for high-traffic areas. Pairing these elements creates a cohesive network that grows with your renovation progress.
U.S. Department of Energy resources highlight how smart lighting contributes to overall household efficiency.
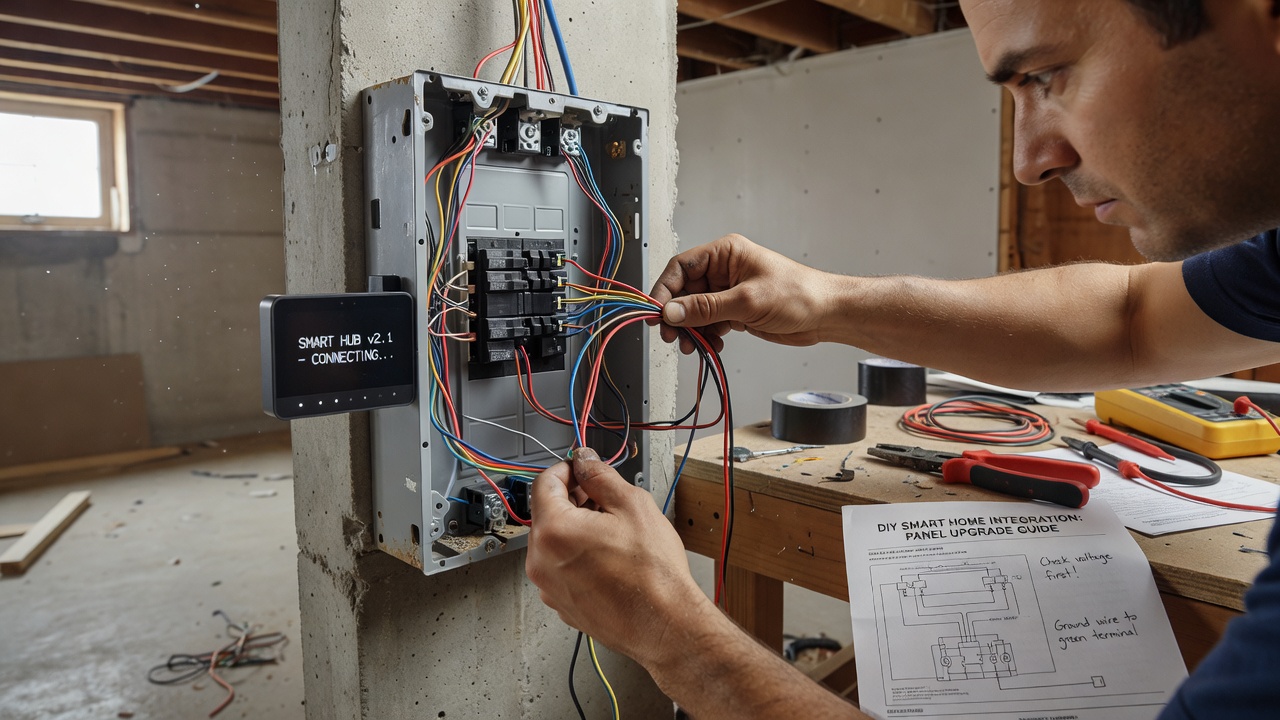
Step-by-Step Installation Tips for Outdated Wiring
Fixer-uppers frequently present challenges with legacy electrical systems. Begin by assessing your panel and identifying circuits suitable for smart additions. Use a voltage tester before any work and consider consulting a licensed electrician for safety. Mapping the home's electrical layout early prevents conflicts during later phases.
- Map existing outlets and switches to plan device placement, noting any aluminum wiring or fuse boxes that may require special adapters.
- Install smart switches that fit standard boxes, bypassing the need for full rewiring by using existing neutral wires where available.
- Connect devices to your hub following manufacturer apps, testing connectivity room by room to identify weak signal spots caused by thick walls.
- Integrate sensors for automation, such as motion-triggered lights in hallways or leak detectors near older plumbing.
- Verify all connections with a multimeter and label new components for future reference during maintenance.
This approach minimizes disruption while modernizing the home gradually. Always prioritize safety by turning off power at the breaker before handling any wiring.
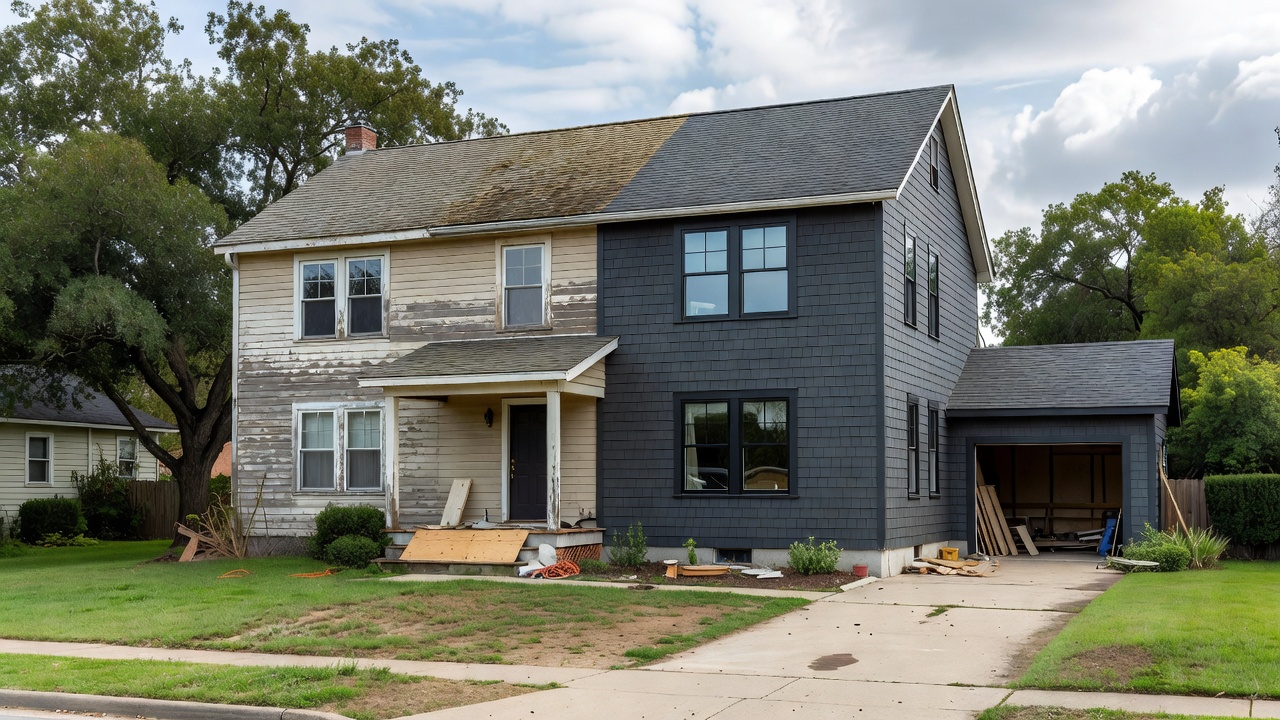
Phased Rollouts and Real-World Examples
Implementing changes in phases keeps projects manageable. Start with a single room like the living area, adding a hub and a few lights, then expand to security features. Homeowners report success with sequential additions that build on each other, such as linking new devices to an existing network. One common example involves a 1940s home where the first phase focused on kitchen lighting for improved task visibility, followed by a second phase adding entry security and a third phase incorporating whole-home sensors.
Another example involves prioritizing high-impact areas: kitchen lighting first for daily use, followed by entryway security. These strategies emphasize blending tech naturally into remodeling without excess spending. Phased approaches also allow testing compatibility and adjusting based on real usage patterns before committing further resources.
Material Comparisons and Long-Term Energy Savings
Choosing durable yet affordable materials enhances longevity. Compare smart plugs made from heat-resistant plastics versus basic models, noting how efficient components reduce standby power draw. Over time, these choices compound into noticeable savings on energy costs, especially when paired with programmable schedules. Smart thermostats, for example, learn household patterns and adjust temperatures accordingly, often leading to reduced heating and cooling demands in older, less insulated homes.
Additional comparisons include wireless versus wired security options. Wireless models avoid wall damage but may need periodic battery changes, while wired versions offer constant power at the expense of installation complexity. Evaluating these trade-offs helps tailor selections to your specific fixer-upper conditions and renovation timeline.
EPA Energy Star program provides guidelines on selecting efficient smart products for older residences.
Common Mistakes to Avoid During Integration
- Skipping compatibility checks, which can lead to devices that won't connect to older electrical systems or Wi-Fi networks with limited range.
- Overloading circuits by adding too many high-draw smart devices without verifying panel capacity.
- Ignoring firmware updates, resulting in security vulnerabilities or lost functionality over time.
- Placing sensors in poor locations that cause false triggers or weak signals in multi-story homes.
Avoiding these pitfalls ensures smoother rollouts and better long-term performance.
FAQ: Compatibility with Older Homes
Can smart devices work with knob-and-tube wiring?
Yes, many wireless smart devices operate independently of hardwired systems, though professional evaluation is recommended for safety and to confirm no overloading occurs.
What about compatibility with historic homes?
Non-invasive options like plug-in hubs and battery-powered sensors preserve original features while adding functionality without altering historic elements.
How do I handle potential interference?
Position hubs centrally and use range extenders if signals weaken due to thick walls common in fixer-uppers. Testing signal strength during installation helps identify issues early.
Are smart thermostats suitable for older HVAC systems?
Many models work with legacy heating and cooling setups, but confirm wiring compatibility and consider professional installation if your system uses unusual configurations.
What maintenance is required after installation?
Regular app updates, battery checks on wireless devices, and occasional hub restarts keep the system running reliably through seasonal changes.
Conclusion
Smart tech integration in budget renovations empowers homeowners to modernize fixer-uppers efficiently. By focusing on practical comparisons, phased steps, and compatibility considerations, you create a future-proof home that delivers value for years ahead. Thoughtful planning ensures each addition contributes to comfort, security, and efficiency without unnecessary expense.
No comments yet. Be the first!