 Fixated on Home
Introduction: Why a Budget Mudroom Reno Matters in 2026
Entryway clutter is a common pain point in fixer-uppers, turning daily routines into frustrating searches for shoes, coats, and bags. A targeted mudroom renovation addresses this by creating dedicated storage without breaking the bank. This guide focuses on affordable home improvement strategies tailored for beginners, emphasizing practical remodeling tips that maximize small spaces while keeping costs low. Homeowners in older properties often face irregular walls, limited square footage, and outdated finishes, all of which can be turned into opportunities with creative planning. Implementing these changes not only reduces daily stress but also boosts the home's functionality and resale appeal over time.
Whether you're dealing with a narrow hallway or an underutilized corner, these ideas prioritize vertical solutions and weatherproofing to handle real-world wear. By the end, you'll have a clear plan to assess your space, source materials wisely, and build functional storage that improves both organization and home value. Many successful projects start with simple observations of family habits, such as where items are dropped most frequently upon entering the house.
Assessing Your Space for Effective Layout Planning
Start by measuring your entryway thoroughly. Note dimensions, existing fixtures like doors or vents, and traffic flow. Identify high-traffic zones where mud and debris accumulate most. Sketch a simple floor plan on paper or a digital app to visualize options. Focus on underused vertical areas above eye level and behind doors for hidden storage potential. In fixer-uppers, uneven floors or protruding pipes may require creative adjustments, so photograph the area from multiple angles before purchasing supplies.
Consider natural light, electrical outlets, and proximity to exterior doors when planning. This assessment prevents costly mistakes later and ensures your design fits the room's unique quirks common in older homes. For example, a south-facing entry might need extra ventilation to combat summer heat, while a north-facing one benefits from insulated backing on storage units. Walk through the space during peak usage times to observe real patterns and adjust your layout accordingly.
Sourcing Affordable Materials Under Budget Constraints
Visit local salvage yards, discount home centers, and online marketplaces for reclaimed lumber, basic shelving brackets, and hooks. Opt for durable yet inexpensive options like pine boards, wire baskets, and pegboard panels. Prioritize items that serve multiple purposes, such as multi-hook racks or stackable bins, to stretch resources further. Checking clearance sections at major retailers can yield quality finds that fit your project needs perfectly.
Compare prices across a few suppliers to stay economical. Many budget reno projects succeed by repurposing items like old crates or thrifted furniture for custom storage. Always check for quality to avoid replacements down the line. Resources from Home Depot and similar outlets provide inspiration for beginner-friendly selections that hold up well in entryway environments.
Vertical Storage Solutions for Maximum Efficiency
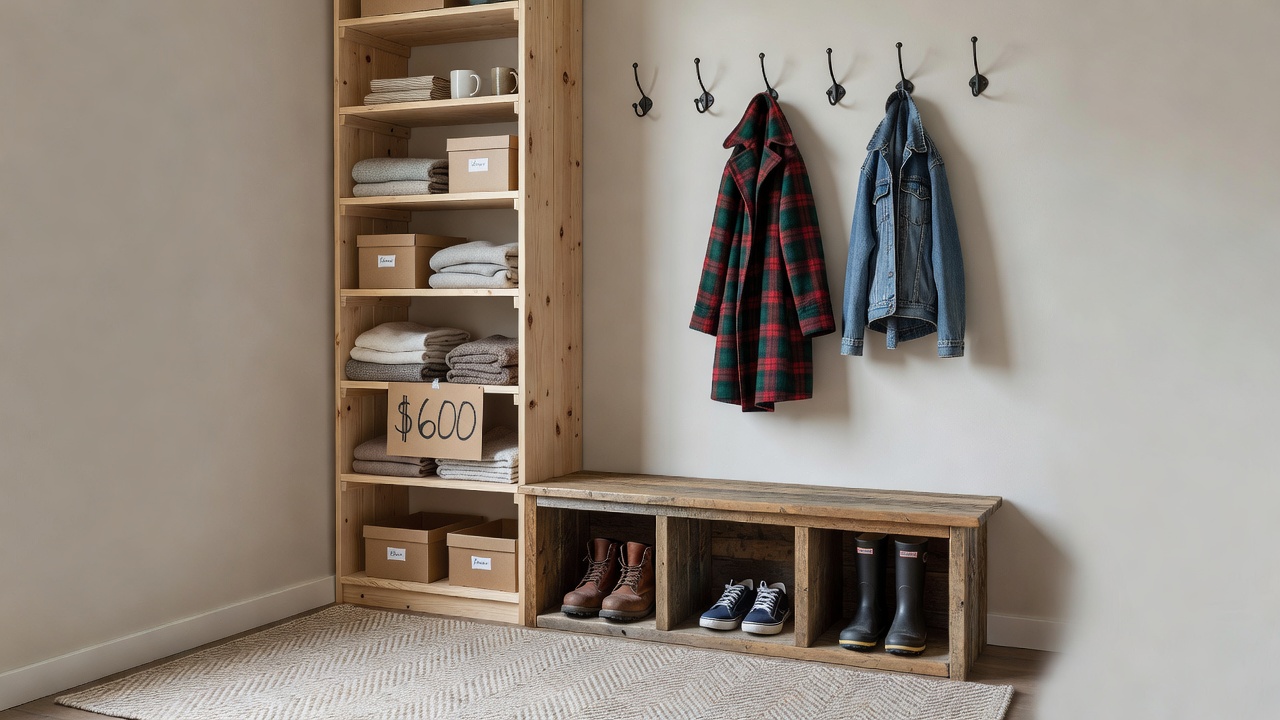
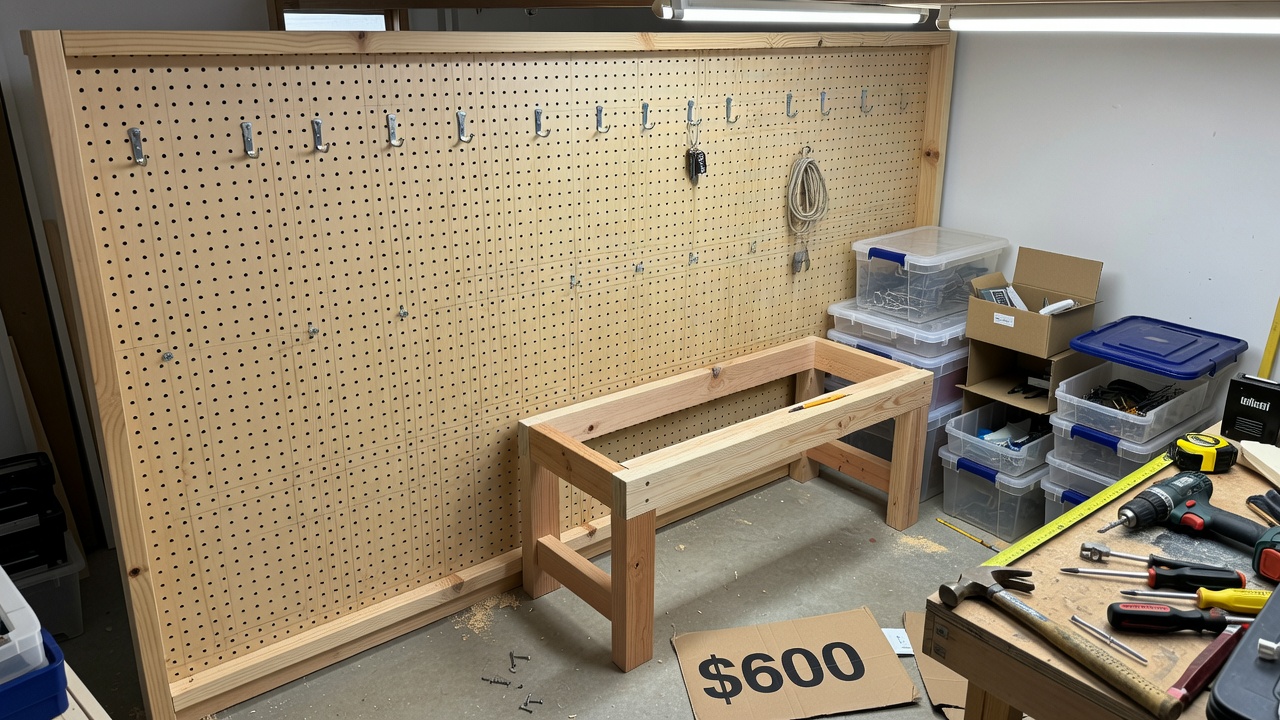
Vertical approaches free up floor space in compact entryways. Install wall-mounted shelves starting at waist height and extending upward. Use over-the-door organizers for shoes and accessories. Pegboard walls allow customizable hook arrangements that adapt as needs change. In one example, a family added three tiers of narrow floating shelves above a bench, instantly doubling their storage capacity without widening the walkway.
Combine these with slim rolling carts for seasonal items. This strategy is ideal for fixer-uppers where square footage is limited, turning blank walls into productive storage zones. Explore ideas from This Old House for proven vertical configurations that work in older homes with challenging architecture.
Step-by-Step DIY Storage Builds
Build a simple bench with hidden cubbies using basic lumber cuts and screws. First, cut boards to size, assemble the frame, then add dividers. Sand and seal for durability. Next, create a coat rack by attaching hooks to a stained board mounted securely into wall studs. For added functionality, incorporate charging stations or small drawers for keys and mail using basic hardware kits.
For advanced storage, construct a modular cubby system from pre-cut plywood. Follow safety guidelines by wearing protective gear and double-checking measurements. These builds typically require only basic tools like drills, saws, and levels, making them accessible for most homeowners. Break the project into weekend phases to avoid burnout and allow time for adjustments based on initial assembly tests.
Weatherproofing Hacks for Longevity
Apply sealant to all wooden surfaces to resist moisture from wet boots and coats. Add rubber mats at the entrance and consider installing a small dehumidifier nearby if humidity is an issue. Use galvanized hardware in outdoors-adjacent areas to prevent rust. In regions with harsh winters, line the bottom of cubbies with waterproof liners to protect against salt and slush tracked indoors.
These hacks extend the life of your storage and reduce maintenance, delivering savings over time through fewer repairs. Test all seals after installation by simulating wet conditions with a spray bottle to confirm effectiveness before daily use begins.
Before-After Case Studies and Cost Comparisons
One homeowner transformed a cluttered 8x5 foot entry into an organized mudroom by adding vertical shelving and a bench. The project used repurposed materials and basic builds, resulting in a clean, functional space that reduced daily mess significantly. Another case involved a narrow corridor in a 1920s bungalow where pegboard and over-door solutions created ample room for four family members' items without any structural changes.
Compared to professional installations, DIY methods often cut expenses substantially while achieving similar results. Focus on high-impact areas first for the best return on effort. Tracking your material choices against similar completed projects helps set realistic expectations and highlights where small upgrades yield the biggest visual improvements.
Additional Tips: Mistakes to Avoid and Integration Ideas
- Measure twice before cutting to prevent wasted materials and frustration.
- Choose finishes that match existing trim for a cohesive look throughout the home.
- Test weight limits on shelves and hooks to ensure safety with heavy coats or boots.
- Incorporate lighting, such as battery-powered strips, to highlight storage areas in low-light entries.
These steps help avoid common pitfalls like overcrowding or poor durability. Integrating the mudroom with adjacent rooms, such as painting storage units to match hallway walls, creates a seamless transition that feels intentional rather than added on.
FAQs: Common Pitfalls and Maintenance Tips
- What if my space is too narrow? Prioritize slim vertical racks and avoid deep furniture pieces that block movement.
- How do I maintain the storage long-term? Wipe surfaces weekly and check seals seasonally to prevent damage from moisture buildup.
- Can beginners handle these builds safely? Yes, start with simple projects and follow tutorials from trusted sources like Lowe's project guides.
- What about pets or kids in the space? Use rounded edges on all builds and secure tall units to the wall to prevent tipping.
Avoid overcrowding shelves, which leads to clutter recurrence. Regular decluttering sessions keep the system effective and support ongoing organization habits.
Conclusion
A budget mudroom renovation brings order to fixer-upper entryways through thoughtful planning and simple DIY execution. By focusing on assessment, vertical solutions, and weatherproofing, you create storage that lasts. Apply these remodeling tips to enjoy a more organized home without overspending, and revisit your layout seasonally to adapt as household needs evolve.

No comments yet. Be the first!