 Fixated on Home
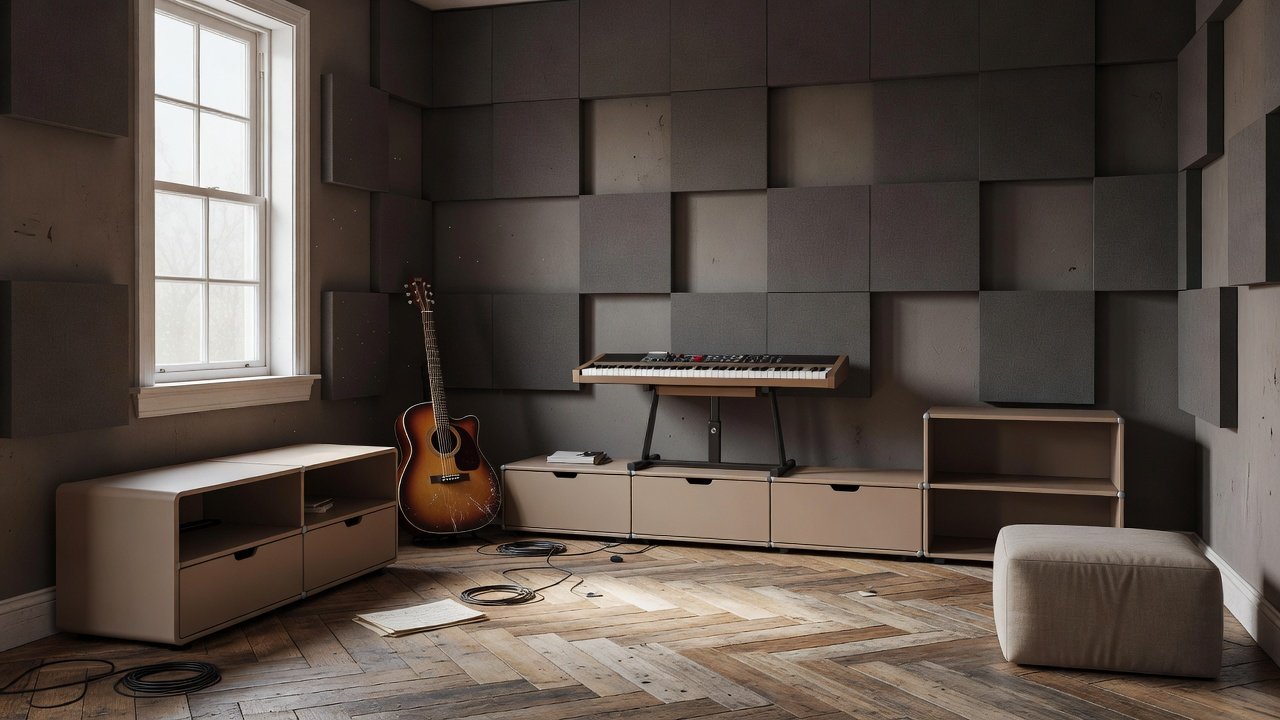
Introduction: Creating a Music Room on a Budget in Fixer-Uppers
Transforming a spare room or basement into a dedicated music space is an exciting home improvement project, especially in older homes needing updates. This guide focuses on budget-friendly soundproofing strategies that align with fixer-upper goals while incorporating 2026 trends like modular, multi-use setups. Whether you're a beginner musician or hobbyist, these ideas emphasize practical remodeling without breaking the bank. Many homeowners face challenges with thin walls and poor insulation in older properties, making targeted upgrades essential for reducing noise transfer to other parts of the house or neighbors.
Understanding Soundproofing Basics for Music Rooms
Soundproofing reduces noise transmission through walls, floors, and ceilings. It differs from acoustic treatment, which improves sound quality inside the room. In fixer-uppers, start by assessing existing structures for gaps and thin materials that allow sound leaks. Key principles include mass, decoupling, absorption, and sealing. Adding mass with dense materials blocks sound waves, while decoupling prevents vibrations from traveling through shared structures. Absorption materials like foam or fiberglass trap sound energy, and sealing addresses air leaks around doors, windows, and outlets. Understanding these fundamentals helps prioritize efforts in older homes where original construction often lacks modern insulation standards.
Assessing Your Space and Planning the Renovation
Before any work begins, evaluate the room's current condition. Measure dimensions, identify shared walls with living areas, and note ceiling height and floor type. In fixer-uppers, check for existing damage such as cracks or water stains that could complicate installations. Create a simple layout plan that considers instrument placement, seating, and storage. Modular designs popular in 2026 allow sections of the room to convert quickly between practice sessions and other uses like a home office or guest space. This assessment phase prevents costly mistakes later and ensures the final setup integrates smoothly with the home's existing layout.
Affordable Soundproofing Materials and Comparisons
Reclaimed materials often cost less than new ones while adding character. For example, compare reclaimed wood panels to new drywall: reclaimed options provide similar density at lower expense but require more preparation time. New materials offer consistency and easier installation for beginners. Common budget choices include mass-loaded vinyl alternatives like heavy blankets or moving pads, combined with foam or fiberglass insulation. Always prioritize fire-safe options in residential spaces. When selecting, consider durability alongside initial outlay—reclaimed items may need extra sealing but deliver unique aesthetics that enhance the room's creative atmosphere.
Additional options include rockwool boards for superior absorption and green glue compounds for damping vibrations between layers. These choices support 2026 trends toward sustainable renovations by repurposing materials where possible.
Step-by-Step Wall and Ceiling Remodeling Tips
Begin with walls: Seal cracks with acoustic caulk, then add a layer of insulation followed by new drywall. For ceilings, install resilient channels to decouple the surface before adding absorption materials. Practical steps include: measure and mark areas carefully; apply sealant around all penetrations; secure insulation without compressing it; attach panels using appropriate fasteners. These methods work well in older homes with uneven surfaces. For ceilings in fixer-uppers, add an extra layer of drywall with damping compound between sheets to increase mass without major structural changes.
Advanced tips involve installing hat channels or using clips for true decoupling on load-bearing walls. Always work from the top down to manage dust and debris effectively during the process.
DIY Acoustic Panel Projects
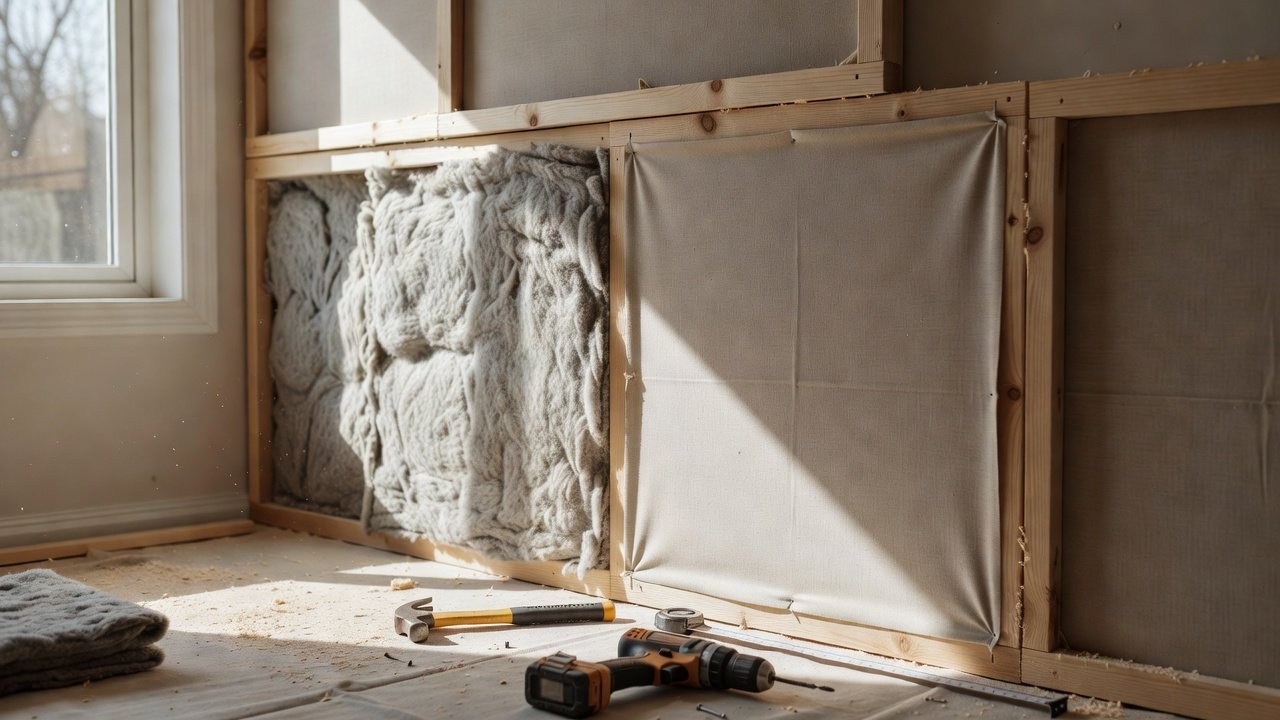
Create custom panels using wooden frames, insulation batting, and fabric covers. Cut frames to size, stuff with absorption material, and stretch fabric taut. Mount them strategically on walls opposite speakers or instruments for best effect. These DIY solutions enhance both sound control and room aesthetics in multi-use spaces. Expand the project by building bass traps for room corners using triangular frames filled with dense material. Test placement by playing music and adjusting panels based on echo reduction. This hands-on approach allows personalization while keeping expenses low compared to pre-made commercial products.
Flooring Swaps for Better Acoustics
Hard floors amplify noise; swap to carpet or underlayment systems for impact noise reduction. In fixer-uppers, floating vinyl planks over existing subfloors provide an affordable upgrade that pairs well with rugs for added absorption. Consider adding a thick underlayment designed for sound control beneath new flooring to further isolate vibrations. This change improves comfort and helps contain low-frequency sounds from drums or bass instruments.
Real Fixer-Upper Examples and 2026 Trends
Consider converting a small bedroom into a modular music nook with movable panels that double as room dividers. 2026 trends favor flexible setups allowing the space to serve as a home office or practice area. Before-and-after transformations often highlight sealed windows and added bass traps in corners. One example involved repurposing an attic space with reclaimed beams and modular shelving that hid acoustic treatments, creating a versatile zone that adapts to family needs over time.
Cost Comparisons of Reclaimed vs. New Materials
Reclaimed wood or insulation can save significantly compared to premium new products, though new options reduce labor. Factor in durability and ease when choosing for long-term value in home renovations. Reclaimed materials align with sustainable practices and can be sourced locally through salvage yards, while new supplies from home improvement retailers ensure uniformity and warranties.
Mistakes to Avoid During Installation
Common errors include skipping proper sealing, which undermines all other efforts, and over-compressing insulation, which reduces its effectiveness. Avoid using non-fire-rated materials near electrical outlets and always check local building codes before adding layers to walls or ceilings. Another pitfall is neglecting ventilation, which can lead to moisture issues in enclosed music rooms.
FAQs on Noise Reduction ROI and Layout Integration
- How does soundproofing affect property value? Proper upgrades can improve resale appeal by creating versatile living areas.
- Can these techniques integrate with existing layouts? Yes, focus on non-permanent modular additions that preserve original features.
- What is the ROI on budget soundproofing? Homeowners often see returns through enhanced usability and reduced neighbor complaints over time.
- How do modular setups support 2026 multi-use trends? They allow quick reconfiguration without permanent alterations, maximizing room functionality.
Conclusion
With thoughtful planning, a budget music room renovation in a fixer-upper becomes achievable. Prioritize sealing, layering, and modular designs to create a functional space that grows with your needs while following current 2026 home improvement approaches. For more on general noise control guidelines, visit the EPA website or explore resources at the CDC. These upgrades not only support musical activities but also contribute to a more comfortable home environment overall.

No comments yet. Be the first!