 Fixated on Home
Introduction to Budget-Friendly Renovation Tools
Starting a fixer-upper project can feel overwhelming, but the right tools make all the difference. This guide helps beginners assemble a practical toolkit focused on cost-effective options for common remodeling tasks like painting, minor electrical work, plumbing adjustments, and basic carpentry. Prioritizing versatile, durable items ensures long-term value without overspending on equipment that sits unused. Many new homeowners find that a thoughtfully chosen set of tools allows them to handle small to medium projects independently, saving money on professional labor while gaining valuable skills. Whether tackling a small bathroom update or refreshing a living space, understanding tool prioritization based on frequency of use is key. This approach prevents wasted purchases and focuses resources on items that deliver the most impact across multiple jobs.
Budget renovation projects often involve a mix of demolition, installation, finishing, and safety considerations. By building the kit in stages, beginners can avoid the common pitfall of buying everything at once and instead match tools to their immediate needs. Real-world success stories frequently highlight how starting with core essentials leads to confident expansion later.
Core Hand Tools for Everyday Reno Tasks
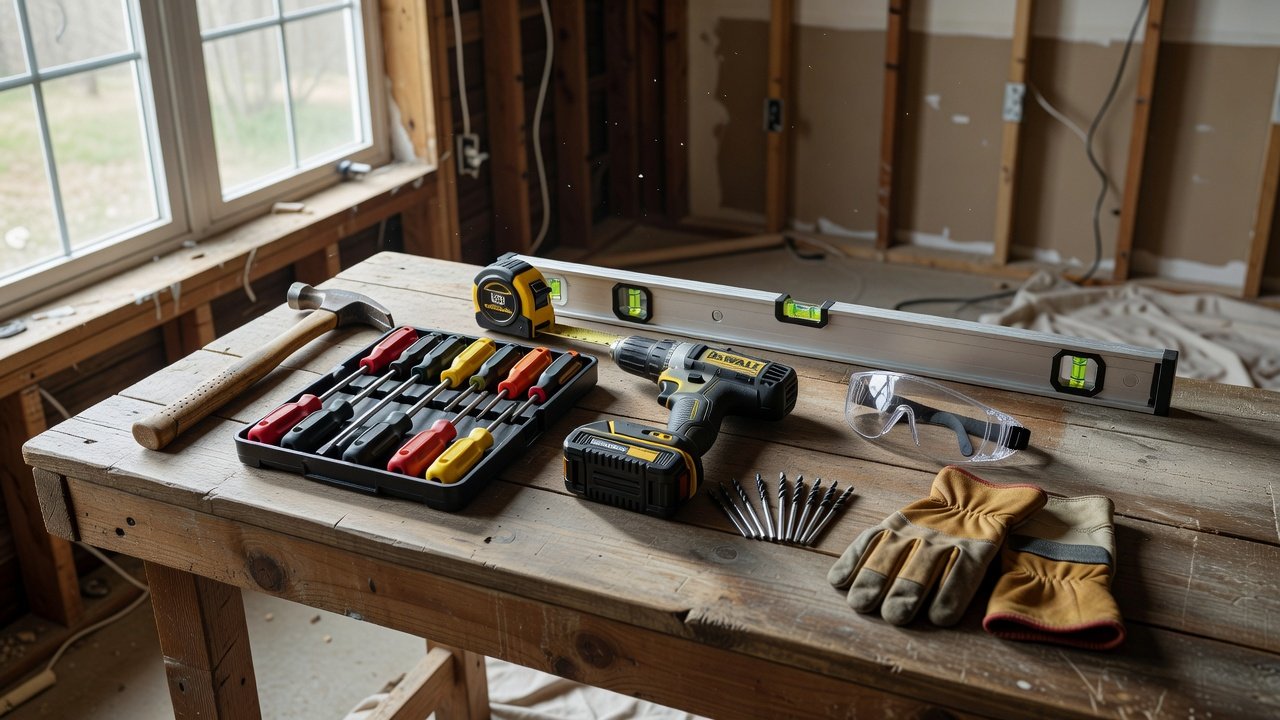
Hand tools form the foundation of any budget kit because they require no electricity and offer precise control for detailed work. Focus on a hammer for driving nails and light demolition, a set of screwdrivers covering flathead and Phillips sizes for assembly and disassembly, adjustable wrenches for plumbing fixtures, and a reliable tape measure for accuracy on every cut or placement. A utility knife with replaceable blades handles scoring, trimming, and opening packages, while a four-foot level ensures surfaces remain straight during framing or tile work. Additional useful additions include a speed square for marking angles and a caulk gun for sealing gaps around windows and tubs.
These items handle most initial demolition and installation jobs. For example, in a kitchen refresh, a hammer and screwdriver set allow quick cabinet adjustments while a level prevents crooked shelves that could cause doors to swing unevenly. In bathroom projects, the adjustable wrench becomes indispensable for tightening supply lines without damaging fittings. Investing in ergonomic handles reduces hand fatigue during extended sessions, making long days more manageable for beginners.
Versatile Power Tools That Save Time
Adding a few power tools elevates efficiency dramatically once the basics are covered. A cordless drill serves multiple purposes from drilling holes in studs to driving screws into drywall anchors. Look for models with variable speed triggers and included bit sets for versatility. Consider a circular saw for cutting lumber and plywood sheets during framing or shelving builds, and an orbital sander for smoothing surfaces before painting or staining to achieve professional-looking finishes.
These tools support a wide range of projects, from building shelves to repairing floors. They also reduce physical strain compared to manual alternatives, allowing more work to be completed in less time. 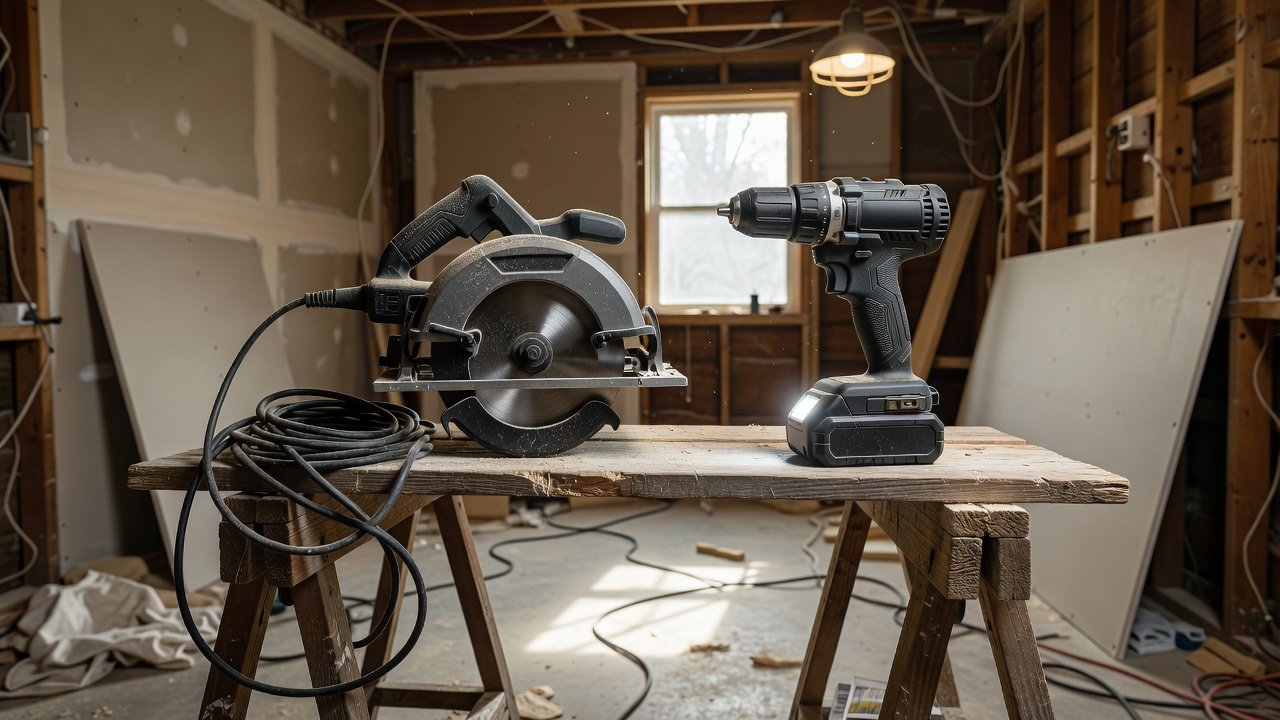
Safety Gear You Cannot Skip
Protection comes first in any renovation because injuries can halt projects and lead to costly medical issues. Invest in safety goggles that fully seal around the eyes, heavy-duty gloves with reinforced palms, ear protection rated for at least 25 decibels, and a dust mask or respirator suitable for wood and drywall particles. Reliable sources such as OSHA guidelines emphasize proper personal protective equipment to prevent injuries during demolition or cutting tasks. Additional recommendations from CDC safety resources include using knee pads when working on floors and keeping a first-aid kit nearby for minor cuts.
Sourcing Tools on a Budget
Find affordable options at thrift stores, garage sales, and online marketplaces where gently used items from reputable brands often appear at significant discounts. Inspect each tool for wear on moving parts and test functionality before purchase when possible. Compare corded versus cordless models carefully: corded tools often cost less upfront and deliver consistent power without battery concerns, while cordless versions offer portability and convenience for mobile work around the house, leading to savings over multiple projects through reduced need for extension cords and battery management systems.
Comparing Corded Versus Cordless Equipment for Long-Term Savings
The choice between corded and cordless equipment affects both immediate costs and ongoing usability. Corded tools provide unlimited runtime as long as an outlet is available, making them ideal for stationary tasks like table saw work or heavy sanding. Cordless options excel in tight spaces or outdoor areas where power access is limited, though users must plan for charging cycles. Over time, cordless kits with interchangeable batteries can lower overall expenses by reducing the number of separate chargers needed across multiple tools. Beginners often start with one high-quality cordless drill and add corded saws later as project demands grow.
Step-by-Step Setup for Your First Project
1. Assess your space and list required tasks such as demolition, framing, or finishing.
2. Gather hand tools first to handle measurement and basic fastening.
3. Add power tools based on needs identified in step one.
4. Organize everything in a portable toolbox with labeled compartments.
5. Test tools on a small area before full commitment to avoid mistakes on visible surfaces.
6. Review safety procedures and don protective gear before beginning work.
7. Document progress with photos to track improvements and plan future upgrades.
Following these steps helps maintain momentum and prevents common beginner errors like misplacing tools mid-project.
Real-World Examples from Small Home Improvement Jobs
One homeowner used a basic kit to install new baseboards throughout a bedroom in a single weekend by relying on the miter box attachment with the circular saw for clean corners. Another example involved patching drywall in a hallway after removing old paneling, where the orbital sander prepared surfaces for seamless painting. A third case saw a small deck repair completed using the cordless drill for lag screws and the level to ensure even railings, demonstrating how the same core tools adapt across indoor and outdoor fixer-upper challenges.
Practical Checklists and Maintenance Tips
- Hand tools checklist: hammer, screwdrivers, wrenches, tape measure, level, utility knife, speed square, caulk gun.
- Power tools checklist: cordless drill with bits, circular saw with spare blades, orbital sander with assorted grits.
- Safety checklist: goggles, gloves, mask or respirator, earplugs, knee pads, first-aid kit.
Regular maintenance extends tool life significantly. Clean after each use to remove dust and debris, store in dry areas to avoid rust, and sharpen blades or replace worn parts as needed. Upgrade when a tool frequently fails during use or limits the scope of projects you want to tackle next.
Mistakes to Avoid When Building Your Kit
Common errors include purchasing duplicate tools or overly specialized items too early. Another frequent issue is neglecting safety gear in favor of more power tools, which can lead to preventable injuries. Beginners should also avoid the cheapest no-name brands that wear out quickly, opting instead for mid-tier options with good warranties. Finally, failing to organize the toolkit results in lost time searching for items during active work sessions.
FAQ Section
How do I maintain my tools?
Wipe down metal parts after use and lubricate moving components monthly. Store in a climate-controlled space to avoid rust and check cords or batteries regularly for damage.
When should I upgrade my toolkit?
Upgrade after completing several projects or when tackling specialized work like tiling that requires new attachments such as a wet saw or notched trowel.
Are cordless tools worth the investment?
They provide flexibility for most home jobs and reduce cord management hassles, making them suitable for beginners focused on efficiency across varied locations in the home.
What is the best way to organize a starter toolkit?
Use a rolling toolbox with removable trays and label each section by tool type to speed up setup and cleanup on every project day.
Conclusion
Building a budget renovation toolkit empowers homeowners to handle fixer-upper challenges confidently. Start small, prioritize safety, and expand as skills grow for successful, satisfying results that improve both the home and personal capabilities over time.
No comments yet. Be the first!