 Fixated on Home

Introduction to Budget Renovations for Fixer-Uppers
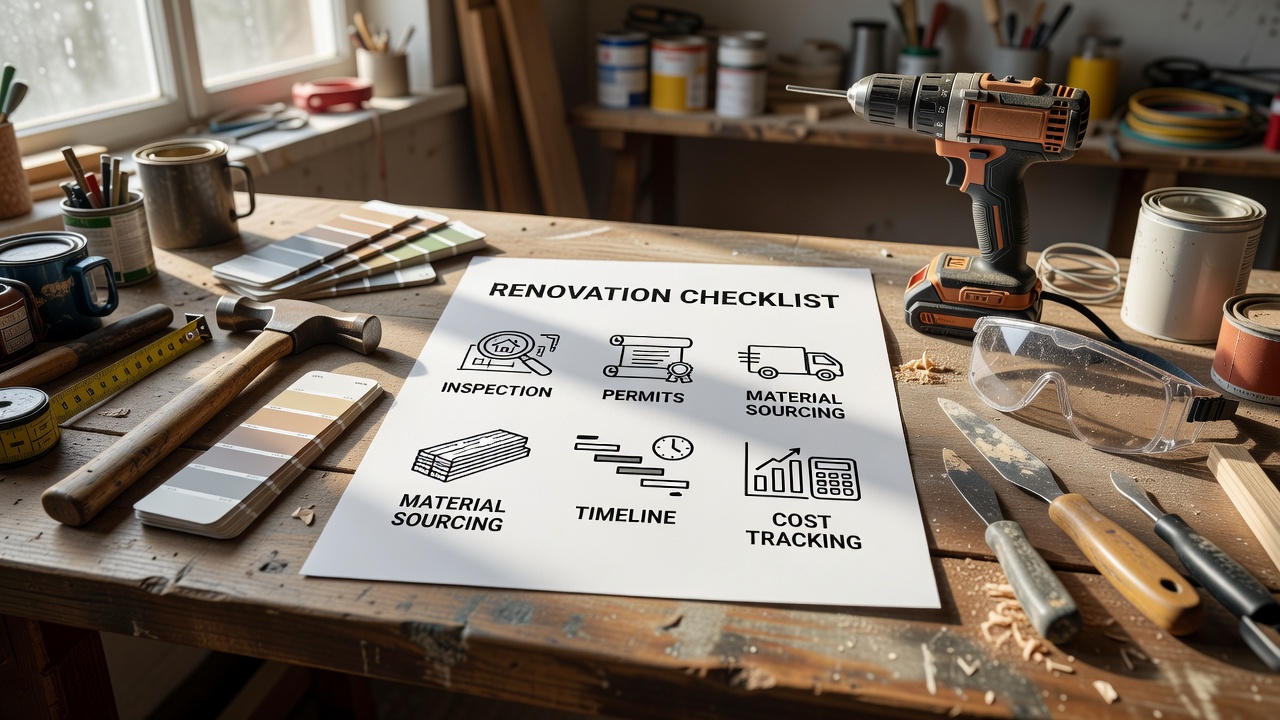
First-time buyers tackling fixer-uppers often face the challenge of balancing ambition with limited funds. This 2026 guide provides a structured budget renovation checklist that walks beginners through every phase, from initial inspection to final touches. By focusing on high-ROI improvements and smart cost-tracking, you can transform a property without overspending. The process requires patience, research, and a willingness to learn as you go. Many new homeowners discover that careful planning turns potential money pits into rewarding investments that increase both livability and future resale appeal.
Successful projects start with realistic planning. Homeowners who follow phased approaches report smoother timelines and fewer surprises. Whether updating kitchens, bathrooms, or living spaces, prioritizing value-driven tasks ensures your investment pays off. This checklist incorporates lessons from real renovations completed on tight budgets, offering step-by-step frameworks that help you make informed decisions at every stage.
Phase 1: Initial Inspection and Assessment
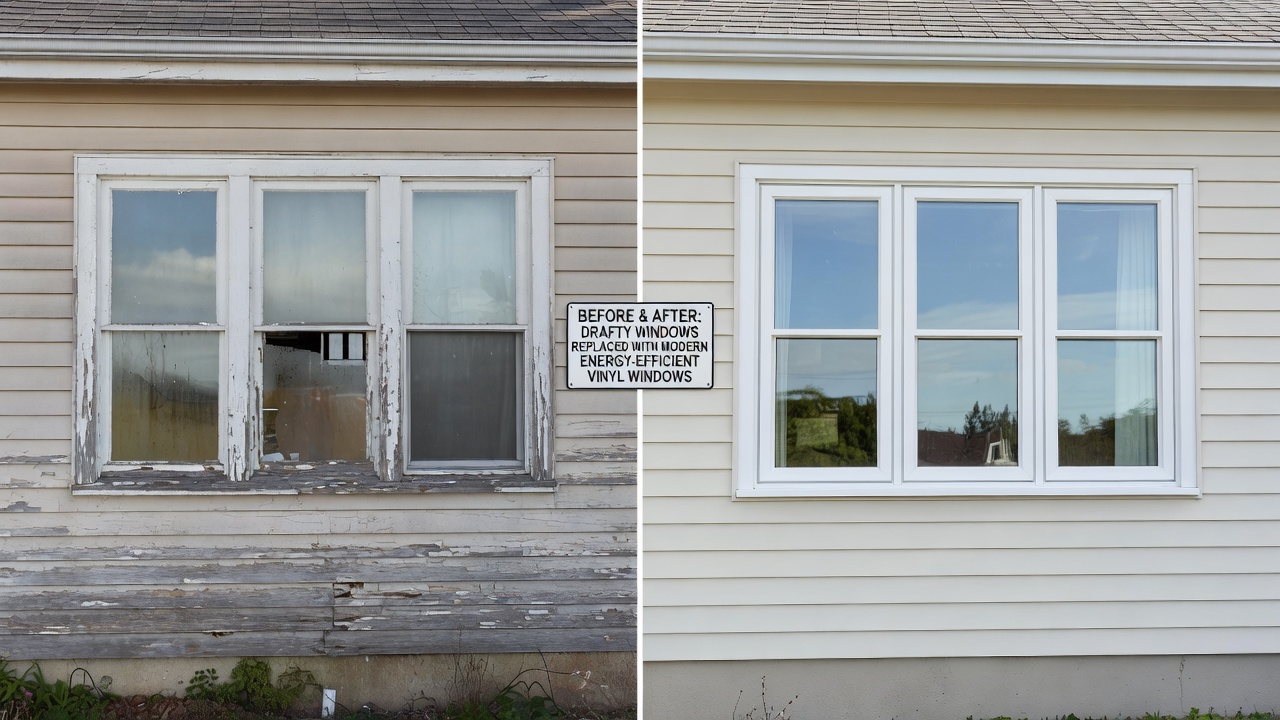
Begin with a thorough property walkthrough. Hire a licensed inspector to identify structural issues, plumbing problems, and electrical concerns. Document everything with photos and notes. This step prevents costly mid-project discoveries and helps prioritize repairs. Walk through each room systematically, checking walls for water damage, testing outlets, and examining windows for drafts. Pay special attention to hidden areas such as attics, basements, and crawl spaces where problems often hide.
Key areas to evaluate include foundation cracks, roof condition, and outdated wiring. For older homes, check for lead paint and asbestos. Use free government resources like those from the Environmental Protection Agency for safety guidelines. Create a simple spreadsheet to categorize findings by urgency: immediate safety concerns, necessary repairs, and optional upgrades. This organized assessment forms the foundation of your entire renovation plan and helps avoid scope creep later.
Phase 2: Prioritizing High-ROI Home Improvements
Not all renovations deliver equal returns. Focus on projects that boost resale value such as kitchen updates, bathroom refreshes, and energy-efficient upgrades. Flooring replacements and fresh paint offer quick visual impact at low cost. Consider your local market when ranking tasks—neutral color schemes and functional layouts tend to appeal to the broadest range of buyers. Energy upgrades like better insulation often provide ongoing savings that justify the initial effort.
Create a ranked list based on necessity and potential return. Address safety and structural items first, then move to cosmetic enhancements. This framework keeps spending aligned with long-term goals. Review comparable homes in your neighborhood to understand which improvements actually increase perceived value. Revisit this priority list monthly as new information emerges during the project.
Phase 3: Budgeting and Cost-Tracking Methods
Establish a detailed spreadsheet tracking every expense category. Allocate funds for contingencies, typically a percentage of the total budget. Review expenses weekly to stay on track. Separate fixed costs such as permits from variable costs like materials that can fluctuate. Many first-time renovators benefit from using free or low-cost budgeting apps that allow receipt uploads and automatic categorization.
Break costs into materials, labor, permits, and tools. Digital apps simplify tracking and provide visual breakdowns. Real-world examples show that disciplined monitoring helps many first-timers complete projects under initial estimates. Set weekly spending limits for each phase and adjust as needed. Keep all receipts organized in labeled folders for tax purposes and future reference when selling the home.
Phase 4: Permit Basics and Legal Requirements
Permits protect your investment and ensure code compliance. Research local requirements early, as rules vary by municipality. Common projects needing permits include electrical work, plumbing changes, and structural modifications. Contact your local building department before purchasing materials to confirm which tasks require approval and how long the process typically takes in your area.
Consult your city’s building department or official resources for application steps. Skipping permits can lead to fines or resale complications later. Prepare all necessary documentation in advance, including detailed plans and contractor licenses if applicable. This proactive approach prevents delays that could derail your timeline.
Phase 5: Material Sourcing Tips on a Tight Budget
Shop at salvage yards, online marketplaces, and big-box clearance sections for deals. Compare prices across multiple suppliers and consider bulk purchases for common items like paint and flooring. Visit local Habitat for Humanity ReStores or similar outlets for gently used fixtures and building materials that can dramatically cut costs while adding character.
Reclaimed wood and recycled fixtures add character without premium prices. Always verify quality before buying to avoid returns that waste time and money. Create a sourcing calendar that aligns purchases with sales cycles, and maintain a running list of needed items so you can act quickly when opportunities arise. Networking with other renovators through community forums often uncovers additional discount sources.
Phase 6: Timeline Planning Under Budget Constraints
Develop a realistic schedule with milestones for each phase. Allow buffer time for delays caused by material shortages or weather. Break the project into weekly goals to maintain momentum. Factor in family schedules, work commitments, and seasonal considerations when setting deadlines. Overlapping certain tasks, such as painting while waiting for cabinet delivery, can help compress the overall timeline without sacrificing quality.
Coordinate with contractors or family helpers in advance. Tools like Gantt charts help visualize overlaps and dependencies. Update your timeline weekly based on actual progress rather than assumptions. This flexibility prevents frustration and keeps the project moving forward even when unexpected challenges appear.
Common Mistakes to Avoid During Budget Renovations
Many first-time renovators fall into predictable traps that inflate costs and extend timelines. One frequent error involves underestimating the time required for each task, leading to rushed decisions and higher expenses. Another common pitfall is purchasing materials before fully understanding the scope, resulting in incompatible products or wasted inventory. Always measure twice and confirm compatibility with existing structures before committing to purchases.
Ignoring small issues early often leads to larger problems later. Address minor leaks or cracks immediately rather than hoping they will not worsen. Finally, failing to obtain multiple quotes for outsourced work can leave you overpaying. Take time to compare at least three estimates for any professional service to ensure competitive pricing and quality workmanship.
DIY Versus Outsourced Options: Decision Framework
Evaluate tasks based on skill level, time availability, and risk. Simple painting and landscaping suit DIY efforts, while electrical and plumbing work usually require professionals. Create a decision matrix that scores each task on difficulty, safety concerns, and potential cost savings. This structured comparison helps clarify when to roll up your sleeves and when to call in experts.
Compare quotes from at least three licensed contractors. Factor in your learning curve and potential mistakes when deciding. Many successful transformations combine both approaches for optimal savings. Keep a running list of tasks you feel confident handling and those best left to specialists, then adjust the list as your skills improve throughout the project.
Real-World Examples of Low-Cost Transformations
One couple restored a 1950s bungalow by focusing on cosmetic updates and smart sourcing, completing the project in four months. They replaced outdated light fixtures with affordable modern alternatives and refinished original hardwood floors instead of installing new ones. Another family prioritized energy upgrades first, achieving noticeable utility savings within the first year by adding insulation and sealing drafts before tackling aesthetics.
A third example involves a young homeowner who transformed a neglected kitchen using open shelving made from reclaimed lumber and budget-friendly cabinet hardware updates. These cases highlight the value of phased execution and consistent documentation. Each project succeeded because the owners stuck to their prioritized lists and maintained detailed records of decisions and expenses.
Conclusion
A methodical budget renovation checklist empowers first-time fixer-uppers to achieve impressive results. By following these phases and staying disciplined with costs, you can create a home that meets both functional and financial objectives in 2026. The key lies in consistent evaluation, flexible planning, and a focus on high-value improvements that enhance daily life while supporting long-term property value.
FAQ: Common Budget Pitfalls and 2026 Material Trends
- What are the biggest budget pitfalls? Underestimating contingency funds and ignoring permits rank high. Always plan for surprises and verify requirements before starting work.
- Which 2026 trends maximize value? Sustainable materials and smart-home integrations continue to rise in popularity for their long-term efficiency benefits. Focus on durable, low-maintenance options that appeal to future buyers.
- How do I handle unexpected costs? Revisit your prioritized list and defer lower-ROI items if needed. Consider phased purchasing to spread expenses over time.
- Are there resources for material trends? Check authoritative sites such as Energy.gov for efficiency updates and the Environmental Protection Agency for sustainable product guidance.
- Should I document everything? Yes. Detailed records help with future maintenance, resale negotiations, and potential warranty claims on materials or workmanship.

No comments yet. Be the first!