 Fixated on Home
Introduction to Budget Roof Renovations for Fixer-Uppers
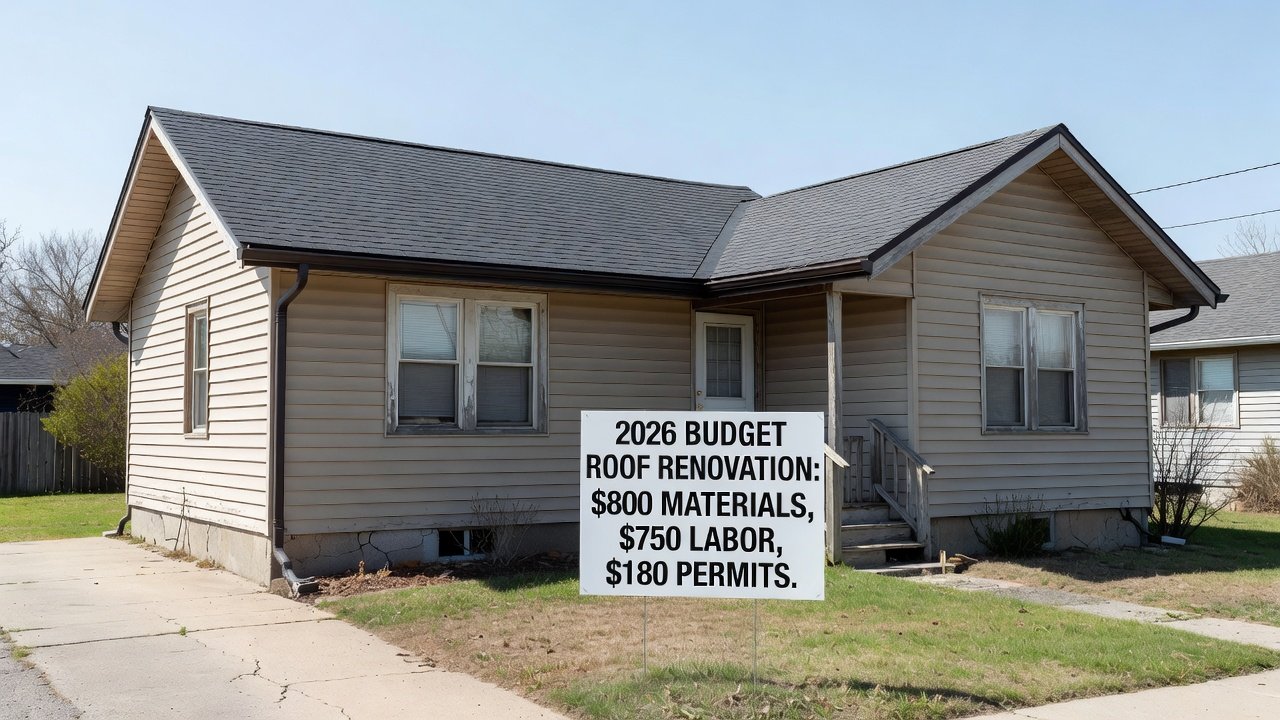
Fixer-upper homes frequently feature aging roofs that demand immediate weatherproofing to stop leaks, reduce energy waste, and boost overall property value. This comprehensive 2026 guide walks beginners through practical budget reno strategies that deliver professional results without high expenses. Homeowners can master material swaps, precise patching methods, and smart decision-making between DIY and hired help. The focus remains on real cost comparisons, under-$800 project examples (as of 2026-09-10), and a straightforward ROI calculator that helps track returns over time.
Weatherproofing protects your home from rain, wind, snow, and extreme heat. Neglected roofs lead to interior water damage, mold growth, and higher monthly utility bills. Starting with affordable upgrades allows you to extend roof life by several years while preparing for larger renovations later.
Assessing Your Roof's Condition Before Any Work
Begin every budget reno with a careful evaluation. Walk around the house and use binoculars or a drone to spot missing shingles, sagging areas, or dark stains indicating moisture. Inside the attic, look for daylight coming through gaps and check insulation for dampness. Document findings with photos to plan repairs and monitor progress.
Pay special attention to valleys, chimneys, vents, and skylights where leaks commonly start. If you notice widespread granule loss on asphalt shingles or widespread rust on metal, prioritize those zones first. This initial assessment prevents wasted effort on minor issues while major problems grow worse.
Material Swaps for Cost-Effective Weatherproofing
Replacing old components with modern, budget-friendly alternatives improves durability quickly. Swap traditional felt underlayment for synthetic versions that resist tearing and provide superior moisture barriers. Consider cool-roof coatings that reflect sunlight and lower attic temperatures during summer months.
Other popular swaps include upgrading ridge vents for better airflow and installing new flashing around penetrations. These changes work well on most fixer-uppers and pair easily with existing shingles. Always verify compatibility with your roof pitch and local weather patterns to avoid future failures.
- Pros of synthetic underlayment: lighter weight, stronger tear resistance, faster installation
- Cons: slightly higher upfront cost than felt, requires careful handling in wind
- Pros of elastomeric coatings: seals small cracks, extends shingle life, easy DIY application
- Cons: needs reapplication every 5–7 years depending on climate
Essential Tools and Safety Precautions
Gather a basic toolkit before starting: roofing hammer, utility knife, caulk gun, ladder with stabilizers, safety harness, and moisture meter. Wear non-slip shoes, gloves, and eye protection at all times. Never work on a wet or icy roof, and keep a first-aid kit nearby.
Secure ladders on stable ground and have a spotter when possible. If the roof exceeds a gentle pitch or you feel uncomfortable with heights, stop and consult a professional. Safety always outweighs speed in any budget project.
Step-by-Step Patching Techniques
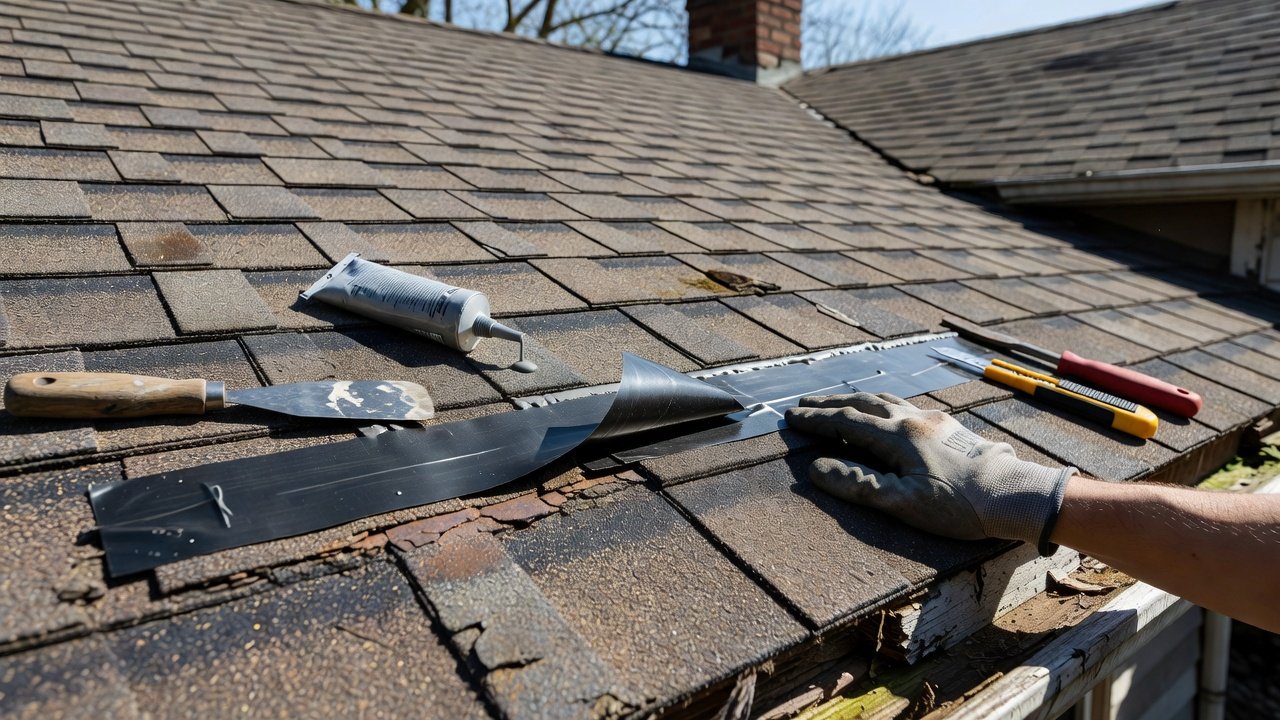
Small repairs follow a repeatable process that beginners can master. First, clean the area thoroughly and remove loose debris. Apply a primer suited to your roofing material, then cut a patch slightly larger than the damaged spot. Press self-adhesive flashing tape firmly into place, overlapping edges by at least two inches.
For larger sections, remove damaged shingles completely, replace the underlayment if needed, and nail new shingles in a staggered pattern. Finish with a generous coat of elastomeric sealant over all seams. Work only in dry conditions above 50°F for best adhesion.
- Inspect and mark every problem area
- Clean surfaces and apply primer
- Install patches or new shingles
- Seal all edges and fasteners
- Allow full curing time before rain exposure
DIY vs Professional Help: Cost Comparisons
DIY saves on labor but demands personal time and physical effort. Professionals complete jobs faster, supply warranties, and handle complex structural issues safely. For simple patches on single-story homes, DIY often costs 40–60% less than hiring help. Full weatherproofing on multi-story roofs frequently justifies professional crews due to equipment and insurance requirements.
Evaluate your experience level honestly. Many 2026 homeowners complete successful under-$800 projects (as of 2026-09-10) by buying materials locally and following detailed tutorials. When in doubt, obtain two professional quotes to compare against your estimated DIY expenses.
Real-World Examples of Under-$800 Projects
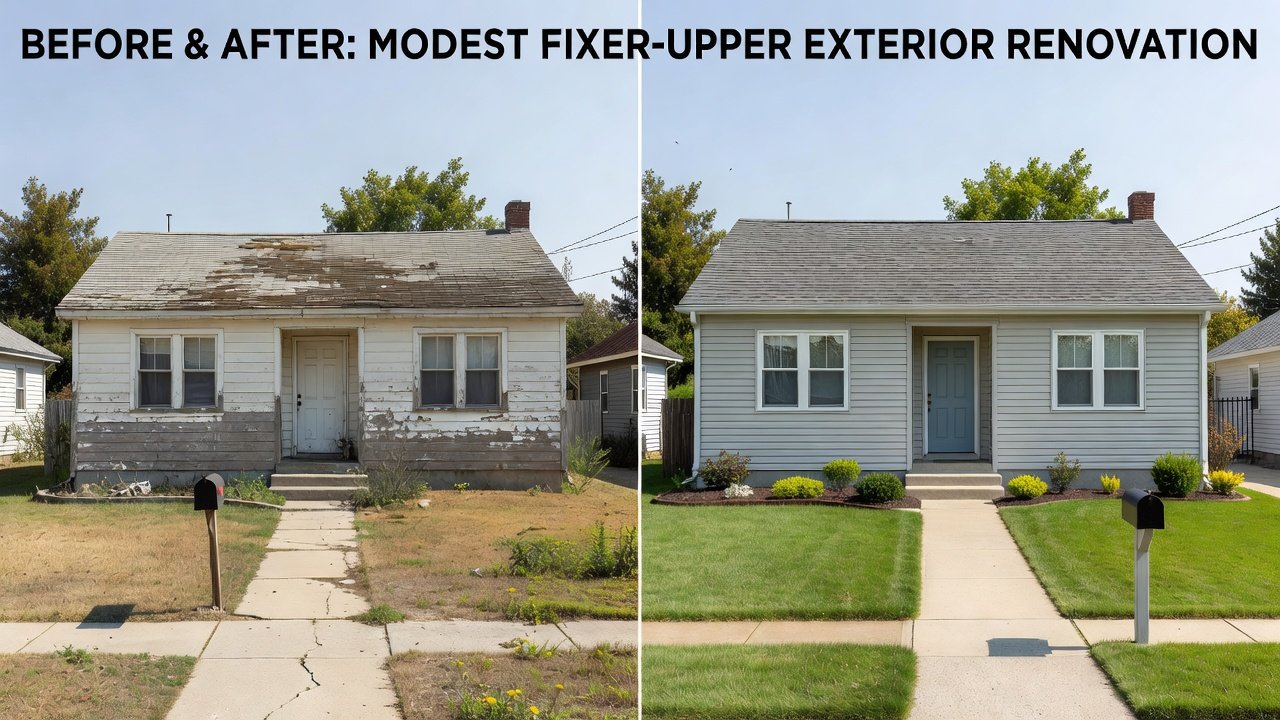
A 1950s ranch home received new synthetic underlayment strips along the eaves plus targeted flashing repairs around three vents. Total material cost stayed under $800 (as of 2026-09-10). Before photos showed extensive granule loss and water stains; after photos revealed a clean, sealed surface with improved attic ventilation.
Another project on a two-story fixer-upper involved replacing ridge vents and applying reflective coating over 800 square feet. The homeowner documented before-and-after images showing reduced attic heat and lower summer cooling costs within the first month.
Simple ROI Calculator for Roof Improvements
Estimate return by combining annual energy savings with expected increase in home value. Track utility bills for six months before and after work. Reflective coatings and better sealing often produce 10–15% reductions in heating and cooling expenses. Divide total project cost by yearly savings to determine payback period, typically three to five years for budget reno projects.
Example calculation: $750 project cost divided by $180 yearly energy savings equals roughly 4.2 years to break even, plus added resale value from a documented weatherproofed roof.
Common Pitfalls: Leak Detection and Permit Requirements
Many leaks hide behind interior walls or under layers of old shingles. Use moisture meters and infrared thermography during inspections. Address flashing and valley issues early because these account for most callbacks. Skipping permits can result in fines or problems during home sales; always verify local rules for projects exceeding minor repairs.
Resources such as energy.gov provide efficiency guidelines, while epa.gov covers sustainable material choices. For safety standards, consult osha.gov before climbing any ladder.
Maintenance Schedules and Energy Savings for 2026 Homeowners
Schedule inspections twice each year—once in spring and once in fall. Clear gutters, remove branches, and reapply sealant around penetrations as needed. Keep detailed records of every repair for future reference and resale documentation.
Energy savings arise from reduced air infiltration and better thermal performance. Reflective coatings keep attics cooler, lowering air-conditioning loads. Consistent maintenance extends roof lifespan and maximizes these efficiency gains throughout 2026 and beyond.
Conclusion
Budget roof renovations give fixer-upper owners practical ways to protect their homes while staying within financial limits. By combining careful assessment, smart material choices, and disciplined patching, you achieve lasting weatherproofing. Follow the steps outlined here, respect safety rules, and track results with the ROI calculator to enjoy both immediate comfort and long-term value.
FAQ
How often should I inspect my roof?
Perform visual checks twice yearly and after every major storm to catch issues before they escalate.
What energy savings can I expect?
Most weatherproofing projects deliver 10–20% reductions in heating and cooling costs, depending on climate and existing insulation quality.
Are permits always required for patching?
Minor surface repairs usually do not need permits, but confirm with your local building department before starting any structural work.
Can beginners handle full weatherproofing?
Yes, provided they follow safety protocols and start with small sections; complex or high roofs often benefit from professional assistance.
How long do budget materials typically last?
Synthetic underlayment and quality sealants last 10–15 years when installed correctly and maintained regularly.
No comments yet. Be the first!