 Fixated on Home
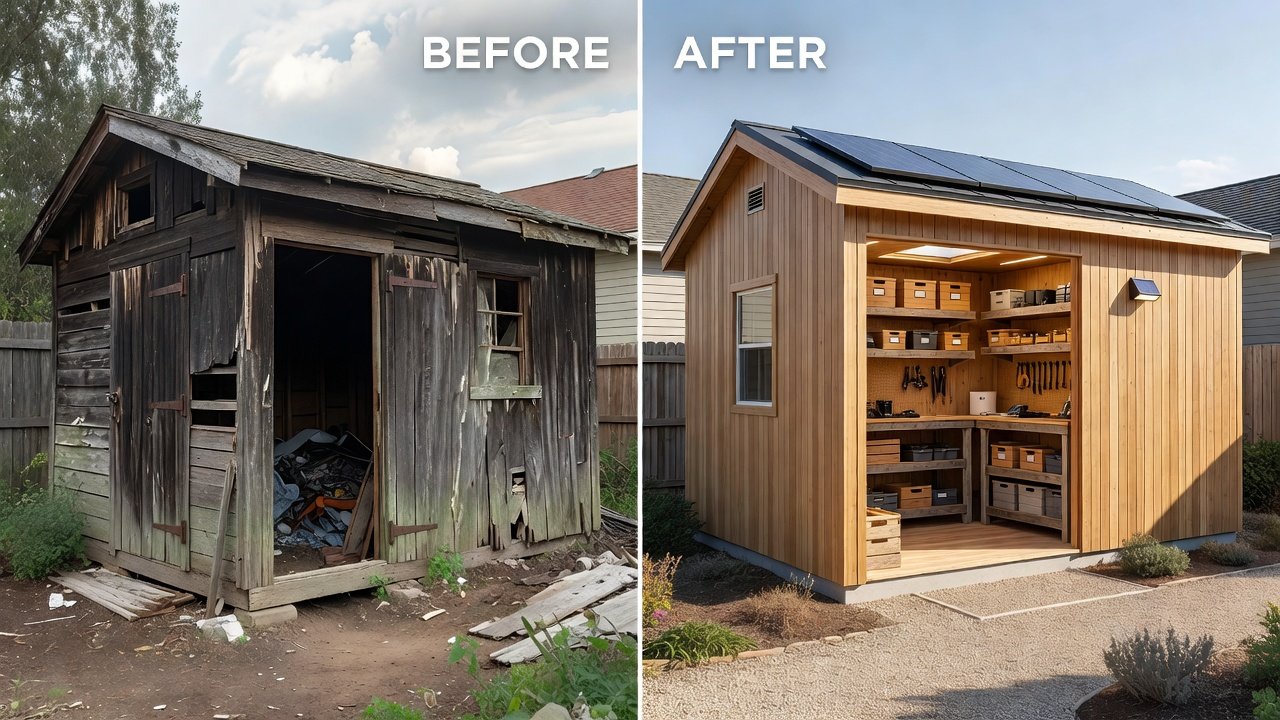
Introduction to Budget Shed Renovations
Transforming an aging shed into a practical storage solution or outdoor workspace is one of the smartest ways to extend your living space without breaking the bank. In 2026, homeowners are increasingly turning to fixer-upper projects that combine affordability with sustainability. This guide covers everything from planning and material choices to real-world case studies, helping you achieve professional-looking results on a tight budget. Whether your goal is organized garden tools, a hobby workspace, or extra storage for seasonal items, these strategies focus on cost-effective upgrades that deliver lasting value and improve your property's functionality.
Many people overlook their existing sheds, but with thoughtful updates, these structures can become valuable extensions of the home. The key is prioritizing durable, low-cost improvements that address weatherproofing, organization, and usability while aligning with modern eco-conscious practices.
Planning Your Shed Reno Project
Start by assessing the current condition of your shed. Check for structural issues like rotting wood, leaks, or unstable foundations. Measure the interior space and sketch out your desired layout, noting any obstacles such as existing windows or vents. Consider local building codes early, as some areas require permits for modifications over a certain size or when adding electrical features. Define clear goals: Is this purely for storage, or will it include workbenches and electrical outlets? Factor in weatherproofing needs based on your climate. A solid plan prevents costly mid-project changes and ensures the final result meets your practical needs.
Take photos of the current state for reference and create a timeline that accounts for weather delays. Research zoning regulations through your local government resources to avoid surprises. This preparatory phase often saves time and frustration later in the process.
Material Swaps for Budget-Friendly Upgrades
Focus on high-impact, affordable swaps that enhance durability without excessive spending. Replace old roofing with corrugated metal panels or asphalt shingles for better protection against rain and snow. Swap plywood walls for moisture-resistant OSB or reclaimed wood to improve insulation and aesthetics. Use affordable sealants and paint designed for exterior use to seal gaps and refresh the appearance. These changes keep projects manageable while dramatically improving functionality and appearance over time.
Shop at local salvage yards or online marketplaces for secondhand lumber and hardware. Prioritize items that are easy to install with basic tools. Compare options like vinyl siding versus traditional wood for low-maintenance benefits, and consider recycled materials that support sustainability goals. Detailed comparisons help you choose solutions that balance cost, longevity, and visual appeal.
Step-by-Step Remodeling Tips
Begin with foundation repairs and leveling using simple shims or concrete blocks. Next, address the roof and walls for weatherproofing by applying new coverings and sealing all joints. Install new doors or windows if needed, ensuring they fit securely and include weatherstripping. Then add insulation and interior finishes such as wall panels or shelving units. Finish with lighting, organization systems, and any final touches like hooks or pegboards. Work in phases to manage time and resources effectively, starting with the most critical structural elements.
Always prioritize safety by wearing protective gear during demolition and cutting. Document each phase with notes or photos to track progress and identify any adjustments needed mid-project.
Essential Tool Checklist
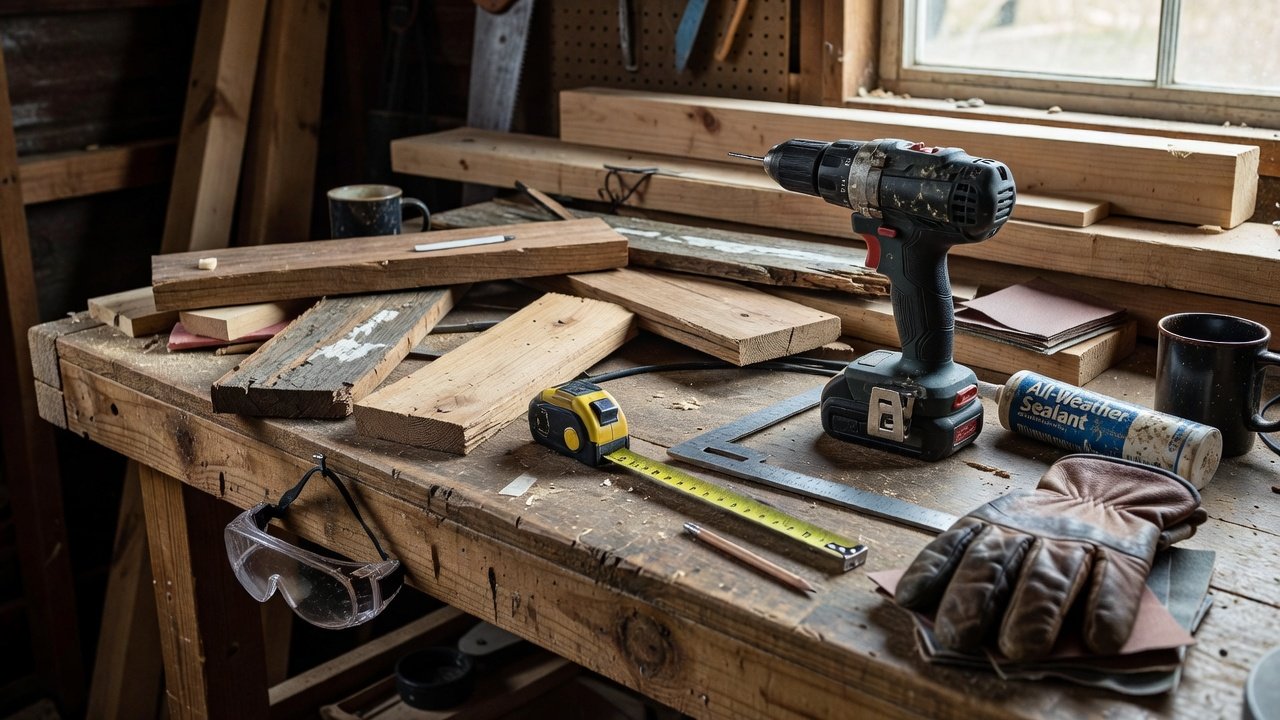
- Cordless drill and impact driver for fastening materials
- Circular saw or jigsaw for precise cuts
- Level, tape measure, and square for accurate alignment
- Hammer and nail gun for efficient assembly
- Caulk gun and exterior sealant for waterproofing
- Safety glasses and gloves to protect during work
- Ladder rated for your height needs
- Utility knife and sandpaper for finishing details
Invest in quality basics rather than specialty tools for one-time use. Rent larger equipment if required for specific tasks like heavy lifting.
DIY vs Professional Help for Maximum Savings
DIY approaches save significantly on labor but require time and skill. Tackle cosmetic and simple structural work yourself, then hire pros for electrical or complex roofing if needed. Hybrid methods often yield the best balance of savings and quality results. Evaluate your own experience level honestly before deciding which tasks to outsource, and obtain multiple quotes when professional help is necessary.
Incorporating 2026 Eco-Friendly Trends
Embrace sustainable materials such as recycled plastics for flooring or low-VOC paints to reduce environmental impact. Add solar-powered lights or rainwater collection systems for off-grid functionality. These upgrades align with growing environmental awareness and can reduce long-term operating costs. Learn more from the EPA on green building practices and explore energy-efficient options via Energy.gov. Additional trends include using bamboo or cork for interior surfaces and integrating smart ventilation to maintain air quality.
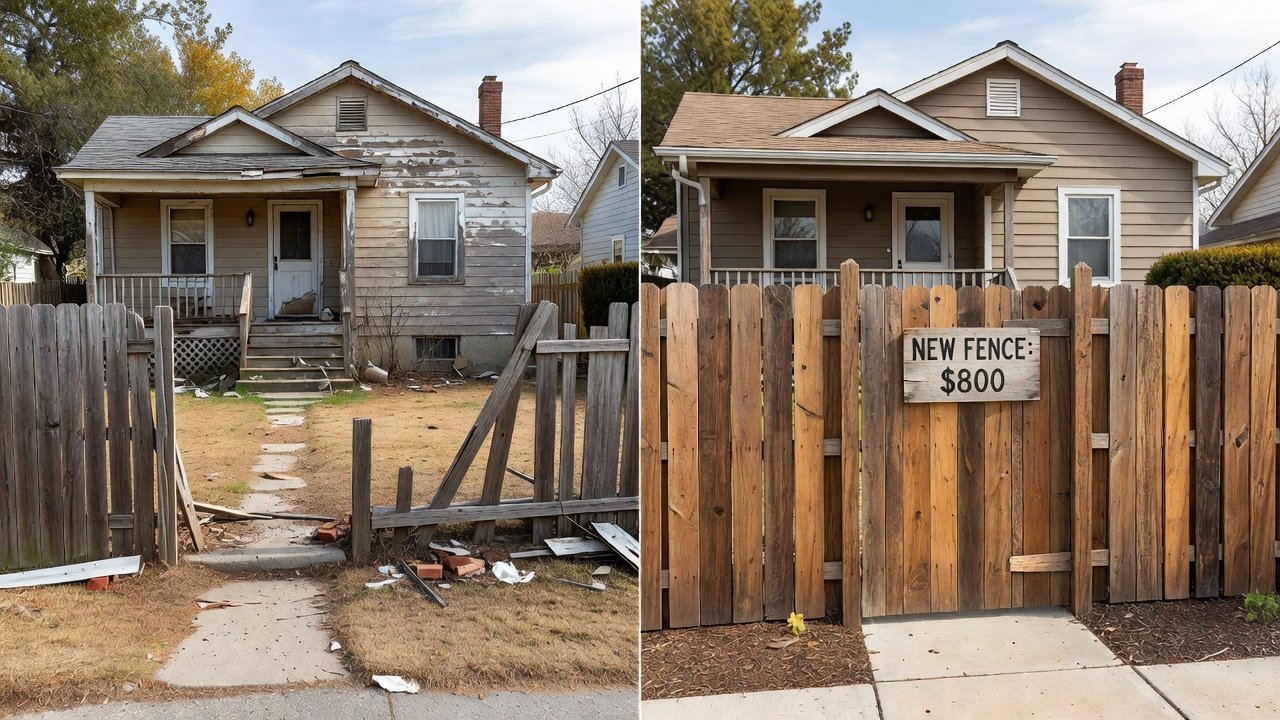
Before-and-After Case Studies
Case 1: A 10x12 wooden shed received new metal roofing, insulated walls, and custom shelving. The result was a dry, organized garden storage space that doubled as a potting station, with improved ventilation preventing mold growth in humid conditions.
Case 2: An old metal shed was converted into a small workshop with reclaimed wood accents, LED lighting, and a workbench. The project emphasized ventilation and moisture control for year-round use, turning a neglected structure into a comfortable creative space.
Case 3: A compact backyard shed was updated with eco-friendly insulation and modular storage bins, creating dedicated zones for tools, sports equipment, and holiday decorations while maintaining a clean, accessible layout.
Cost Breakdowns and Budget Tips
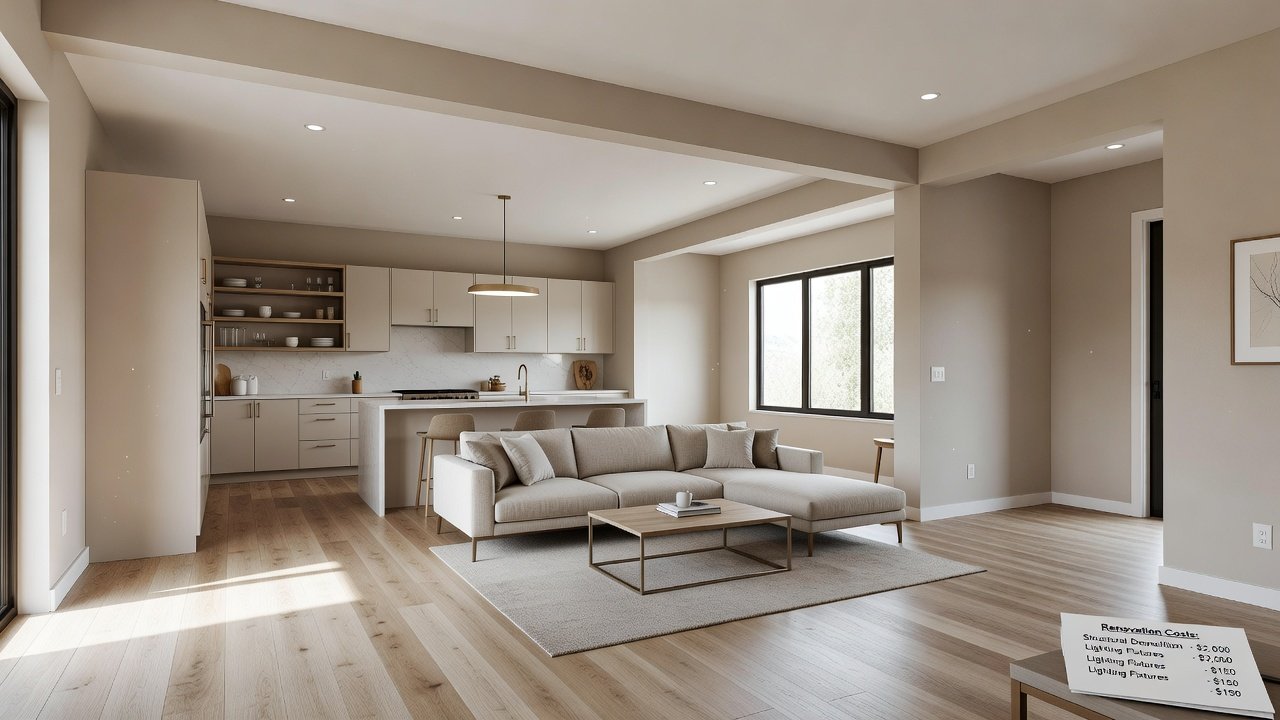
Allocate resources roughly across structural fixes, finishes, and organization features. Track expenses with a simple spreadsheet and buy in bulk where possible. Seasonal sales in early spring often provide the best deals on building supplies. Focus on multipurpose materials that serve multiple functions to stretch your budget further and avoid impulse purchases by sticking to your initial plan.
Common Mistakes to Avoid
One frequent error is skipping proper weatherproofing, which leads to future damage. Another is underestimating the time needed for each phase, causing rushed work. Always measure twice before cutting and consult local experts if unsure about code compliance. Avoiding these pitfalls ensures a smoother renovation experience.
FAQ
Do I need permits for shed renovations?
Check with your local municipality. Many areas exempt small structures, but electrical additions or size increases may require approval.
How often should I maintain my renovated shed?
Inspect twice yearly for leaks, pests, and sealant wear. Reapply exterior coatings every few years depending on climate exposure.
Can eco-friendly upgrades really save money?
Yes, especially with insulation and efficient lighting that lower energy use over time while improving comfort.
What are the best storage solutions for small sheds?
Vertical shelving, wall-mounted pegboards, and stackable bins maximize space without cluttering the floor area.
Conclusion
A budget shed renovation delivers practical outdoor space while boosting property value. By following these steps and embracing 2026 sustainability trends, you can create a durable, functional area that meets your needs for years to come. Start small, plan carefully, and enjoy the transformation of your outdoor space.
No comments yet. Be the first!