 Fixated on Home
Introduction to Budget Attic Insulation in Fixer-Uppers
Older homes often suffer from poor insulation, leading to higher energy costs and uncomfortable living spaces. In 2026, homeowners tackling fixer-uppers can improve energy efficiency through practical DIY attic insulation projects. This approach focuses on accessible methods that align with current energy standards while keeping efforts manageable for beginners. Attic insulation helps regulate indoor temperatures by reducing heat transfer. For fixer-uppers built before modern codes, adding insulation addresses drafts and moisture issues common in these properties. Real-world examples include a 1950s bungalow where owners added insulation to cut winter heating demands noticeably within the first season. Another case involved a 1920s Victorian home where strategic cellulose installation helped stabilize summer cooling loads. The goal is to create a more comfortable living environment without relying on expensive professional services.
Selecting Budget-Friendly Insulation Materials
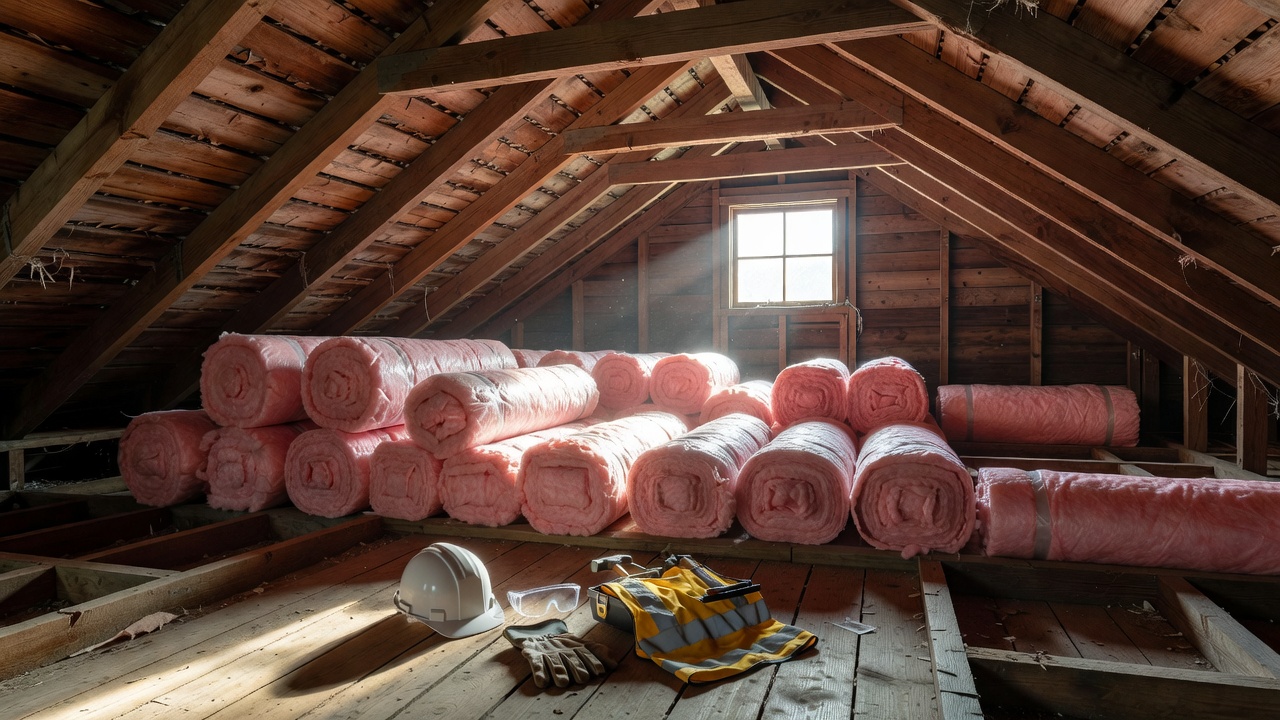
Choosing the right material is essential for success. Two popular options stand out for DIY projects: fiberglass batts and blown-in cellulose. Fiberglass offers ease of handling in roll form, while cellulose provides excellent coverage in irregular spaces. Compare fiberglass and cellulose by considering factors like R-value per inch, installation method, and compatibility with existing structures. Fiberglass works well in open attics with standard joist spacing. Cellulose excels in attics with many obstacles, as it fills gaps effectively. Both options support 2026 energy goals when installed to recommended depths. Homeowners should evaluate their attic layout, existing ventilation, and personal comfort level with handling materials before deciding. Fiberglass tends to be less messy during installation but may require more precise cutting. Cellulose, made from recycled paper, offers strong sound-dampening qualities in addition to thermal performance. Local climate plays a major role in material choice, with colder regions often favoring higher R-value options that both materials can achieve.
Understanding R-Values and Climate Zones
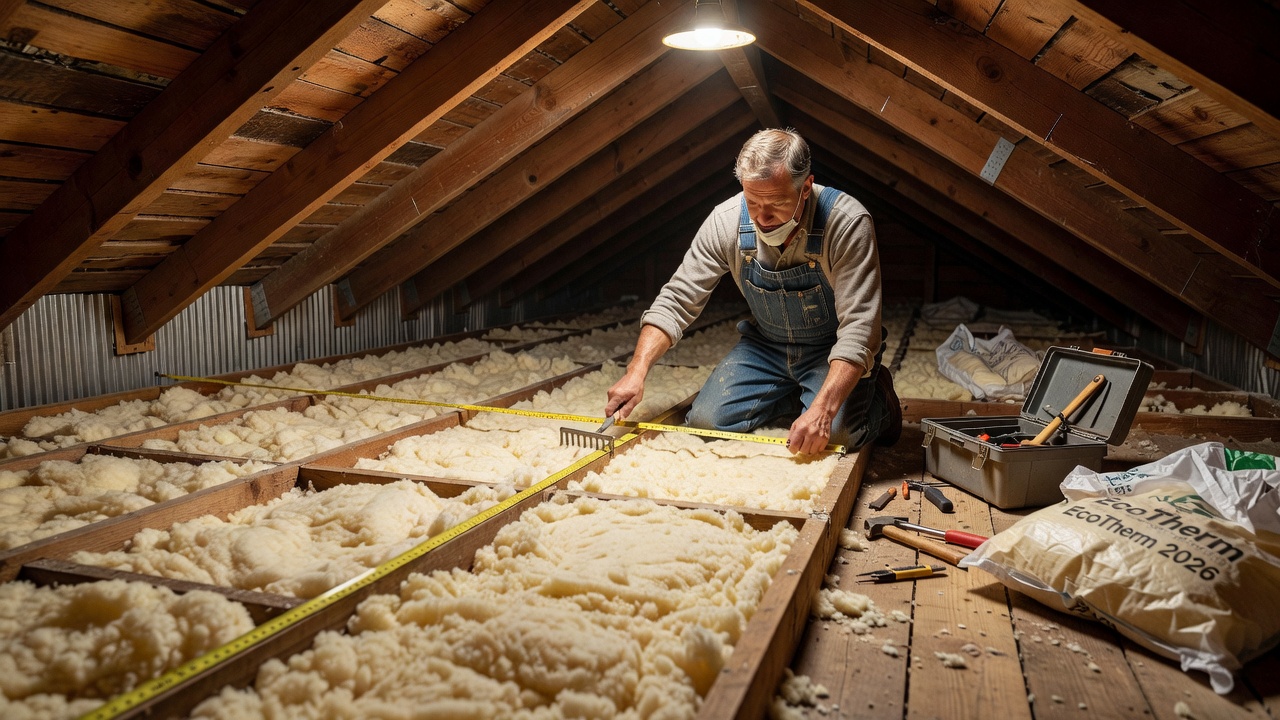
R-value measures resistance to heat flow, and higher numbers indicate better performance. For many U.S. climate zones in 2026, attics benefit from R-49 or higher in northern areas and R-30 to R-38 in milder southern zones. Check maps from authoritative sources to determine your specific needs. This knowledge helps avoid under-insulating or over-insulating, both of which can reduce effectiveness. Practical tip: measure joist depth first, as it limits how much material you can add without raising the floor.
Safety Preparation for Attic Spaces
Before starting, prioritize safety to avoid common hazards. Wear protective clothing including long sleeves, gloves, a respirator mask rated for particulates, and safety goggles. Ensure the attic has adequate lighting and stable walkways using plywood boards over joists. Check for existing issues like electrical wiring, pest infestations, or moisture problems. Address ventilation needs early, as proper airflow prevents mold and maintains insulation performance. Test for asbestos in pre-1980 homes and consult professionals if suspected. Additional prep includes turning off power to the attic at the breaker box, inspecting for weak floorboards, and having a first-aid kit nearby. Work with a partner when possible, especially when moving heavy materials up ladders. Proper preparation reduces risks and leads to smoother project execution in fixer-upper scenarios.
Detailed Installation Steps for Beginners
Follow these steps for effective results. First, measure the attic floor area and determine required insulation depth based on climate zone recommendations. Clear debris and lay down protective sheeting. Install baffles at eaves to maintain ventilation channels. Place vapor retarders if needed based on local climate. For fiberglass, unroll and cut batts to fit between joists snugly without compression. For cellulose, use a rental blower machine to distribute material evenly to the target depth. Seal gaps around pipes, vents, and lights with appropriate caulk or foam. Work in sections to avoid fatigue and ensure consistent coverage. Multiple fixer-upper case studies show that methodical pacing leads to better long-term outcomes. After initial layers, inspect for any missed spots and add a second layer perpendicular to the first if additional R-value is required. Always keep insulation away from recessed lights and chimneys by maintaining required clearances.
Real-World Fixer-Upper Examples
In one Midwest fixer-upper project, a couple added fiberglass batts to their 1940s Cape Cod home, resulting in noticeably steadier indoor temperatures during extreme weather. In a Pacific Northwest example, blown cellulose was chosen for a craftsman-style house with uneven joist spacing, providing complete coverage that reduced drafts around light fixtures. These cases highlight how material choice should match attic conditions rather than following a one-size-fits-all approach.
Common Mistakes to Avoid
Beginners often overlook key details. Avoid blocking soffit vents, which reduces airflow. Do not compress insulation, as this lowers its effectiveness. Skipping safety gear risks health issues from dust exposure. Always verify local building codes before proceeding. Other frequent errors include failing to seal air leaks first, using the wrong vapor barrier for your climate, and neglecting to protect electrical boxes. Taking time to address these prevents costly rework later.
Measuring ROI Through Lower Utility Bills
Insulation upgrades deliver returns via reduced energy consumption. Track utility statements before and after installation to quantify savings. In many fixer-uppers, improved attic performance contributes to more stable indoor climates year-round. Resources like the U.S. Department of Energy provide tools for estimating potential benefits based on home specifics. Over time, these improvements support broader 2026 energy efficiency targets for residential buildings.
Materials Checklist
- Insulation material (fiberglass or cellulose)
- Protective gear set
- Measuring tape and utility knife
- Ventilation baffles
- Caulk and sealant
- Plywood for walkways
- Blower rental (for cellulose)
- Flashlight and extension cords
- Staple gun for securing baffles
- Trash bags for debris removal
FAQ Section on Ventilation Concerns
How much ventilation does an insulated attic need?
Adequate ventilation equals one square foot of vent area per 150 square feet of attic floor space in most climates. Balance intake and exhaust vents to promote airflow.
Can insulation block existing vents?
Never cover soffit or ridge vents. Use baffles to create clear channels that keep air moving freely.
What if my attic has limited ventilation options?
Consider adding roof vents or consulting a professional to assess upgrades without compromising insulation integrity.
Does adding insulation change ventilation requirements?
Properly installed insulation should not alter ventilation needs, but always confirm that existing vents remain unobstructed after the project.
Post-Installation Tips and Maintenance
After completing installation, monitor the attic for signs of moisture or settling over the first few months. Re-check seals around penetrations annually. Consider adding attic fans if summer heat buildup becomes an issue. These steps ensure the insulation continues performing at its best for years.
Conclusion
DIY attic insulation offers a practical path to energy efficiency in 2026 fixer-uppers. By focusing on proper material choice, safety, and installation techniques, homeowners achieve meaningful improvements. Additional guidance is available from EPA resources on home energy, CDC safety recommendations, and ENERGY STAR attic insulation guidelines. Start with a thorough inspection to tailor the project to your home's needs.

No comments yet. Be the first!