 Fixated on Home
Introduction: Brighten Your Fixer-Upper on a Budget
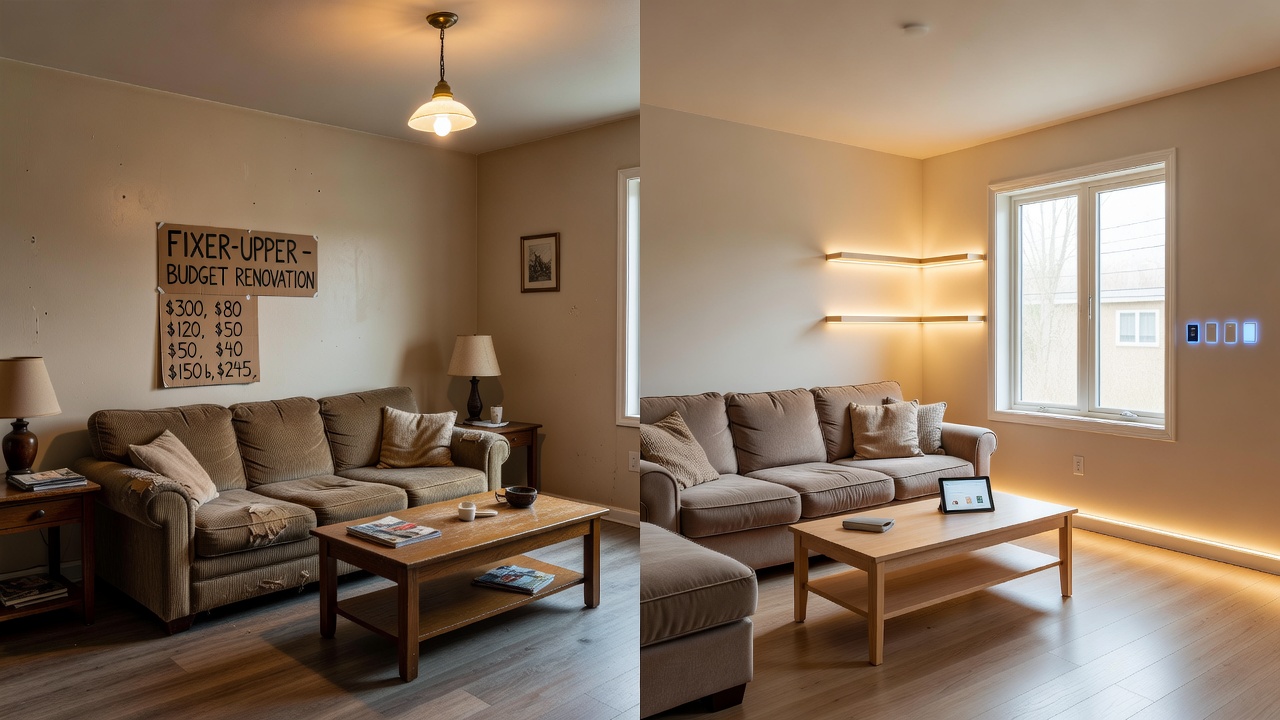
Fixer-uppers often suffer from outdated, inefficient lighting that drains energy and dulls the home's appeal. In 2026, homeowners can transform these spaces with simple, code-compliant DIY upgrades that cost under $300 as of 2026-06-28. This guide focuses on LED retrofits, smart switches, and layered indoor-outdoor lighting while prioritizing safety and long-term value. Many older homes have fixtures from decades past that not only look dated but also consume far more electricity than modern alternatives. By tackling these upgrades yourself, you avoid expensive contractor fees and gain hands-on knowledge that pays dividends through lower utility bills and improved home comfort. Whether your project involves a 1950s bungalow or a mid-century ranch, strategic lighting changes can make rooms feel larger, safer, and more inviting without structural renovations.
Planning Your Lighting Upgrade Project
Before purchasing any materials, conduct a thorough assessment of your current lighting setup. Walk through each room and note fixture types, bulb wattages, and any visible wiring issues. Measure ceiling heights and identify areas needing task lighting such as kitchen counters or reading nooks. Create a simple floor plan sketch to visualize layered lighting zones. Consider your household's daily routines: families with children may prioritize motion-sensor outdoor lights, while remote workers benefit from adjustable smart bulbs in home offices. Research local building codes early, as some municipalities require permits even for minor electrical work in 2026. Gather inspiration from before-and-after photos online to set realistic expectations for your budget-constrained project.
LED Retrofits: Simple Swaps for Instant Savings
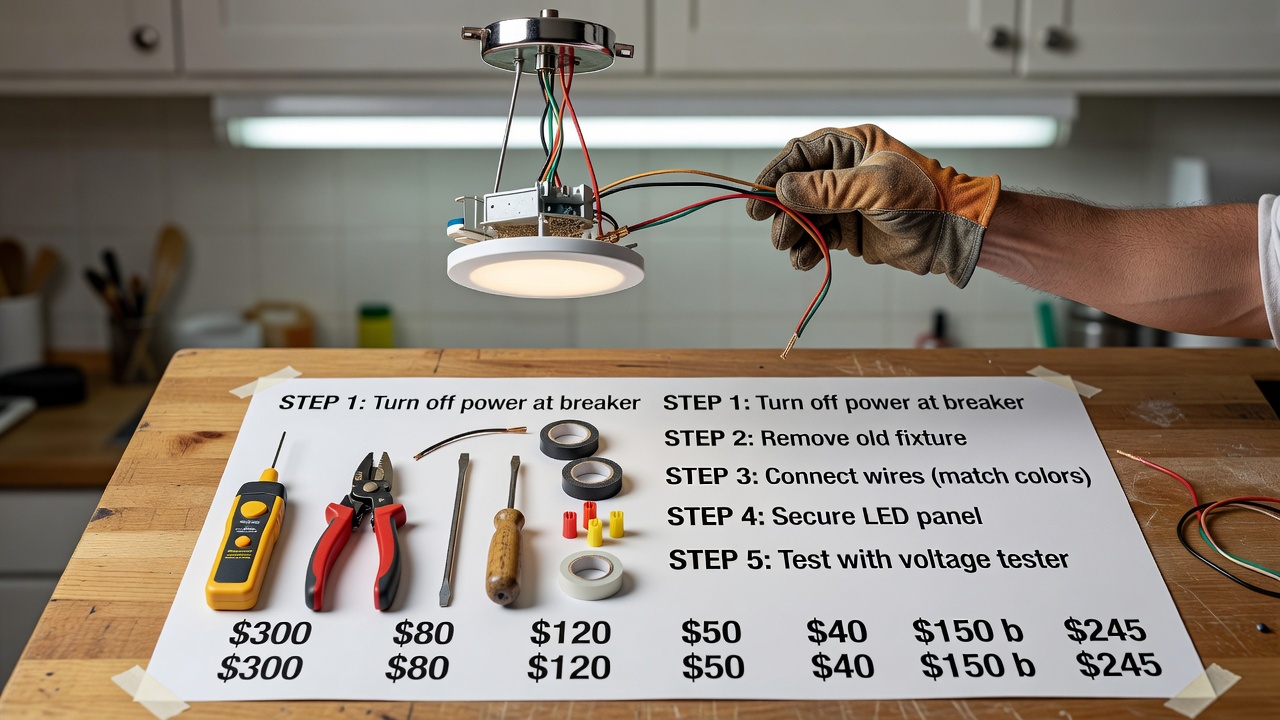
LED retrofits represent the easiest entry point for most DIYers. These replacements fit existing sockets and deliver immediate energy reductions. Focus on bulbs with high color rendering index (CRI) values above 80 for accurate color representation in living spaces. Choose color temperatures around 2700K for warm, cozy bedrooms and 4000K-5000K for crisp kitchen and bathroom illumination. Step-by-step installation begins with shutting off power at the breaker panel and verifying with a voltage tester. Remove old bulbs carefully to avoid breakage, then screw in new LEDs without overtightening. For recessed cans, select compatible retrofit kits that clip into existing housings. Test each fixture after installation and document any flickering issues, which may indicate incompatible dimmers. Compared to traditional incandescents, LEDs last 15-25 times longer, reducing replacement frequency dramatically over a five-year period.
Installing Smart Switches for Modern Control
Smart switches bring automation and scheduling capabilities that enhance both convenience and security. Select models rated for your home's wiring configuration, whether single-pole, three-way, or four-way. Popular options integrate with voice assistants for hands-free operation. Begin installation by turning off power and removing the old switch plate. Label each wire with tape before disconnecting to simplify reconnection. Connect the new switch following the included diagram, typically attaching line, load, neutral, and ground wires. Secure the device in the box and restore power to test functionality. Pair the switch with its companion app to set schedules, such as turning outdoor lights on at dusk. Troubleshooting common issues includes checking for loose connections or insufficient neutral wires in older boxes. Always double-check local electrical codes before proceeding with any smart device installation.
Layered Indoor-Outdoor Lighting Strategies
Effective lighting design relies on three distinct layers: ambient for overall illumination, task for specific activities, and accent for visual interest. In living rooms, combine ceiling-mounted LEDs with floor lamps and wall sconces to eliminate shadows. Kitchens benefit from under-cabinet strips for counter work plus pendant lights over islands. Extend the approach outdoors with weatherproof LED floodlights, pathway markers, and string lights for patios. Motion sensors add safety around entryways while conserving energy. Before-and-after comparisons often reveal how poorly lit fixer-uppers appear cramped; after layering, the same square footage feels expansive and functional. Use dimmable LEDs throughout to adjust ambiance for movie nights versus dinner parties.
Detailed Cost Breakdowns and Tool Recommendations
Staying under $300 as of 2026-06-28 requires prioritizing multi-packs and essential items only. Allocate roughly $80 for a variety pack of 20 LED bulbs, $120 for three smart switches with hubs, $50 for outdoor weatherproof fixtures, and $40 for basic tools. Avoid premium designer brands in favor of reliable mid-tier options available at major home improvement retailers. Recommended tools include a non-contact voltage tester for safety verification, wire strippers with gauge markings, needle-nose pliers for tight spaces, a cordless screwdriver, and a headlamp for working in dim attics or basements. A digital multimeter helps diagnose wiring problems quickly. Store all receipts and take progress photos to track spending against your budget.
Energy Savings Calculations and Real-World Impact
Switching to LEDs can reduce lighting energy use by up to 75 percent compared with older bulbs. For a typical three-bedroom home using lights an average of four hours daily, annual savings often exceed $150 based on average 2026 electricity rates. Calculate your own potential by multiplying total wattage replaced by hours of use and local kWh cost, then subtract the new LED wattage equivalent. Over five years, cumulative savings frequently surpass the initial investment several times over. Homeowners report noticeable drops in summer cooling loads because LEDs emit far less heat than incandescents.
Three Real-World Case Studies from Budget Homes
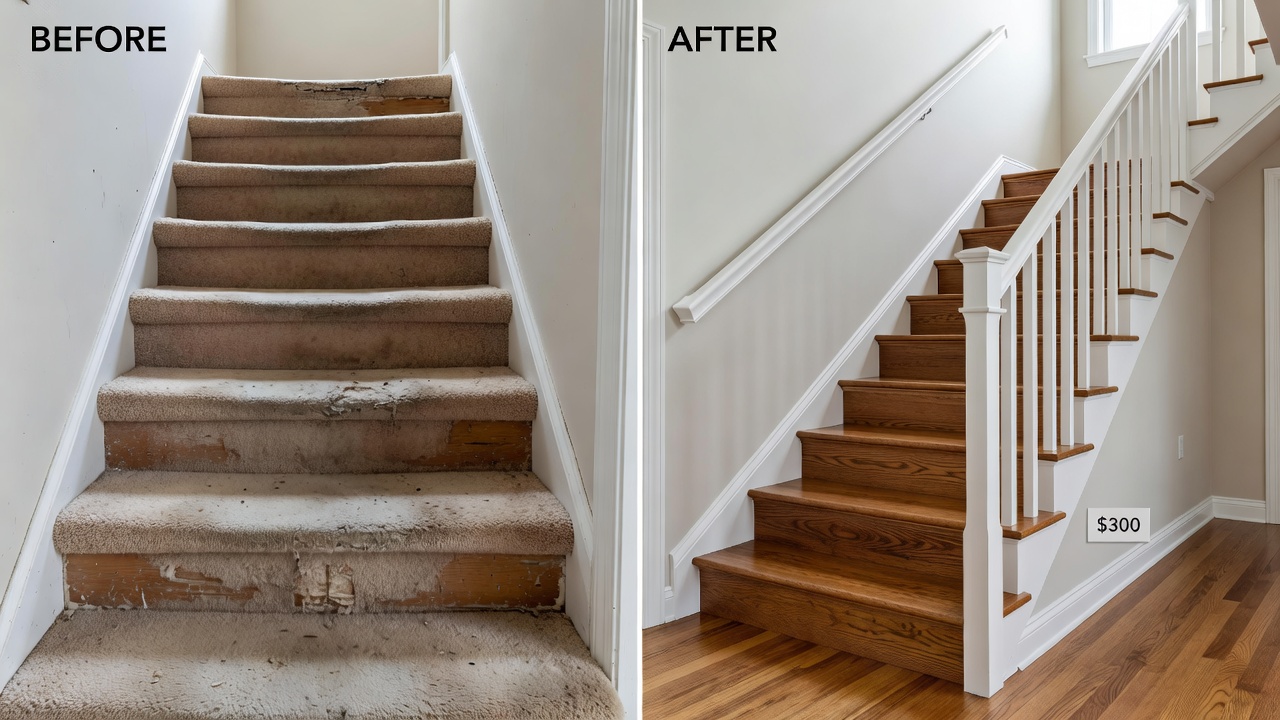
Case Study 1: A 1950s bungalow in the Midwest replaced 18 outdated fixtures with LEDs and two smart switches for $245 total. The kitchen transformed from a dimly lit space into a bright workspace, improving meal preparation safety and enjoyment. Utility bills dropped 18 percent within the first three months. Case Study 2: Owners of a suburban ranch added layered outdoor lighting including motion-sensor floods and patio string lights for $178. Security improved dramatically, and the backyard became usable for evening gatherings without increasing monthly expenses. Case Study 3: An urban townhouse retrofit focused on hallway and stairwell LEDs plus a single smart dimmer, totaling $112. Residents noted easier navigation at night and reduced eye strain, with the project completed in one weekend.
Common Mistakes to Avoid
- Skipping the breaker shutoff and working on live circuits, which risks shock or fire.
- Using bulbs exceeding fixture wattage ratings, leading to overheating.
- Ignoring neutral wire requirements for smart switches in older homes.
- Placing outdoor fixtures without proper weatherproof ratings.
- Neglecting to test circuits after each installation step.
Safety, Code Compliance, and Permit Requirements
Always follow established electrical safety guidelines from organizations such as the NFPA and OSHA. Wear insulated gloves and safety glasses during any wiring work. For 2026 projects, verify whether your locality requires permits for switch replacements or new fixtures by contacting the building department. Improper installations can void insurance coverage or create hazards during resale inspections. When in doubt, consult a licensed electrician for complex three-way switch setups or aluminum wiring homes.
Frequently Asked Questions
- What are the most common wiring mistakes? Overloaded circuits, reversed polarity, and missing ground connections rank highest among DIY errors.
- Do 2026 projects require permits for lighting upgrades? Many areas mandate permits when adding new circuits or altering service panels; always check locally first.
- How long do LED retrofits typically last? Quality LEDs maintain brightness for 25,000 to 50,000 hours under normal use.
- Can smart switches work without a neutral wire? Some models offer workarounds, but most require one for reliable operation.
- What tools are essential for beginners? A voltage tester, wire strippers, and screwdriver set cover the majority of basic jobs safely.
Conclusion
These budget-friendly DIY lighting upgrades deliver measurable improvements in comfort, safety, and efficiency for any fixer-upper. By following the outlined steps, respecting electrical codes, and tracking your expenses carefully, you can achieve professional-looking results without exceeding $300. Start with one room to build confidence, then expand your project as time and budget allow. The combination of lower energy costs and enhanced home appeal makes 2026 an ideal year to illuminate your space.
No comments yet. Be the first!