 Fixated on Home
Introduction to Budget DIY Outdoor Kitchens in 2026
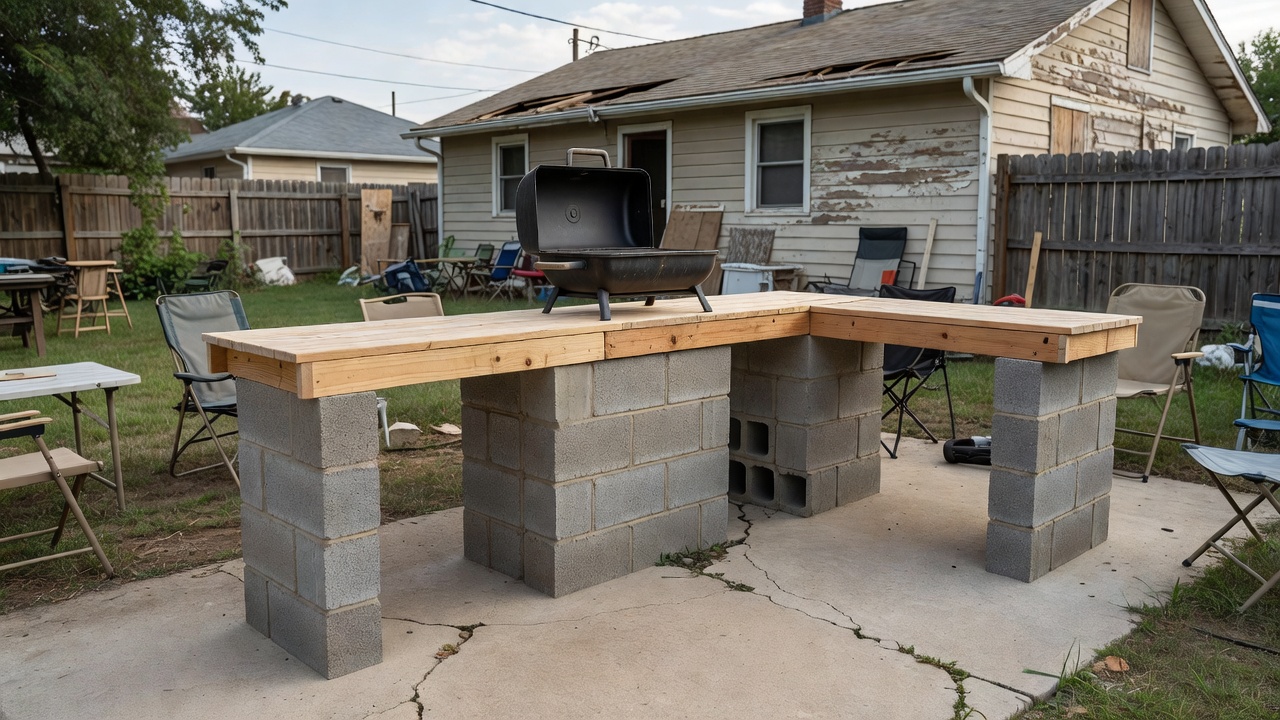
Homeowners tackling fixer-uppers often seek practical upgrades that enhance outdoor living without breaking the bank. In 2026, budget DIY outdoor kitchen ideas focus on simple builds that add functionality to backyards while staying under $600 as of 2026-07-31. These projects transform basic patios or decks into usable spaces for cooking and entertaining, making them ideal for those renovating older properties with limited funds.
Fixer-uppers benefit from modular designs that use readily available materials. This approach allows integration with existing structures while prioritizing durability and low maintenance. By focusing on core elements like a stable base, functional counter space, and weather resistance, homeowners can create inviting areas that increase property appeal and daily usability.
Material Sourcing for Affordable Builds
Sourcing materials locally helps keep costs down. Start at home improvement stores or salvage yards for lumber, concrete blocks, and basic hardware. Reclaimed wood from previous renovations works well for counters and frames. Choose weather-resistant options like pressure-treated pine or cedar to withstand outdoor conditions. Consider alternatives such as recycled plastic lumber for added longevity in humid climates.
Compare options such as cinder blocks versus wooden frames. Blocks offer stability at a lower price point, while wood provides easier customization for beginners. Always verify material quality to avoid future repairs. Additional items like concrete mix, screws, brackets, and sealants can often be found in bulk packs to reduce expenses. Local classified ads and community reuse programs frequently yield free or low-cost options for items like old doors repurposed as tabletops.
- Pressure-treated lumber for frames
- Cinder blocks for bases
- Plywood or stone slabs for counters
- Outdoor-rated screws and brackets
- Sealants and stains for protection
Essential Tools Needed for the Project
Before beginning assembly, gather a basic toolkit to ensure smooth progress. Essential items include a circular saw for cutting wood, a level for accuracy, a drill with bits for fastening, a tape measure, safety goggles, and work gloves. A masonry bit may be required if working with concrete blocks. These tools are commonly available for rent at local hardware stores if you do not own them already.
Organize your workspace to keep tools within reach and prevent accidents. Investing in quality basic tools pays off for future DIY projects around the home.
Simple Step-by-Step Assembly Guide
Begin by measuring your space and marking the layout on the existing patio or deck. Level the ground if needed before placing base supports. Assemble the frame using screws and brackets for a sturdy foundation. Follow these detailed steps for reliable results:
- Clear the area and mark dimensions with stakes and string.
- Position cinder blocks or wooden supports at each corner and center points.
- Secure the base frame with galvanized screws to resist rust.
- Attach countertop supports and test for evenness using a level.
- Install the countertop material and add storage shelves below.
- Position the grill or cooking appliance in the designated spot.
Next, install countertops by attaching plywood or stone slabs. Add a grill station with space for storage underneath. Finish with shelves or hooks for tools. Test stability at each stage to ensure safety. Take your time during leveling to prevent wobbling later on.
Weatherproofing Techniques for Longevity
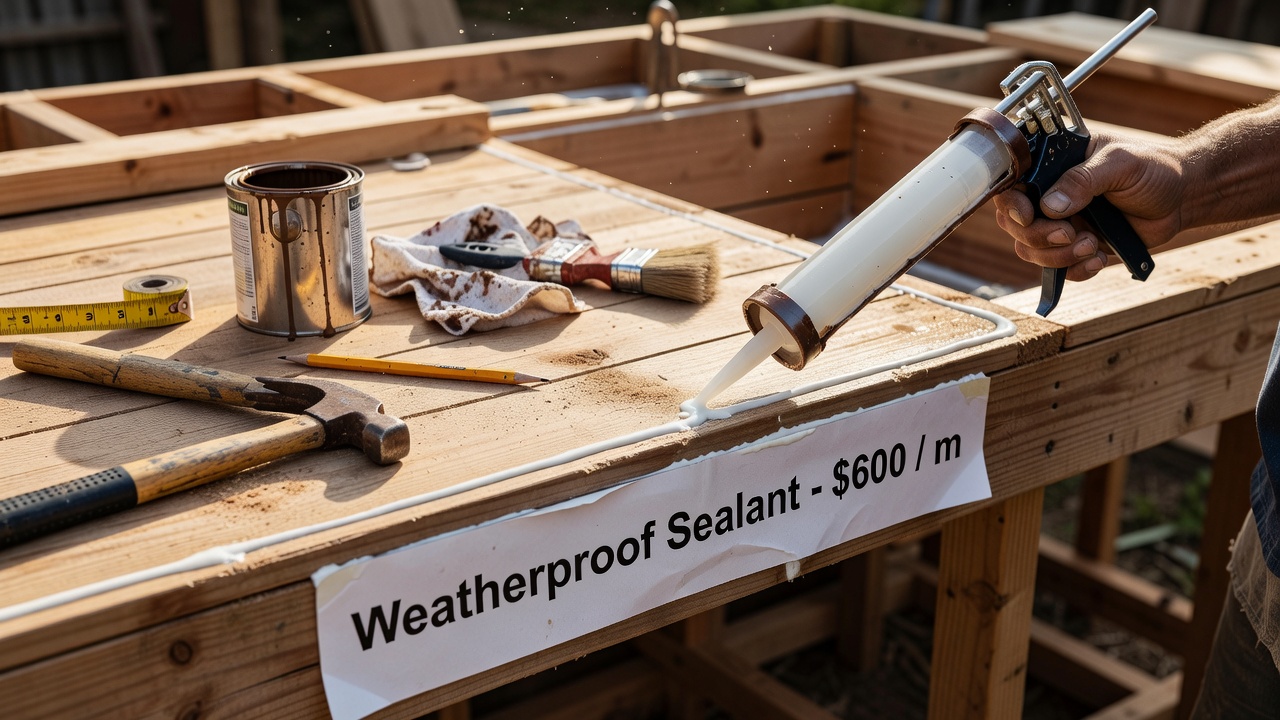
Apply sealants to all wooden surfaces to protect against rain and UV exposure. Use outdoor-rated paints or stains designed for high-traffic areas. For countertops, opt for epoxy coatings that resist moisture and stains. Multiple thin coats of sealant often perform better than a single thick layer.
Integrate drainage features if building near slopes. Cover exposed edges with metal flashing to prevent water damage. These steps extend the life of your DIY outdoor kitchen significantly. In regions with heavy snowfall, consider removable covers or elevated designs to minimize winter damage. Regular inspections every few months help identify early signs of wear.
Integration with Existing Patios or Decks
Align the new kitchen with current deck boards or patio pavers for a seamless look. Use matching materials where possible to maintain visual continuity. Secure the structure to the existing base with anchors rated for outdoor use. Examples include attaching a side prep counter directly to a deck railing or building a freestanding island on a concrete patio extension.
Consider electrical needs early if adding lighting or outlets. Route wires safely along the perimeter to avoid tripping hazards. This integration boosts both functionality and property value. For patios, embed posts into the ground with concrete footings for extra stability, while decks may require ledger board attachments.
Cost Comparisons and Beginner-Friendly Examples
Basic builds using concrete blocks and reclaimed wood typically cost less than framed lumber versions. A block-based design might save on materials compared to full wood framing. Examples include a simple grill station on a concrete pad or a corner unit attached to a deck rail. Beginners should start with smaller projects like a prep table before scaling to full kitchens. These examples demonstrate how modest investments yield practical results for fixer-uppers.
Another example involves repurposing an old picnic table base with added counter extensions. Cost comparisons show that prioritizing functionality over aesthetics keeps projects within budget while still delivering usable outdoor space.
Common Mistakes to Avoid
Many first-time builders overlook proper leveling, leading to uneven counters and drainage issues. Another frequent error is skipping weatherproofing, which results in rapid deterioration. Always double-check measurements before cutting materials to reduce waste. Avoid using indoor-rated hardware outdoors, as it corrodes quickly.
Safety Tips Throughout the Process
Always wear protective gear during cutting and assembly. Follow guidelines from OSHA for tool handling and structural stability. Keep work areas clear to prevent accidents. Check local building codes before starting. Ensure proper ventilation around grills to avoid fire risks. Regular inspections after installation help maintain safety standards. Additional advice includes working with a partner for heavy lifts and storing tools securely when not in use.
Conclusion
These 2026 budget DIY outdoor kitchen ideas empower fixer-upper owners to create functional spaces affordably. By focusing on smart sourcing, careful assembly, and protective measures, homeowners achieve lasting upgrades that enhance backyard living for years to come.
FAQ
Do I need permits for a DIY outdoor kitchen?
Many areas require permits for permanent structures. Contact your local building department to confirm requirements based on size and location. Failing to obtain necessary approvals can lead to fines or removal orders.
How do I maintain an outdoor kitchen long-term?
Clean surfaces regularly and reapply sealants annually. Inspect for wear after harsh weather seasons to address issues promptly. Store removable accessories indoors during off-seasons to prolong their lifespan.
What common challenges arise with budget builds?
Material availability and uneven ground are frequent hurdles. Plan extra time for sourcing and leveling to overcome these effectively. Unexpected weather delays can also occur, so have a flexible timeline.
Can I expand the kitchen later?
Yes, modular designs make future additions straightforward. Start with core components and add features like sinks or extra counters as budget allows in subsequent seasons.

No comments yet. Be the first!