 Fixated on Home
Introduction to Budget DIY Pergola Projects
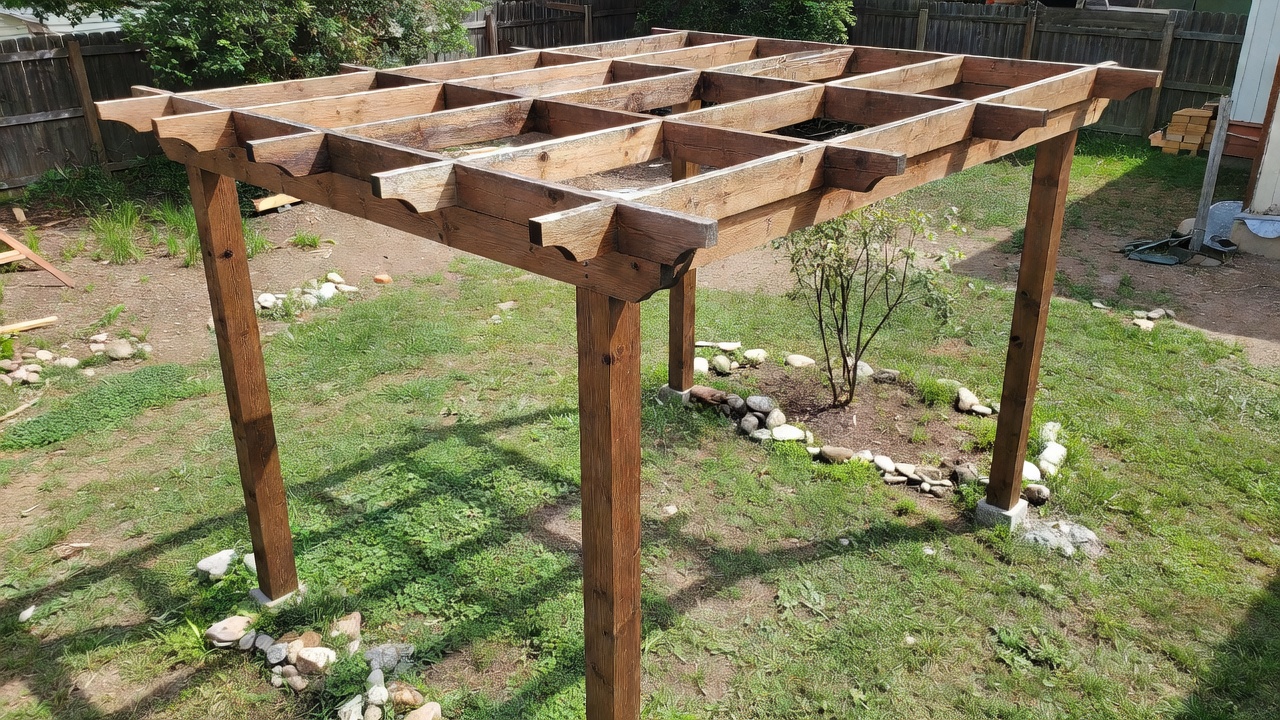
Homeowners tackling fixer upper yards often seek simple, cost-effective upgrades that add value and usability without breaking the bank. A DIY pergola fits this need perfectly by providing shade, structure, and visual appeal. This guide focuses on practical builds using reclaimed lumber and straightforward designs suitable for most skill levels. Whether your yard needs a quick refresh or a more permanent outdoor feature, these approaches emphasize reclaimed materials and basic construction techniques. The result is a functional addition that enhances the space while keeping expenses low. Many fixer upper enthusiasts start with small structures to test their skills before moving to larger renovations, creating spaces that serve as gathering areas or quiet retreats.
Planning begins with assessing your yard's layout, sun exposure, and soil conditions. Measure the available space carefully to determine the ideal size, ensuring the pergola complements existing features like decks or patios. This preparation helps avoid common pitfalls such as improper scaling that could make the structure feel out of place.
Selecting Reclaimed Lumber and Essential Materials
Reclaimed lumber offers character and sustainability for pergola builds. Look for sources like old barns, pallets, or local salvage yards to obtain sturdy beams and posts. Inspect each piece for rot, cracks, or insect damage before use. Sand rough surfaces and apply a protective sealant suited to outdoor conditions. Consider different wood types such as cedar for natural resistance to decay or oak for strength in load-bearing elements. Always prioritize pieces that have been properly dried to prevent warping after installation.
Additional materials include concrete for footings, galvanized hardware for connections, and basic fasteners. Choose pressure-treated options only when necessary for ground contact areas to ensure longevity in varying weather. For eco-conscious builders, sourcing from responsible suppliers aligns with sustainable practices promoted by organizations like the Environmental Protection Agency. Create a detailed checklist of everything needed, including extras for mistakes or adjustments during construction.
Comparing Attached and Freestanding Pergola Styles
Attached pergolas connect directly to an existing structure such as a house or deck, which can simplify anchoring and reduce material needs. Freestanding designs offer more placement flexibility but require stronger footings on all sides. Cost breakdowns favor attached styles for smaller yards due to fewer posts and simpler framing. Real fixer upper examples often start with attached versions to tie into the home's architecture before expanding to freestanding options in open lawn areas. Both styles support budget reno goals when kept under simple rectangular or square footprints.
Examples from renovation projects show attached pergolas working well against south-facing walls for maximum shade, while freestanding ones define separate zones in larger yards. Consider wind patterns and drainage when choosing between the two to ensure the structure withstands local conditions over time.
Tool Guide and Basic Material Lists
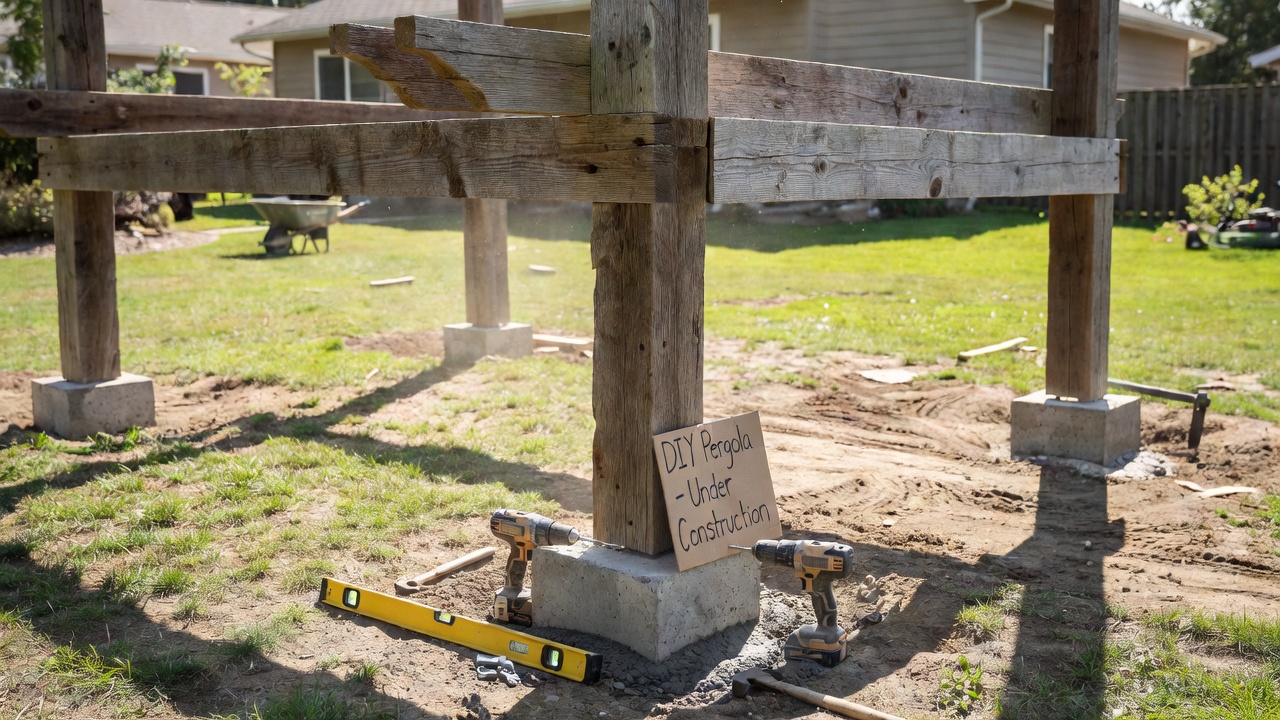
Essential tools include a circular saw, drill, level, tape measure, and post hole digger. A miter saw helps with precise angle cuts for rafters. Safety gear such as gloves and eye protection is mandatory throughout the process. Supplement your kit with a speed square for accurate marking and clamps to hold pieces steady during assembly. For those without power tools, hand saw alternatives work but extend the timeline significantly.
Material lists vary by size but generally cover four main posts, several cross beams, and rafters. Add joist hangers and lag bolts for secure joints. Always verify local availability of reclaimed stock to avoid delays. Organize materials by stage of construction to streamline the workflow and minimize trips to the store.
Step-by-Step Construction Process
Begin by marking the layout and digging post holes to the recommended depth for your soil type. Set posts in concrete and allow full curing before proceeding. Attach beams across the tops using appropriate brackets. Install rafters at even spacing and secure them firmly. Add any cross-bracing for stability. This sequence ensures a solid frame before finishing touches. Break the project into phases over a weekend or two to maintain precision and avoid fatigue-related errors.
After the frame is complete, double-check all connections for tightness and alignment. Sand any sharp edges that could pose safety risks. This methodical approach leads to professional-looking results even for first-time builders.
Anchoring Methods for Stability
Proper anchoring prevents movement from wind or ground settling. Use concrete footings at least 24 inches deep in most climates. For attached styles, secure ledger boards to the house with structural screws rated for outdoor exposure. Freestanding builds benefit from additional bracing between posts. Check soil conditions and adjust footing size accordingly for long-term results. In areas with freeze-thaw cycles, deeper footings or gravel bases improve drainage and prevent shifting.
Adding Budget Shading and Lighting Elements
Shade options include inexpensive canvas panels or climbing vines trained along the rafters. For lighting, string solar-powered LEDs along the beams for evening ambiance without wiring costs. These additions enhance usability while maintaining the overall budget focus of the project. Explore fabric choices that resist fading and install them with removable ties for seasonal adjustments. Lighting can be layered with lanterns or pathway lights to create ambiance without permanent electrical work.
Common Mistakes to Avoid
- Skipping proper measurements leading to uneven structures.
- Using untreated wood in moisture-prone areas.
- Ignoring local wind loads when designing the frame.
- Neglecting to level posts before concrete sets.
- Overlooking hardware corrosion resistance in humid climates.
Maintenance Tips for Long-Term Durability
Inspect joints and hardware annually for loosening. Reapply sealant every two to three years depending on exposure. Clear debris from the structure regularly to prevent moisture buildup and rot. Weatherproofing starts with quality initial finishes and continues with seasonal checks, especially before harsh winters or heavy rains. Address minor issues promptly to extend the life of the pergola for many seasons of enjoyment.
FAQ on Permits and Weatherproofing
- Do I need permits? Check with your local building department, as requirements vary by location and structure size. Many small DIY pergolas fall under exemptions but confirmation avoids future issues. Visit usa.gov for general guidance on local regulations.
- How do I weatherproof effectively? Use exterior-rated sealants and ensure good drainage around footings. Elevated designs reduce ground moisture contact.
- What if my yard has uneven terrain? Adjust post heights with shims or stepped footings to maintain level beams.
- Can I expand the pergola later? Yes, modular designs allow for future additions like side panels or extended roofing without full reconstruction.
Conclusion
Building a budget DIY pergola transforms fixer upper yards into inviting outdoor spaces. By focusing on reclaimed materials, simple designs, and solid construction basics, homeowners achieve lasting results. Follow the outlined steps for a project that adds both function and charm while supporting ongoing yard improvements.

No comments yet. Be the first!