 Fixated on Home
Introduction to Budget DIY Solar for Fixer-Uppers
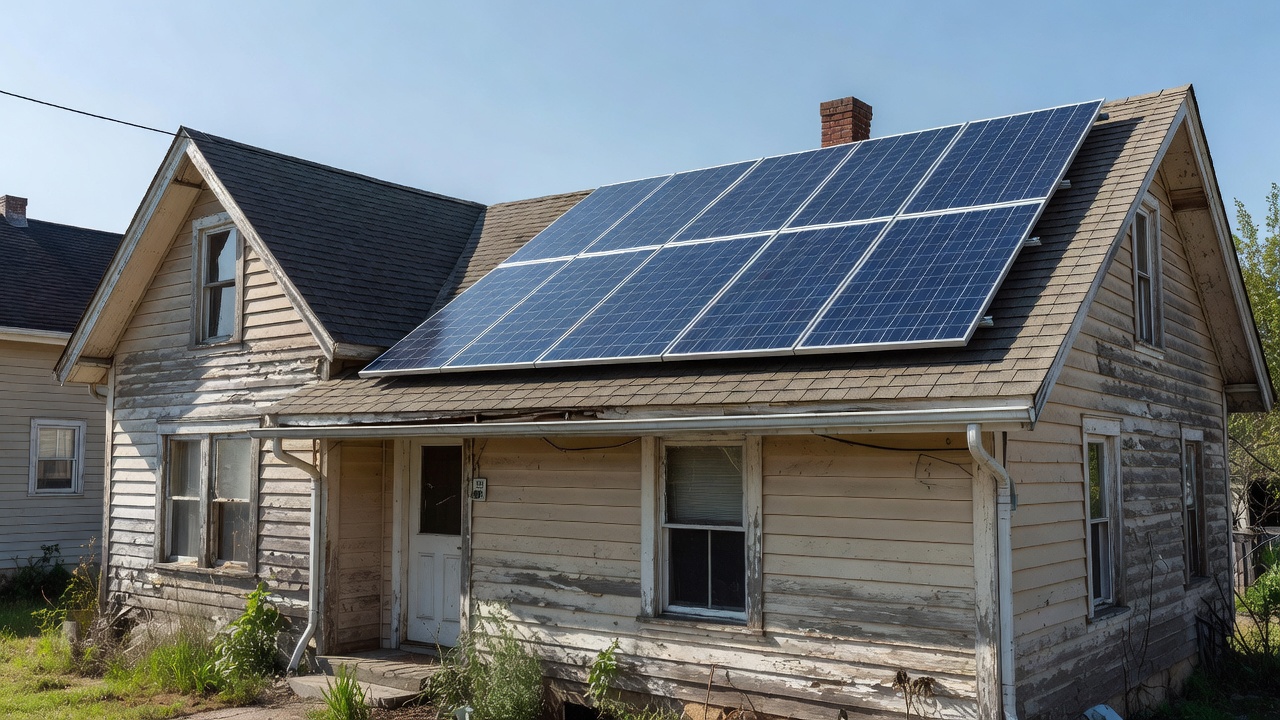
Fixer-upper homes often come with outdated electrical systems and high energy costs. In 2026, homeowners are turning to DIY solar projects to reduce reliance on the grid while keeping expenses manageable. This guide covers practical approaches for beginners, from selecting kits to integrating systems safely. These projects focus on maximizing energy savings through targeted installations on roofs or sheds, suiting properties needing updates without full professional overhauls. By following structured steps, you can achieve meaningful reductions in utility bills and contribute to sustainable living.
Many fixer-uppers built decades ago lack modern insulation or efficient appliances, making solar a strategic addition. The process emphasizes accessible tools and modular components that grow with your needs. Throughout this article, we explore real scenarios, comparisons, and essential precautions to ensure success.
Selecting Beginner-Friendly Solar Kits
Start by evaluating your home's energy needs through a simple audit of monthly usage. Look for kits with pre-wired components, basic inverters, and mounting hardware. Compare options based on panel efficiency, warranty length, and compatibility with older homes. Research local sunlight exposure using free online tools before purchasing to optimize placement.
Key Features to Prioritize in Kits
- Modular designs that allow incremental additions as budgets permit
- Plug-and-play wiring for simpler integration without advanced soldering
- Durability ratings suitable for various climates and weather conditions
- Clear documentation and video tutorials included by manufacturers
Always verify that components meet basic safety standards from recognized testing organizations. Consider factors like panel size for available space and inverter capacity to handle peak loads. Beginners benefit from kits labeled for residential use that include all necessary connectors and brackets.
Step-by-Step Mounting on Roofs or Sheds
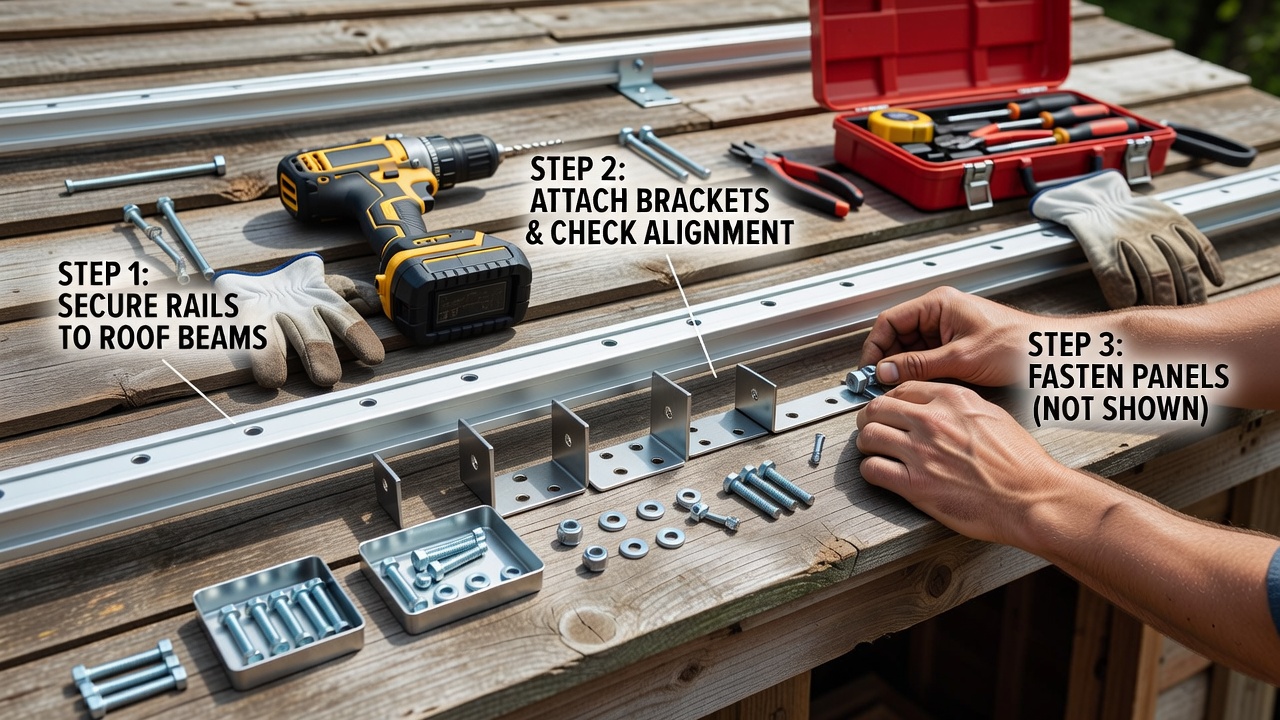
Proper mounting ensures longevity and performance. Begin with a structural assessment of the mounting surface to confirm it can support the weight and withstand wind loads. Gather essential tools including drills, levels, and sealant before starting.
Roof Installation Process
- Measure and mark rafters for secure attachment points using a stud finder.
- Install flashing around penetration points to prevent leaks over time.
- Secure rails with lag bolts and attach panels, maintaining proper tilt angles for your latitude.
- Route cables neatly along the roof edge using clips to avoid tripping hazards.
- Perform a final inspection for stability before connecting to the system.
Shed Mounting Alternative
Sheds offer easier access for beginners and reduce roof risk. Use ground-level assembly where possible before lifting sections into place. Ensure the shed foundation can support added weight and position panels to avoid shade from nearby trees. This approach works well for outbuildings or as a testing ground for larger home projects.
Wiring Basics and System Integration
Connect panels to charge controllers and batteries if off-grid elements are desired. Use appropriately gauged wire to minimize energy losses and follow color-coded standards for positive and negative terminals. Integrate with existing electrical panels via transfer switches for hybrid setups that allow seamless switching between solar and grid power. Test all connections with a multimeter before full activation to identify issues early.
For more on safe electrical practices, consult resources from the U.S. Department of Energy. Detailed wiring diagrams help prevent common errors like reversed polarity.
Real-World Energy Bill Reduction Examples
Homeowners report noticeable drops in monthly utility costs after installing small-scale systems. One case involved a 1950s bungalow where solar offset a significant portion of usage within the first season by powering lights and appliances during daylight hours. Another project on a rural fixer-upper achieved consistent reductions by combining roof and shed arrays, demonstrating how incremental builds compound savings over time. These examples highlight the importance of monitoring output with basic apps or meters to track performance.
DIY vs Professional Install Comparisons
DIY approaches save on labor but require time and learning curves. Professional installs offer warranties and code compliance but at higher overall expense. Weigh your skills against project complexity. For complex electrical ties, hiring a licensed electrician for the final connection is advisable. DIY excels in customization for unique fixer-upper layouts, while pros handle permits and inspections efficiently in many regions.
Safety Tips for Budget Renovations
- Work on de-energized systems only and use lockout tags during installation.
- Wear protective gear including gloves, goggles, and non-slip footwear during roof work.
- Double-check all seals against weather intrusion to prevent moisture damage.
- Follow ladder and height safety protocols with a spotter present when possible.
- Store tools securely to avoid falls or accidents on elevated surfaces.
Common Pitfalls in Home Improvement Projects
Avoid underestimating permitting requirements or skipping structural checks that could lead to failures. Incorrect wiring can result in inefficiencies or hazards that compromise the entire setup. Poor panel orientation reduces output significantly, especially in shaded areas. Always plan for maintenance access from the start to simplify future cleaning and inspections. Document every step with photos for troubleshooting or resale value.
FAQ on Permits and Maintenance
Do I need permits for small solar projects?
Many areas require permits even for modest installations. Check with your local building department early to avoid delays or fines during inspections.
How often should systems be maintained?
Inspect panels quarterly for debris and connections annually. Clean surfaces gently with water as needed to maintain efficiency.
What happens if the system underperforms?
Review tilt, shading, and connections first. Consult manufacturer support for troubleshooting steps.
Can these systems be expanded later?
Yes, modular kits allow additions as skills and resources grow, making them ideal for phased renovations.
Additional guidance is available through the National Renewable Energy Laboratory and EPA solar resources.
Tools and Materials Checklist
Essential items include a cordless drill, tape measure, wire strippers, voltage tester, and weatherproof sealant. Stock up on extra connectors and cable ties for tidy installations. Having a multimeter on hand verifies electrical integrity at each stage.
Conclusion
Budget DIY solar projects empower fixer-upper owners to embrace sustainable upgrades in 2026. With careful planning, these efforts deliver lasting energy benefits and increased home value while building valuable hands-on experience.

No comments yet. Be the first!