 Fixated on Home
Budget DIY Home Security Upgrades for Fixer-Uppers 2026
Homeowners tackling fixer-uppers often prioritize structural fixes and aesthetics, yet security remains essential for safety and resale value. This comprehensive guide delivers practical, code-compliant DIY solutions using everyday materials to strengthen your property without straining renovation budgets. Whether you are updating an older home or managing a full-scale renovation, these methods integrate seamlessly into your project timeline while enhancing protection against common threats like break-ins and unauthorized access.
Assessing Vulnerabilities in Fixer-Uppers
Start by walking your property and noting weak points such as loose doors, single-pane windows, and dark exterior areas. Document these with photos to track progress and prioritize tasks based on risk level. Focus on entry points first, as they account for most unauthorized access attempts. Consider factors like neighborhood crime statistics, the age of your home's construction, and existing hardware conditions. A thorough assessment helps avoid wasted effort on low-impact areas and ensures your upgrades address real vulnerabilities. For instance, older homes may have outdated locks that fail to meet modern standards, while overgrown landscaping can provide cover for intruders. Take time to inspect each door and window for gaps, weak frames, or missing hardware.
Reinforcing Entry Points on a Budget
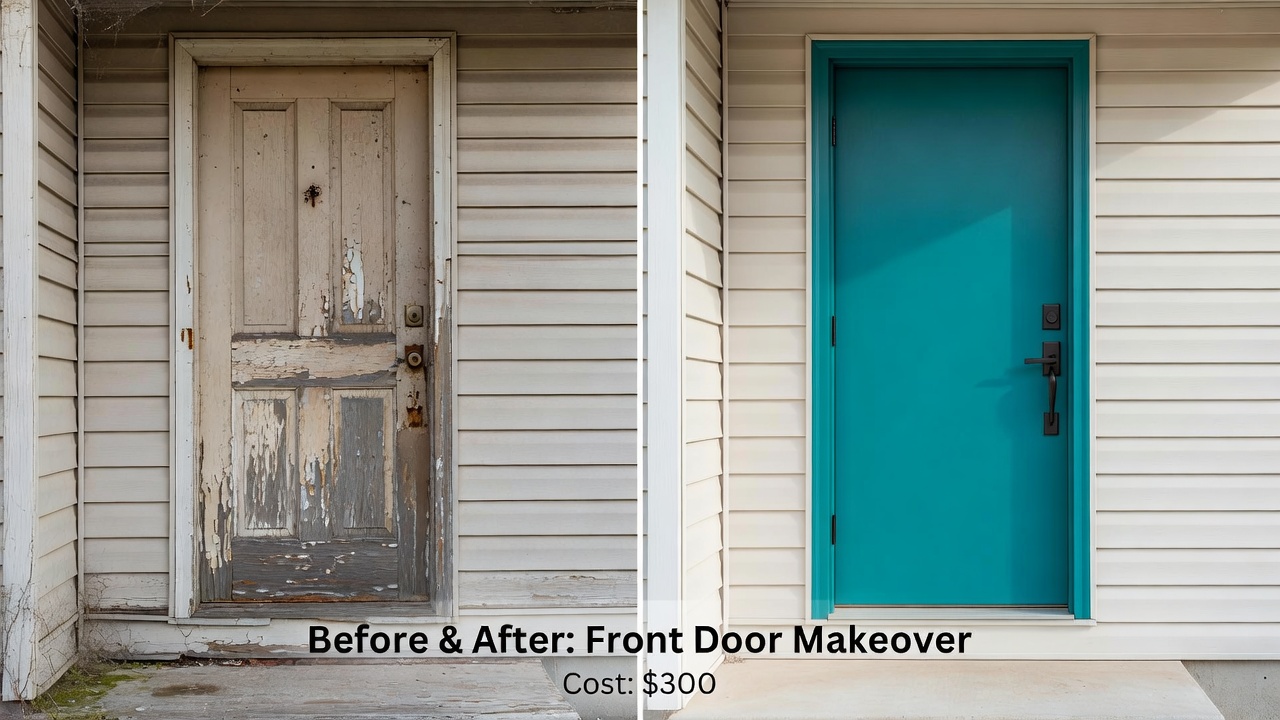
Replace or upgrade strike plates with longer screws that reach the wall studs. Add door jammers made from sturdy lumber cut to fit behind doors. These simple reinforcements deter forced entry effectively and can be completed in an afternoon with basic tools. Begin by removing the existing strike plate and measuring the depth needed to anchor into the stud. Select heavy-duty screws at least three inches long for maximum hold. For added security, install a secondary deadbolt if your door allows, ensuring alignment with the frame. In fixer-uppers, doors may be warped or misaligned, so use shims to level them before final installation. This approach not only improves security but also reduces drafts and improves energy efficiency over time.
Installing Motion-Sensor Lighting
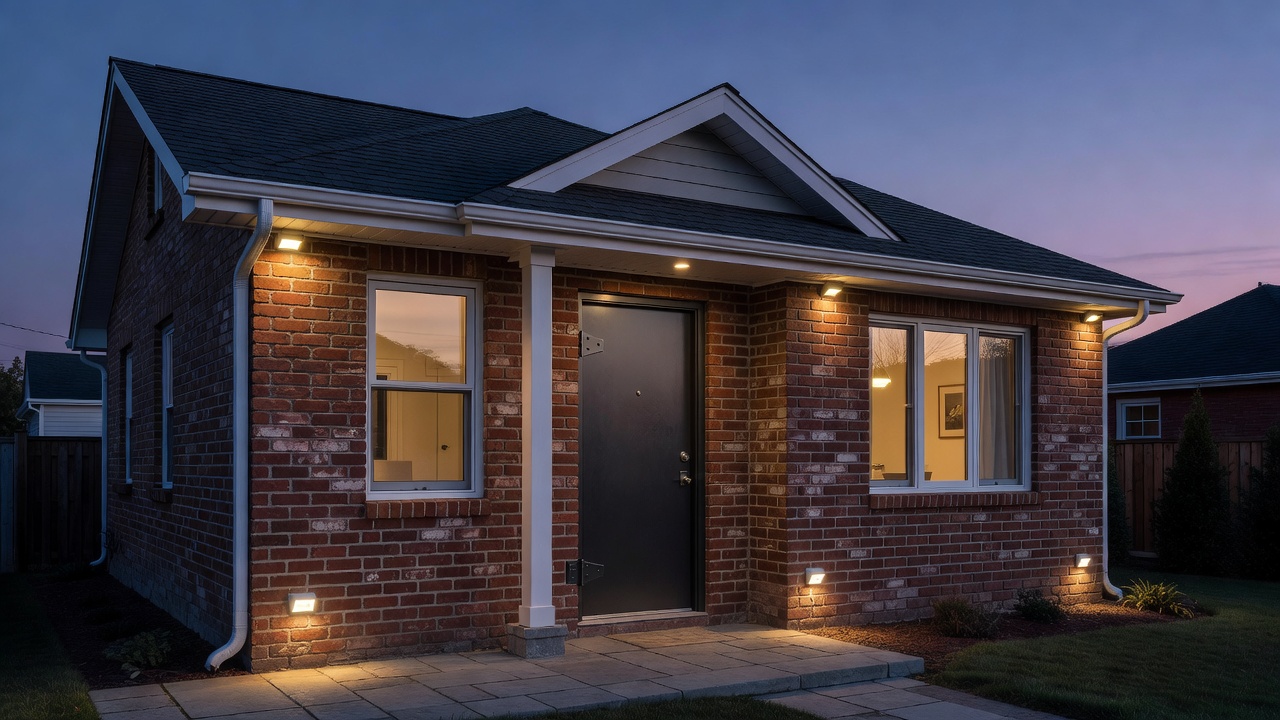
Position solar-powered motion lights at corners and near entryways. They require no wiring and activate only when needed, conserving energy while illuminating potential trouble spots. Choose fixtures with adjustable sensitivity and range to avoid false triggers from pets or passing vehicles. Mount lights at a height of eight to ten feet for optimal coverage without easy tampering. Test the sensors during daylight hours by walking through the detection zone. For fixer-uppers with limited electrical access, solar options prove especially practical as they charge during the day and provide reliable illumination at night. Expand coverage by adding lights along pathways or near garages to create a layered defense system that deters activity before it reaches the main structure.
Basic Surveillance Setups
Use affordable wireless cameras that connect to existing Wi-Fi. Position them to cover main approaches and integrate with free cloud storage options for basic footage review. Select models with night vision and wide-angle lenses to maximize visibility. Place cameras under eaves or in protected locations to shield them from weather. Regularly clean lenses and check connections to maintain performance. Many budget systems allow remote viewing via smartphone apps, giving you peace of mind whether at home or away. Combine camera placement with strategic lighting to capture clearer images during low-light conditions. Review footage periodically to identify patterns, such as repeated visits near certain entry points, and adjust your setup accordingly.
Step-by-Step Window Alarm Installation
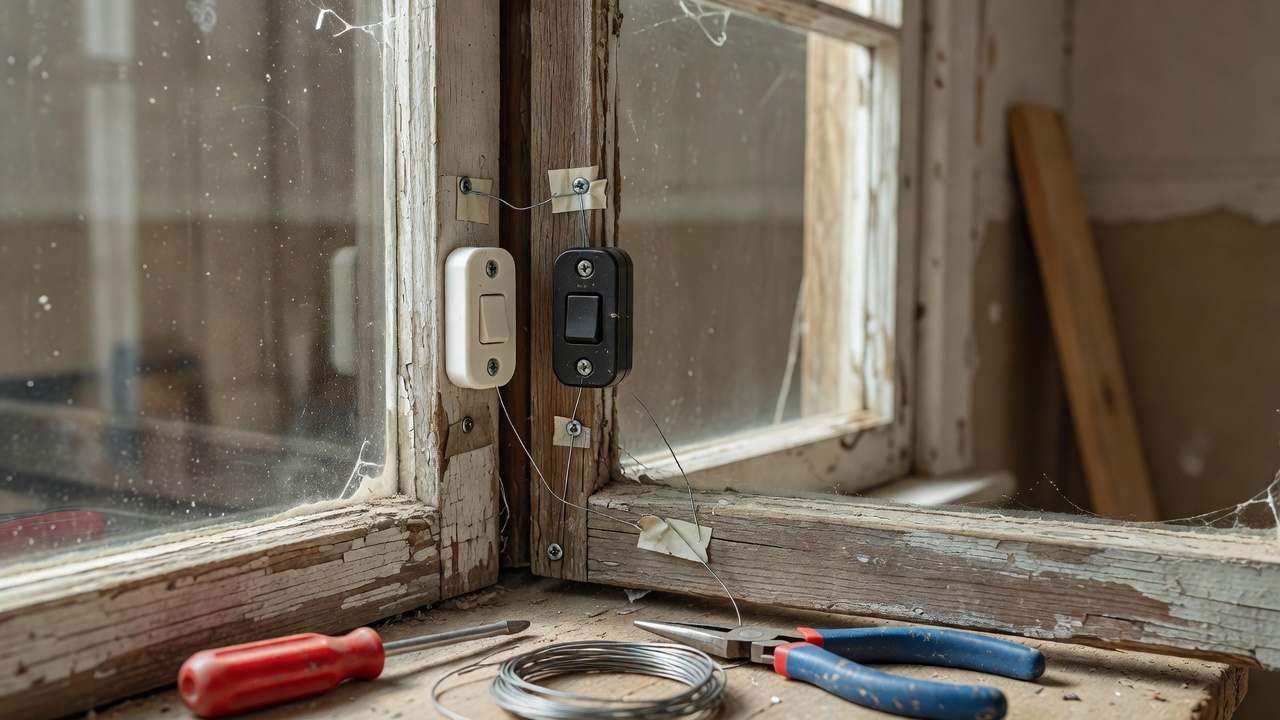
Window alarms provide an audible alert when glass is broken or windows are opened unexpectedly. Follow these detailed steps for reliable results: First, clean window frames thoroughly to ensure strong adhesion. Next, attach magnetic sensors to frames and sashes, aligning them precisely so the magnet and switch meet when closed. Connect the sensors to a central alarm unit powered by batteries, and mount the unit in a central location for easy access. Test each sensor individually by opening the window to confirm proper triggering and sufficient volume. For multi-story homes, prioritize ground-level windows first. Use wireless models to avoid running cables through walls in older construction. Maintain a spare set of batteries and test the system monthly to catch any issues early.
Smart Lock Installation Guide
Choose keyless entry locks that fit standard bore holes. Follow manufacturer instructions to mount the deadbolt, program codes, and connect via Bluetooth for remote access. Always verify compatibility with your door thickness and material before purchase. Begin by removing the old lockset and cleaning the bore hole. Insert the new latch and deadbolt assembly, securing with provided screws. Program multiple user codes for family members or contractors working on the renovation. Test the lock from both inside and outside multiple times. Smart locks add convenience by allowing temporary codes for service workers, reducing the need to change physical keys. Integrate with other home systems if desired, but keep the primary function simple for long-term reliability in a fixer-upper setting.
Low-Cost vs Professional Options Comparison
- DIY approaches allow customization and immediate implementation without waiting for appointments.
- Professional systems offer monitoring subscriptions but incur ongoing fees and may require long-term contracts.
- Hybrid solutions combine DIY hardware with optional professional oversight for balanced protection and flexibility during renovations.
- DIY methods foster learning and can be scaled as your budget allows, while professional installations provide warranties but less owner control over design.
Real Fixer-Upper Examples
One homeowner reinforced all exterior doors and added lighting during a roof repair project, resulting in improved insurance rates and a greater sense of security. Another integrated window alarms into a phased kitchen and living area renovation, creating a cohesive upgrade plan that addressed both functionality and protection. A third example involved installing smart locks on a multi-unit fixer-upper, allowing the owner to manage access remotely while tenants moved in gradually. These cases demonstrate how security upgrades can complement other renovation work rather than compete for time and resources.
Material Lists and Checklists
Essential items include longer screws, lumber for jammers, motion sensors, magnetic contacts, wireless cameras, and basic tools such as drills, screwdrivers, and levels. Create a pre-project checklist covering local permit requirements if needed and a post-installation test routine. Organize materials by project phase to stay efficient. A sample security upgrade checklist might include: inspect all entry points, gather tools and supplies, install reinforcements one door at a time, test lighting and alarms, document completed work with photos, and review the full system after one week of use.
Safety Tips and Code Compliance
Always turn off power before any electrical work and wear protective gear when cutting materials. Consult CPSC guidelines for product safety standards. Ensure installations meet building codes to avoid future issues during inspections or resale. Check local ordinances regarding alarm systems to prevent nuisance complaints from false triggers. Store tools securely after each work session to maintain a safe job site, especially important in occupied fixer-uppers.
Common Challenges and FAQ
How do I handle uneven fixer-upper surfaces? Use shims for leveling and seal gaps with weatherstripping. What if sensors fail? Check battery life and connections first, then verify alignment. Can these upgrades increase home value? Yes, documented security improvements appeal to buyers seeking move-in-ready properties. Are permits required for basic alarms? Usually not, but confirm with your local building department. How often should systems be tested? Perform monthly checks and after any major renovation activity. What materials work best for older homes? Opt for adjustable or modular components that accommodate irregular framing.
Additional resources on consumer security practices are available at FTC consumer protection pages and general home improvement standards at NIST resources.
Conclusion
Implementing budget-friendly DIY security upgrades transforms fixer-uppers into safer, more valuable homes. By focusing on entry reinforcement, lighting, alarms, and smart features, you create layered protection that integrates with your renovation goals. Follow the steps outlined, adapt to your specific property conditions, and enjoy the added peace of mind throughout the process.
No comments yet. Be the first!