 Fixated on Home
Transform Your Fixer-Upper with Affordable DIY Accent Walls
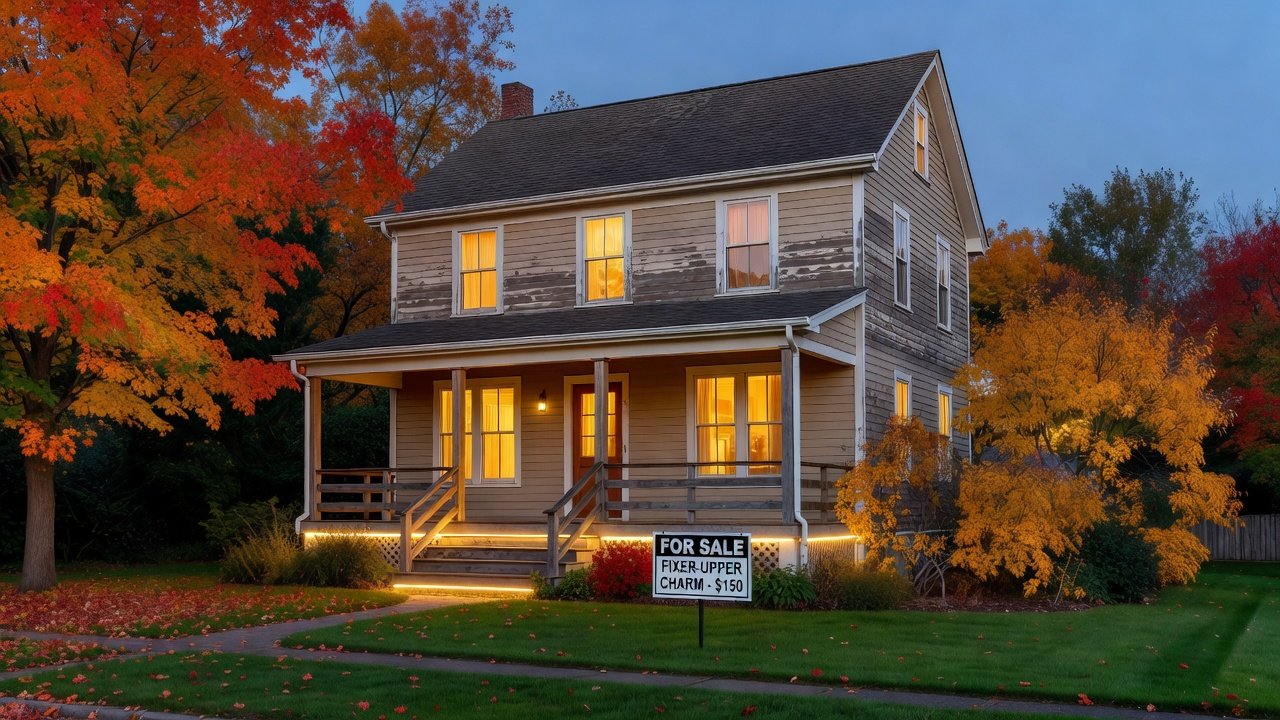
Fixer-upper homes present unique opportunities for creative upgrades that enhance character while respecting tight budgets. Accent walls serve as focal points that dramatically alter a room's atmosphere without requiring full-scale renovations. In 2026, DIY projects emphasize sustainable materials, simple techniques, and designs that complement older architectural features like uneven plaster or narrow layouts. These ideas target beginners seeking practical solutions that integrate with broader home improvement efforts such as refreshing flooring or updating lighting fixtures.
Older homes often feature challenges including settling foundations and outdated wiring, so thorough inspection precedes any project. Begin by cleaning surfaces thoroughly and addressing minor repairs with spackle or joint compound. This preparation ensures longevity and prevents issues like peeling finishes later. Many enthusiasts pair accent walls with neutral color schemes to maintain versatility across seasons.
Planning Your Project for Success in Fixer-Uppers
Successful installations start with accurate measurements and material selection suited to your home's age. Consider factors like wall height, existing texture, and room function. For instance, high-traffic areas benefit from durable finishes while bedrooms allow more artistic freedom. Gather inspiration from similar properties by visiting local salvage yards for reclaimed elements. Always prioritize safety by wearing protective gear and ensuring proper ventilation during painting or adhesive work.
9 Creative DIY Accent Wall Ideas with Detailed Guides
1. Classic Shiplap for Farmhouse Charm
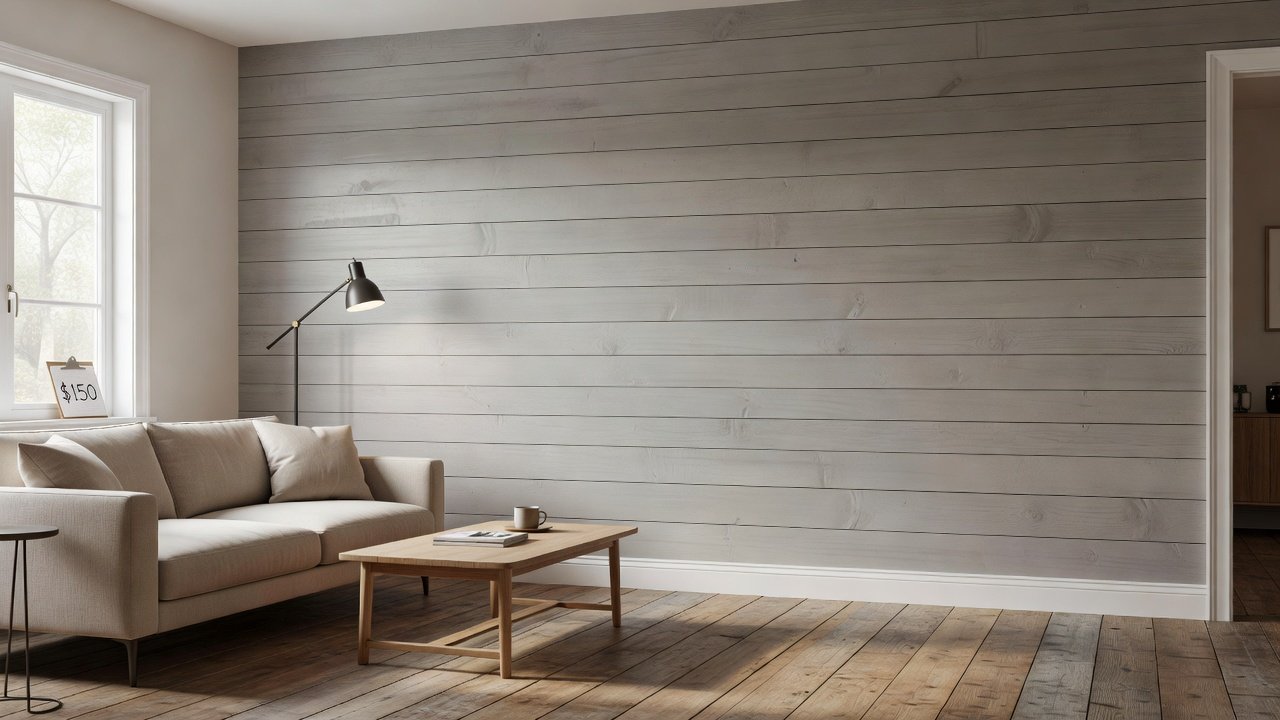
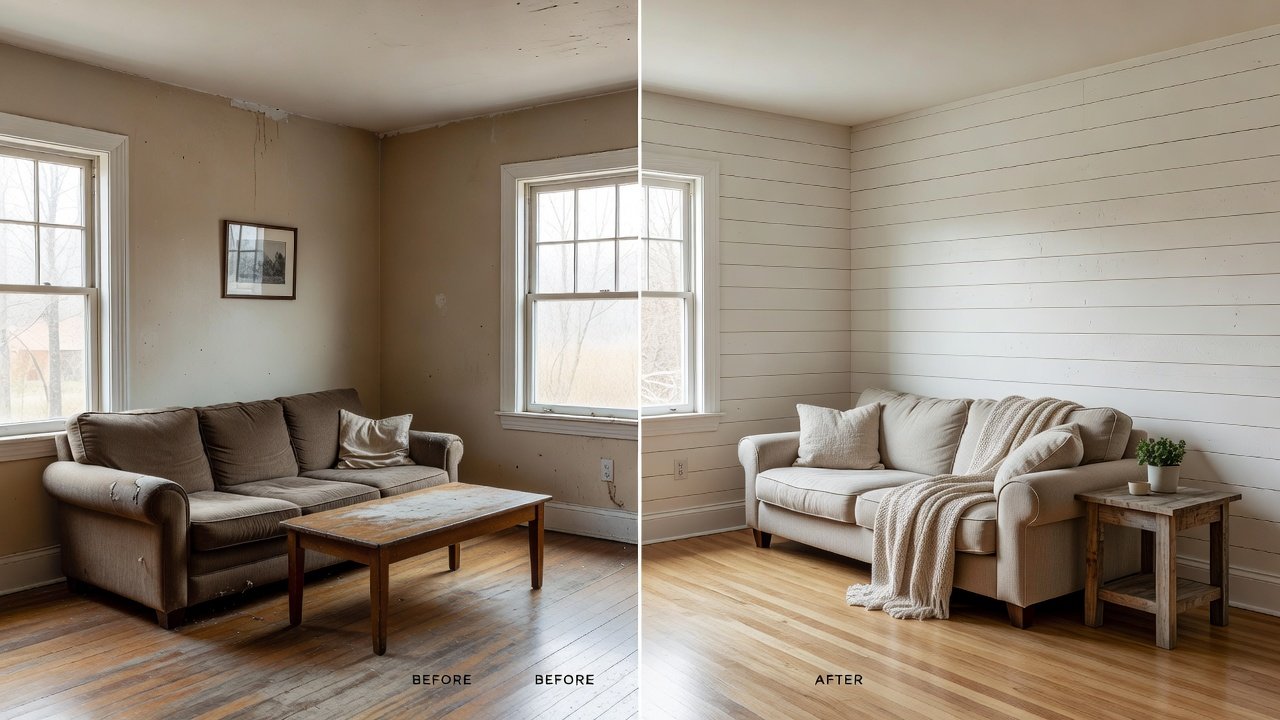
Shiplap delivers timeless appeal in living rooms or hallways. Select affordable pine or MDF boards from local suppliers. Required tools include a miter saw for precise cuts, a brad nailer, spirit level, sandpaper, and paintbrushes. Step-by-step: First, mark horizontal lines every 6-8 inches using a level. Cut boards to length, starting at the bottom and working upward while staggering seams. Secure with nails into studs, fill gaps with wood filler, then apply two coats of paint in a light hue. Before installation, walls appear flat and uninspired. After completion, the textured surface adds depth and warmth, transforming the space into a cozy gathering area suitable for family activities.
2. Geometric Patterns Using Paint
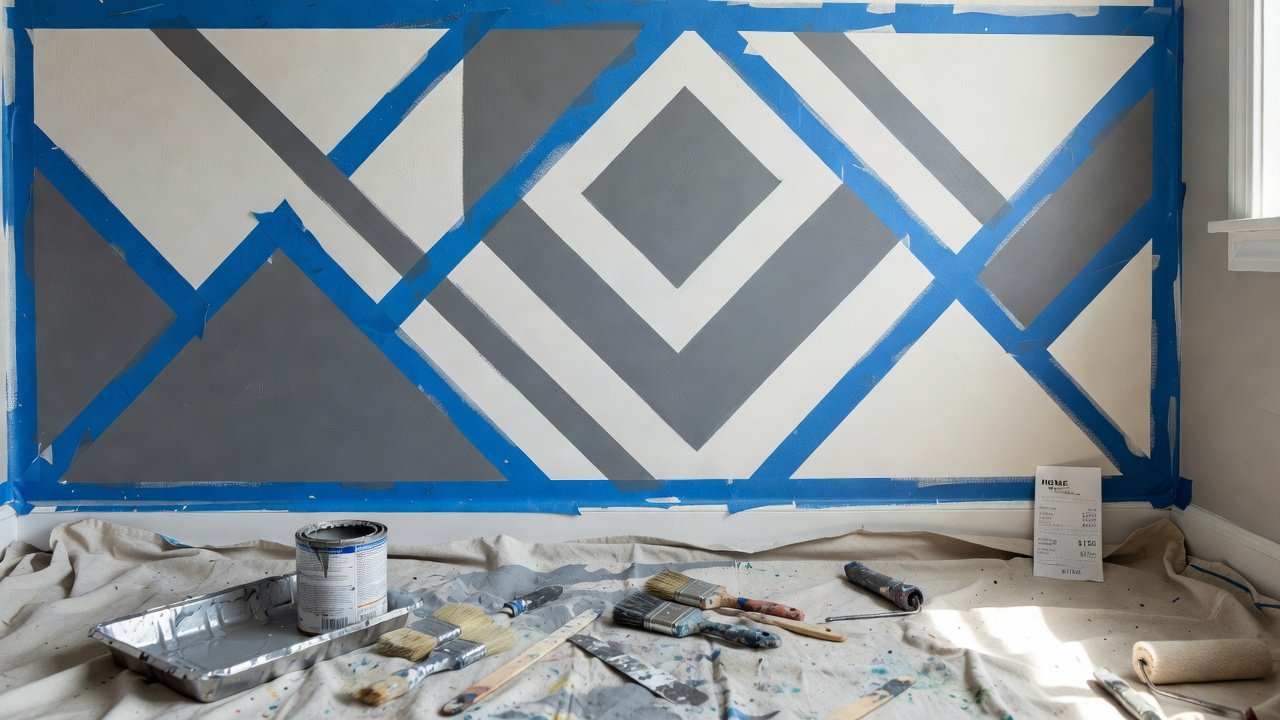
Modern geometric designs suit contemporary fixer-uppers. Materials needed encompass painter's tape, acrylic paints in complementary shades, and rollers. Tools: measuring tape, pencil, and drop cloths. Process: Sketch your pattern lightly, apply tape along lines, paint alternating sections allowing drying time between coats, then remove tape for crisp edges. Example application in a bedroom creates visual interest above the bed, elevating the room from basic to stylish without structural changes.
3. Reclaimed Wood for Rustic Texture
Reclaimed wood brings history and sustainability. Source from deconstructed buildings or pallets. Tools: hammer, pry bar, circular saw, wood glue, and clear sealant. Steps involve cleaning boards, cutting to fit, arranging in a pleasing layout, adhering with construction adhesive, and sealing against moisture. This option works exceptionally well in kitchens, providing a backdrop for open shelving.
4. Board and Batten Detailing
Vertical battens create elegant lines reminiscent of traditional wainscoting. Use inexpensive lumber strips. Follow measurement and attachment steps similar to shiplap, ensuring even spacing of 12-16 inches. The result offers a polished look that pairs with existing trim in older homes.
5. Peel-and-Stick Wallpaper Accents
Removable wallpaper allows experimentation. Choose patterns that echo period details. Installation requires only a utility knife and smoothing tool. Align strips carefully from top to bottom, trimming excess at baseboards. Ideal for renters or those testing designs before committing.
6. Thin Brick Veneer Installation
Veneer bricks evoke industrial style. Tools: notched trowel, masonry adhesive, and grout float. Apply adhesive to wall, press bricks in place starting from corners, then grout joints. Suitable for basements or entertainment areas in fixer-uppers.
7. Advanced Paint Techniques
Ombre gradients or sponging add subtle sophistication. Practice on sample boards first. Layer colors gradually with rags or sponges for blended effects that soften stark walls.
8. Reflective Mirror Tile Accents
Mirror tiles expand small spaces optically. Secure with mirror adhesive in a grid pattern. This quick project brightens dark corners common in older floor plans.
9. Fabric-Wrapped Panels for Softness
Stretch fabric over wooden frames for upholstered texture. Staple securely and hang with picture hooks. Provides acoustic benefits in echo-prone rooms.
Essential Tool Lists and Safety Considerations
Core tools across projects: tape measure, laser level for accuracy, cordless drill, caulk gun, and shop vacuum. Supplement with project-specific items like clamps for woodwork. In older homes, test for lead paint before sanding and use HEPA filters during cleanup. Reference established guidelines from Bob Vila for handling historic materials safely.
Before-and-After Transformations and Real Examples
Consider a typical 1950s bungalow living room: plain drywall evolved into a shiplap feature wall that became the room's centerpiece, making furniture arrangements more inviting. Another case involved a narrow hallway where geometric paint lifted the space visually, improving flow between rooms. These changes often increase homeowner satisfaction and can support resale appeal when executed thoughtfully.
Common Mistakes to Avoid and How to Prevent Them
- Neglecting surface preparation causes adhesion failures; always prime and repair first.
- Overlooking stud locations leads to weak attachments; use a stud finder consistently.
- Applying finishes in humid conditions results in bubbling; monitor weather and use dehumidifiers if needed.
- Selecting incompatible materials for older plaster walls invites cracking; opt for flexible adhesives.
- Rushing paint drying times produces uneven results; follow manufacturer cure times strictly.
Pairing Accent Walls with Broader Budget Renovation Themes
Integrate accent walls into larger plans by coordinating with low-cost flooring refreshes or fixture swaps. For cohesive results, match wood tones to existing trim. Discover additional inspiration through This Old House resources and material options at Lowe's. These combinations amplify impact while keeping overall expenses manageable.
FAQs on Durability and Maintenance in Older Homes
How do these walls hold up over time? Properly sealed wood and painted surfaces typically endure 5-10 years with routine dusting and occasional touch-ups, depending on household activity levels.
What about moisture-prone areas? Select treated or vinyl options in bathrooms and kitchens, and ensure adequate ventilation to prevent warping.
Are installations reversible for future updates? Peel-and-stick and fabric methods allow straightforward removal, preserving original walls for subsequent owners.
Can beginners tackle these without professional help? Yes, starting with simpler paint or tape projects builds confidence before advancing to woodwork.
Conclusion
Implementing these 2026 DIY accent wall concepts empowers fixer-upper owners to achieve personalized, budget-conscious upgrades. With careful planning, quality materials, and attention to detail, each project contributes to a more functional and attractive living environment that reflects individual style.
No comments yet. Be the first!