 Fixated on Home
Reviving Fixer-Upper Interiors with Affordable Wall Paneling
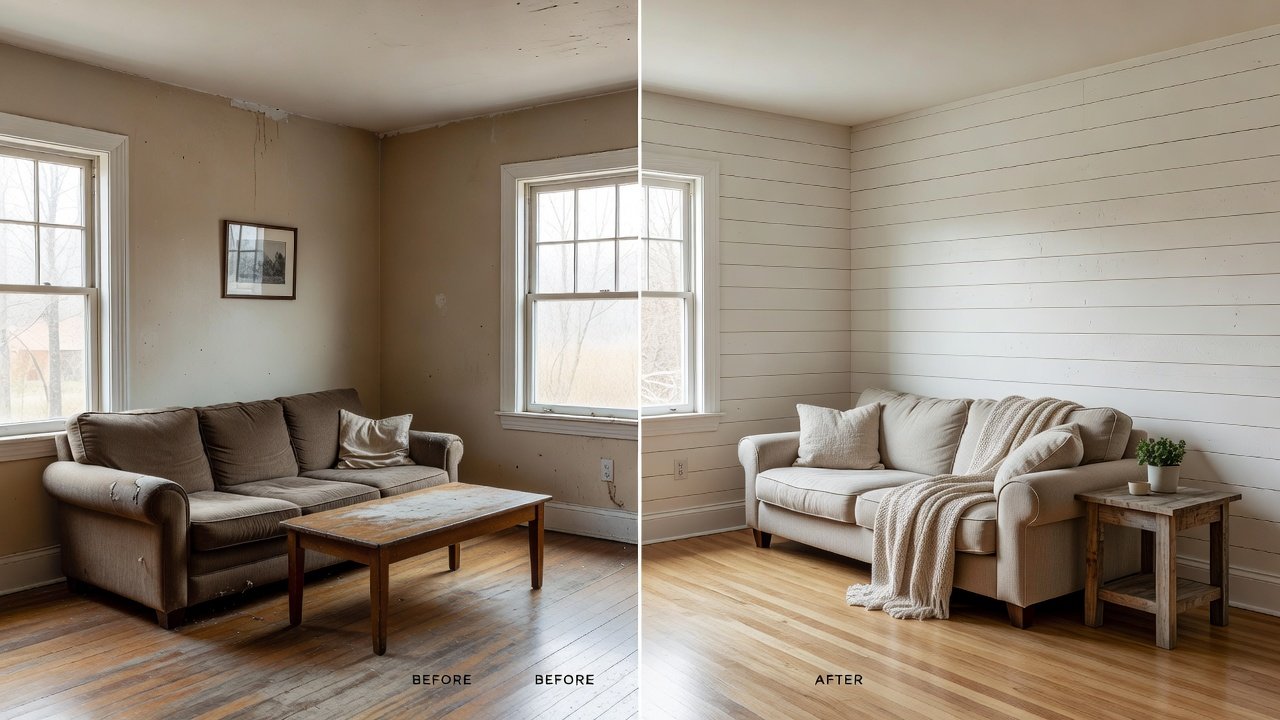
Fixer-upper homes often feature tired walls that need more than a fresh coat of paint. Adding wall paneling brings texture, character and value while keeping costs low. This guide walks beginners through practical 2026 approaches using accessible materials that suit tight budgets and rental situations alike. Whether you are updating a living room, bedroom or entryway, paneling offers a versatile solution that transforms spaces quickly and effectively.
Why Choose Wall Paneling in 2026
Paneling adds depth and can improve perceived quality in older homes. It also supports energy efficiency by creating an extra layer that reduces drafts when installed correctly. Homeowners and renters alike appreciate removable options that leave walls undamaged upon move-out. In addition to aesthetic upgrades, well-chosen paneling can help mask imperfections in plaster or drywall common in older properties, providing a clean, updated look without major structural work.
Popular Budget-Friendly Materials
Three materials stand out for cost-conscious projects: shiplap, beadboard and plywood. Each offers distinct looks and installation demands. Shiplap creates a modern farmhouse aesthetic with overlapping edges that highlight horizontal lines and work well in open-concept spaces. Beadboard delivers classic vertical lines ideal for hallways or bathrooms, evoking timeless cottage style. Plywood sheets provide a sleek, minimalist surface that can be scored for custom patterns or left natural for an industrial feel. When comparing options, consider the room's lighting, existing trim and desired maintenance level. Shiplap tends to hide minor wall irregularities better than smooth plywood, while beadboard adds subtle texture that complements both traditional and contemporary decor.
Essential Surface Preparation
Start by cleaning walls thoroughly and repairing holes or cracks. Remove loose wallpaper or flaking paint with a scraper and apply a quality primer to seal surfaces. Check for moisture issues, especially in older homes, before proceeding by using a moisture meter or simply feeling for damp spots near windows and exterior walls. Level surfaces ensure panels adhere evenly and last longer; fill low spots with joint compound and sand smooth. Take time to locate and mark all electrical outlets and switches so you can cut precise openings later. Proper prep prevents future problems like peeling or bubbling and ensures the final result looks professional.
Tools You Will Need
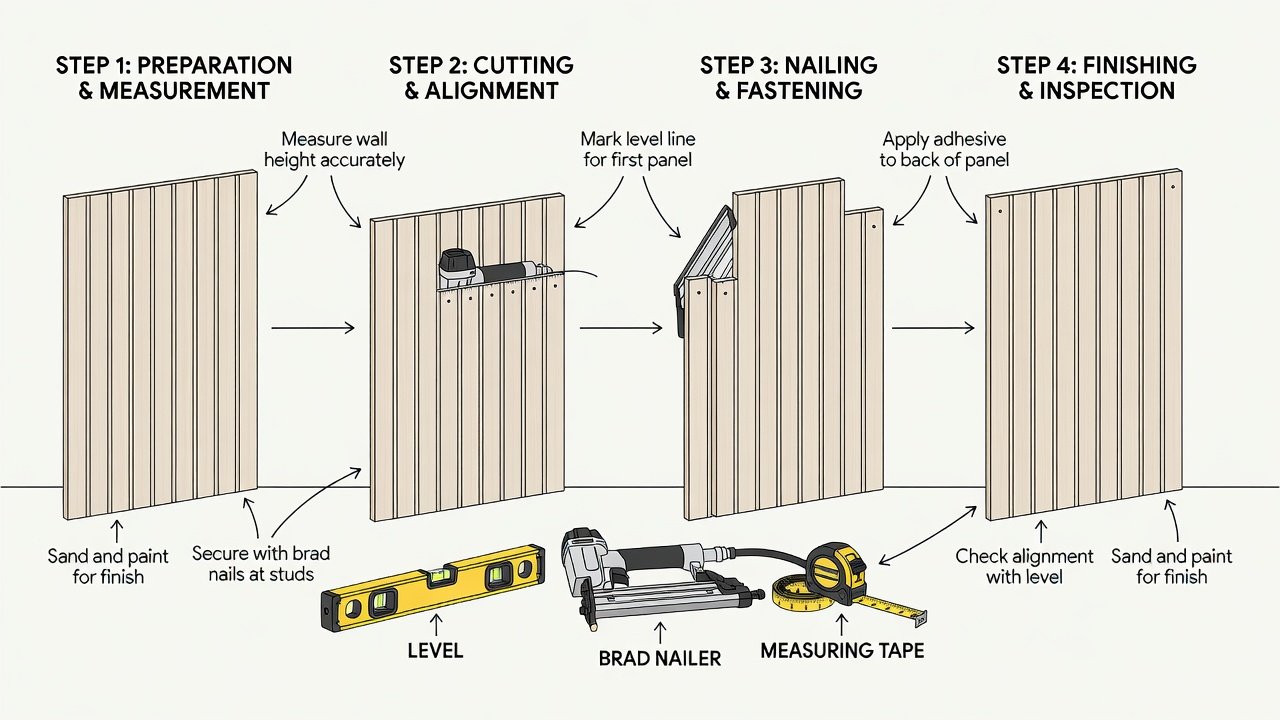
Gather these essentials before beginning: measuring tape and level for accurate layout, stud finder to locate secure nailing points, circular saw or miter saw for clean cuts, brad nailer or hammer and finishing nails for attachment, caulk gun and construction adhesive for extra hold, sandpaper and putty knife for finishing touches, plus safety goggles and dust mask. A laser level can speed up alignment on longer walls, while a chalk line helps mark straight reference points. Having everything organized in a portable toolbox reduces downtime and keeps the project moving smoothly.
Step-by-Step Installation Process
Measure the room carefully and plan layout to minimize cuts and waste. Begin at one corner and work around the space, checking plumb every few panels. Secure panels to studs using adhesive and nails for a solid hold. Leave small expansion gaps at floors and ceilings to allow for seasonal movement. For plywood, consider scoring the surface lightly with a utility knife before snapping along lines for decorative grooves. Always double-check alignment with a level after every few panels. For tricky corners, scribe panels to fit irregular walls rather than forcing straight cuts. Time estimates for a standard 12-by-12-foot room range from one to three days depending on experience and material type.
Painting and Finishing Techniques
Prime panels before painting to seal surfaces and prevent warping, especially with plywood which can absorb moisture unevenly. Use high-quality interior paint in eggshell or satin finishes for durability and easy cleaning. Multiple thin coats produce smoother results than single heavy applications; allow full drying time between coats. Consider accent colors on one wall for visual impact without overwhelming the space, or paint trim in a contrasting shade to highlight the paneling details. Touch up nail holes with wood filler and sand lightly before the final coat for a seamless appearance.
Energy Efficiency and Comfort Benefits
Properly installed paneling can contribute to better insulation when combined with existing wall cavities. Learn more about home energy improvements from energy.gov. This added layer helps maintain indoor temperatures year-round and may reduce heating and cooling demands over time. Pairing paneling with weatherstripping around doors and windows amplifies the effect, creating a more comfortable living environment in older homes prone to drafts.
Renter-Friendly Removable Options
Command strips or temporary adhesive systems allow paneling without permanent changes. Lightweight plywood or thin beadboard sheets work well for these applications. Always test adhesion on a small area first and document the original wall condition for security deposit purposes. Choose thinner profiles that can be removed with minimal residue, and consider painting the panels to match the room so they blend in if needed. Many renters successfully use these methods to personalize spaces while staying lease-compliant.
Real-Home Case Studies
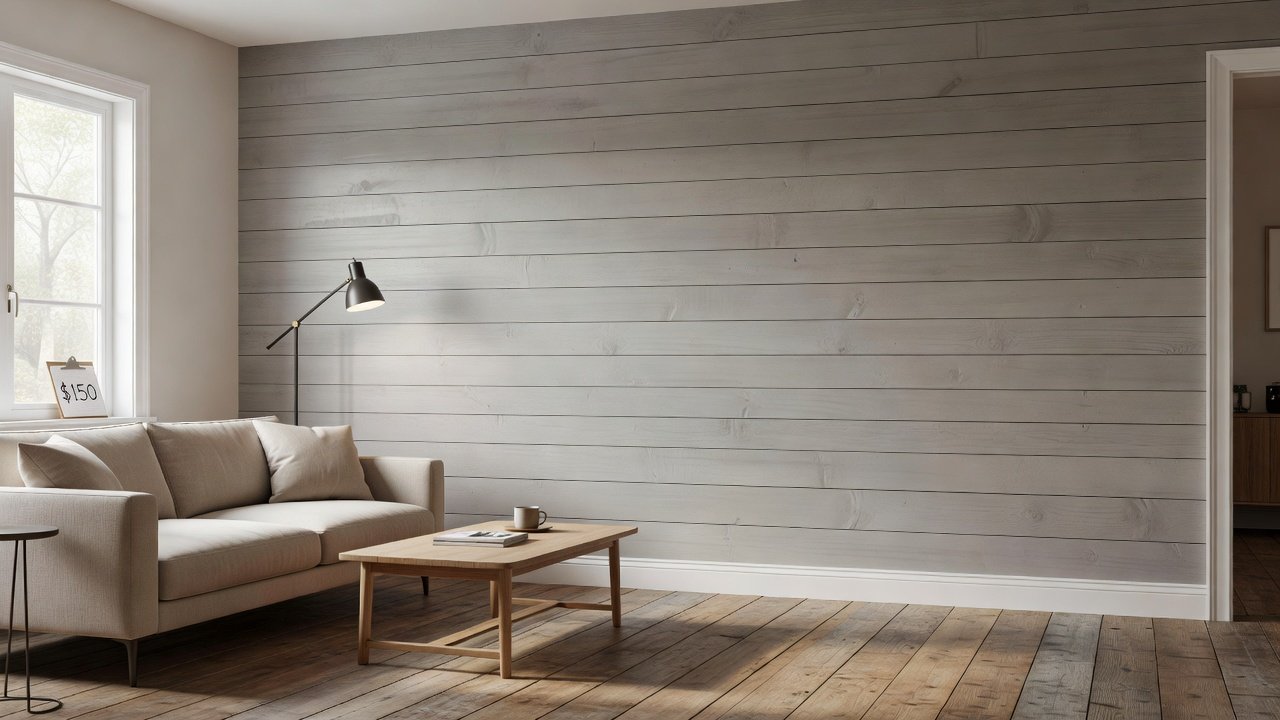
One couple transformed a dated living room using vertical plywood strips painted in soft gray, completing the project over two weekends and creating a modern gallery wall effect that showcased their art collection. Another homeowner refreshed a guest bedroom with horizontal shiplap that complemented existing trim and made the small space feel larger and brighter. A third example involved beadboard applied to the lower half of a hallway for wainscoting style, which protected walls from scuffs while adding classic charm. These examples show how simple changes create dramatic before-and-after results on modest budgets.
Common Pitfalls to Avoid
- Skipping moisture checks leading to mold behind panels
- Over-tightening fasteners that cause surface dimpling
- Ignoring expansion gaps resulting in buckling during temperature changes
- Choosing heavy materials without proper wall support
- Failing to prime which causes paint to soak unevenly
- Not accounting for outlet locations leading to awkward cuts
Maintenance FAQs
How do I clean paneling?
Dust regularly with a microfiber cloth. For deeper cleaning use mild soap and water on painted surfaces, avoiding harsh chemicals that could damage the finish.
Can paneling be repaired if damaged?
Yes. Small dents can be filled with wood putty and repainted. Larger sections may require replacing individual panels by carefully prying them loose and installing a matching piece.
What about humidity-prone areas?
Choose moisture-resistant materials or seal edges thoroughly. The EPA offers guidance on indoor moisture control to prevent issues in bathrooms or basements.
Is paneling suitable for high-traffic areas?
Yes, especially when finished with durable paint. Consider adding chair rail molding above beadboard to protect lower sections from daily wear and tear.
Conclusion
Wall paneling remains an accessible way to elevate fixer-upper spaces in 2026. With careful planning, basic tools and attention to detail, homeowners achieve professional-looking results on a budget while enjoying added comfort and style. Start small with an accent wall to build confidence before tackling larger rooms.
No comments yet. Be the first!