 Fixated on Home
Introduction: Sustainable Upgrades on a Budget
Homeowners tackling fixer-upper properties often seek affordable ways to boost sustainability and curb appeal. A DIY backyard composting station fits perfectly, turning yard waste and kitchen scraps into nutrient-rich soil while reducing landfill contributions. This guide covers everything from choosing the right location to full construction using low-cost reclaimed materials, with practical tips for odor control, pest prevention, and seamless integration into existing landscapes. Composting supports long-term property value by creating healthier gardens and demonstrating eco-conscious improvements. Beginners will appreciate the clear timeline and cost breakdowns focused on materials under $150. In today’s market, where many families are prioritizing green living on tight budgets, this project offers both environmental and financial rewards without requiring professional installation.
Why Composting Matters for Fixer-Upper Homes
Fixer-upper yards frequently suffer from poor soil quality, overgrown weeds, and neglected landscaping. Adding a composting station addresses these issues at the source by recycling organic waste into a free soil amendment. This reduces the need to purchase commercial fertilizers and improves plant growth over time. Homeowners report faster establishment of new gardens and lawns after incorporating homemade compost. Beyond immediate benefits, the practice aligns with broader sustainability goals promoted by organizations such as the EPA. It also serves as an attractive feature for potential buyers who value eco-friendly upgrades when selling the property.
Selecting the Ideal Site for Your Composting Station
Site selection is critical for success and convenience. Choose a level, well-drained spot with partial shade to prevent drying out or excessive moisture. Keep it at least 10 feet from your home and neighbors' properties to minimize any potential odors. Ensure easy access from the kitchen for daily scrap additions and from the garden for finished compost retrieval. Consider wind patterns and proximity to water sources for occasional moistening. In fixer-upper yards with uneven terrain, level the area first using basic tools like a shovel and tamper. Avoid low-lying spots prone to flooding. Test the soil drainage by digging a small hole and observing water absorption after a rain shower. If the area stays soggy, add a layer of gravel or wood chips to improve conditions before building.
Material Choices Under $150 Using Reclaimed Resources
Focus on free or inexpensive reclaimed wood, shipping pallets, or salvaged lumber from local sources like construction sites or online marketplaces. A simple three-bin system requires approximately four to six pallets or equivalent boards. Supplement with hardware cloth for pest barriers, hinges for lids, and basic screws or nails. Total material costs stay under $150 when prioritizing reclaimed items. Add a few bags of soil or starter compost if needed for kickstarting the process. Always inspect pallets for chemical treatments and choose untreated ones marked HT for heat-treated. Compare options such as cedar (naturally rot-resistant but pricier) versus pine pallets (budget-friendly but requiring occasional sealing). Many homeowners source materials at no cost through community groups or construction waste streams, keeping expenses minimal.
Tools and Preparation Before Building
Gather essential tools including a saw, drill, hammer, level, measuring tape, and gloves. Clear the chosen site of debris and mark the footprint with stakes and string. Review local regulations regarding composting structures to ensure compliance. Prepare a simple sketch of the three-bin layout so assembly proceeds smoothly. This preparation phase prevents common construction errors and saves time during the actual build.
Step-by-Step Construction Guide
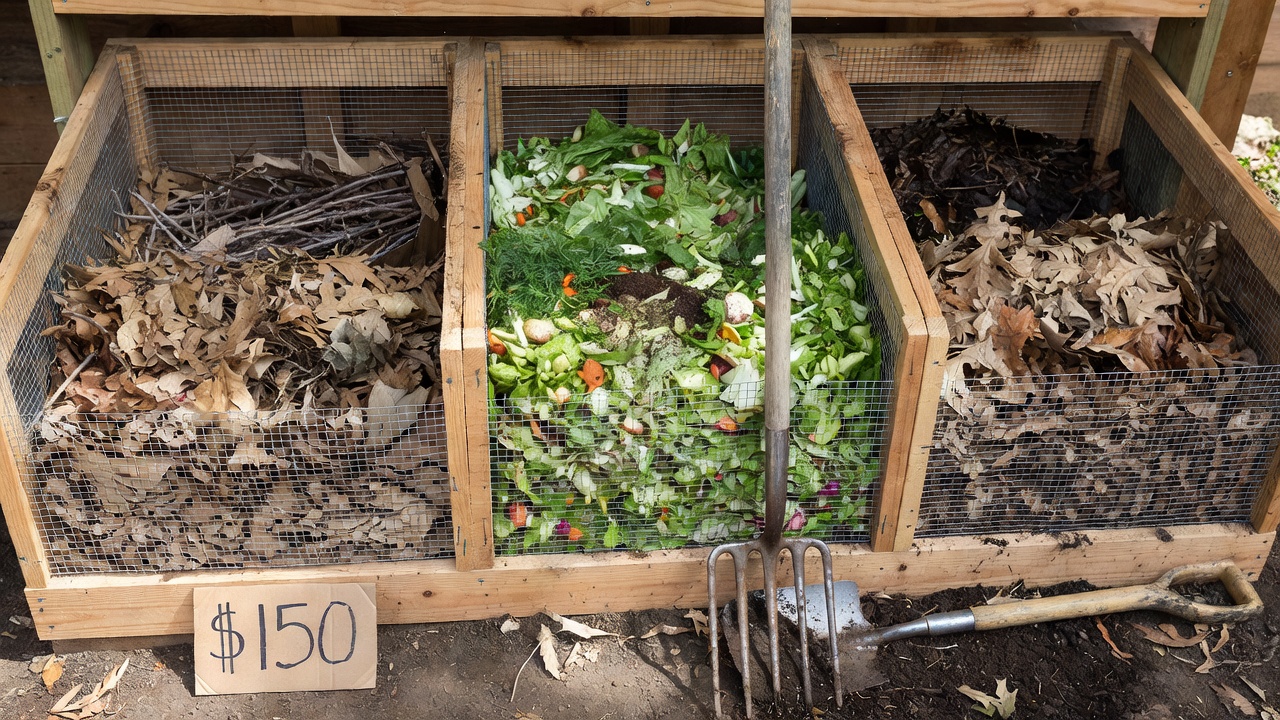
Begin by disassembling pallets or cutting wood to create three connected bins roughly 3 feet wide each. Secure the structure with posts driven into the ground for stability. Line the base and sides with hardware cloth to deter rodents while allowing airflow. Follow these detailed steps for a sturdy result: First, prepare the foundation by clearing vegetation and adding gravel for drainage. Second, assemble the frame using corner posts and horizontal slats for ventilation. Third, build removable front panels or hinged lids for easy turning and harvesting. Fourth, finish with a coat of exterior sealant if using new lumber, or leave reclaimed wood natural. This modular design allows expansion later if your composting needs grow. Many builders add a roof overhang using extra pallet boards to protect the pile from heavy rain.
Odor Control and Pest Prevention Strategies
Proper balance of greens (nitrogen-rich kitchen scraps) and browns (carbon-rich leaves or cardboard) prevents odors. Maintain a 2:1 brown-to-green ratio and turn the pile weekly. Cover fresh additions with a layer of browns to trap smells. For pests, bury food scraps deep within the pile and avoid adding meat, dairy, or oily items. The hardware cloth lining blocks rodents, while a tight-fitting lid deters flies and raccoons. Regular turning aerates the pile and speeds decomposition, further reducing issues. Monitor temperature with a compost thermometer; an active pile reaches 130–160°F internally, which naturally kills many pathogens and weed seeds.
Common Mistakes to Avoid
- Overloading the pile with only kitchen scraps without enough browns, leading to a slimy, smelly mess.
- Placing the station too close to property lines, causing neighbor complaints.
- Ignoring seasonal moisture adjustments, resulting in a dry or waterlogged pile.
- Using treated lumber that can leach chemicals into the compost.
Integrating the Station into Fixer-Upper Yards
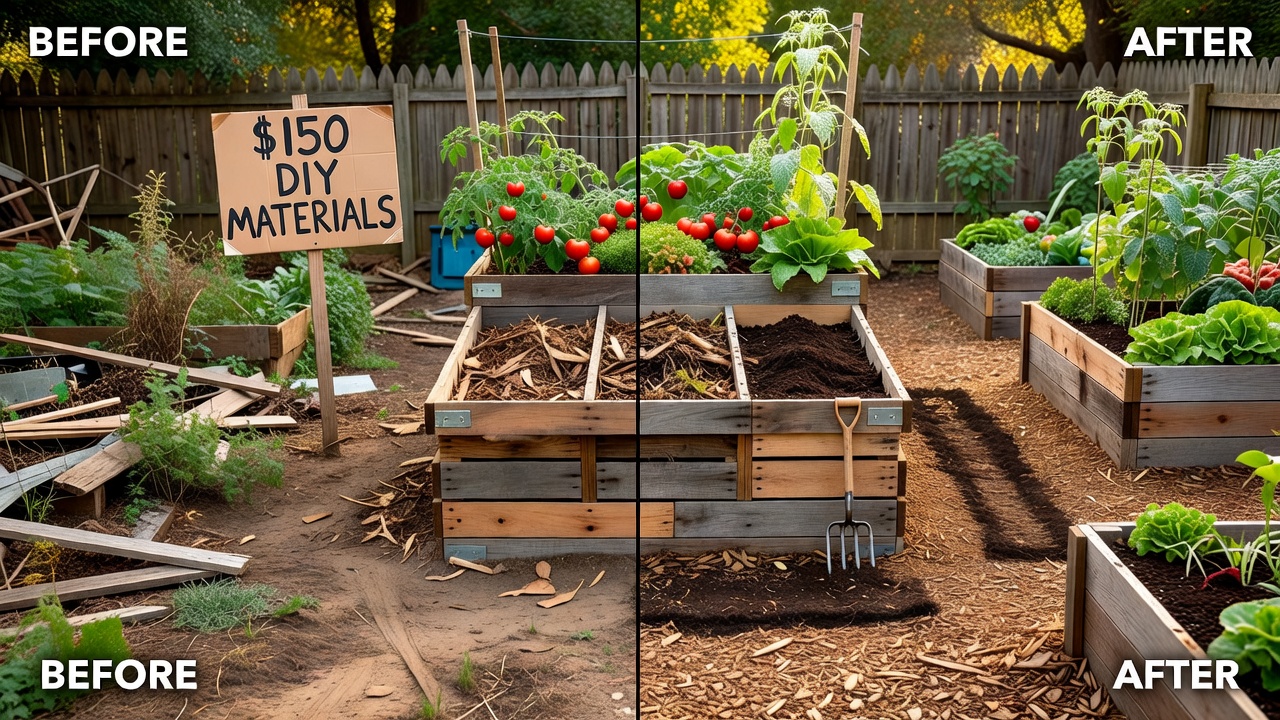
Blend the station aesthetically by surrounding it with native plants or a simple trellis for climbing vines. Position it behind a garden shed or along a fence line for screening. Before-and-after transformations often show how a tidy composting area elevates neglected backyard spaces into functional, green oases. Pair it with other budget upgrades like rain barrels or raised beds for a cohesive sustainable yard. Consider adding a small path of stepping stones to improve access during wet weather.
Beginner-Friendly Timeline and Maintenance
Week 1-2: Gather materials and build the structure. Week 3: Start adding scraps and monitor moisture. Expect finished compost in 3-6 months with regular turning. Maintenance involves monthly checks for balance and seasonal emptying of finished bins. In winter, insulate the sides with straw bales to keep microbial activity going. Turn the pile every 7–10 days during active seasons and every two weeks in colder months. Harvest when the material resembles dark, crumbly soil with an earthy smell.
How Composting Boosts Property Value
Well-maintained composting systems signal to buyers that the home has been cared for responsibly. Improved soil leads to better landscaping, which can increase curb appeal and perceived value. Real estate professionals note that sustainable features like composting stations appeal to environmentally conscious purchasers. Visit the USDA for additional insights on soil health and residential composting benefits.
Frequently Asked Questions
- How do I maintain the pile year-round? Insulate with straw in winter and continue adding materials as available while adjusting moisture levels.
- Can composting really boost home value? Yes, by improving soil health and showcasing green living features that attract modern buyers seeking sustainable properties.
- What if my yard has limited space? Scale down to a single bin or use a tumbler design that fits smaller lots.
- How long until I see results in my garden? Most users notice improved plant growth within one full growing season after applying the first batch of compost.
Conclusion
Creating a 2026 DIY backyard composting station empowers budget-conscious homeowners to embrace sustainability. With careful planning and reclaimed materials, this project delivers lasting environmental and aesthetic rewards while keeping costs low and maintenance straightforward.
No comments yet. Be the first!