 Fixated on Home
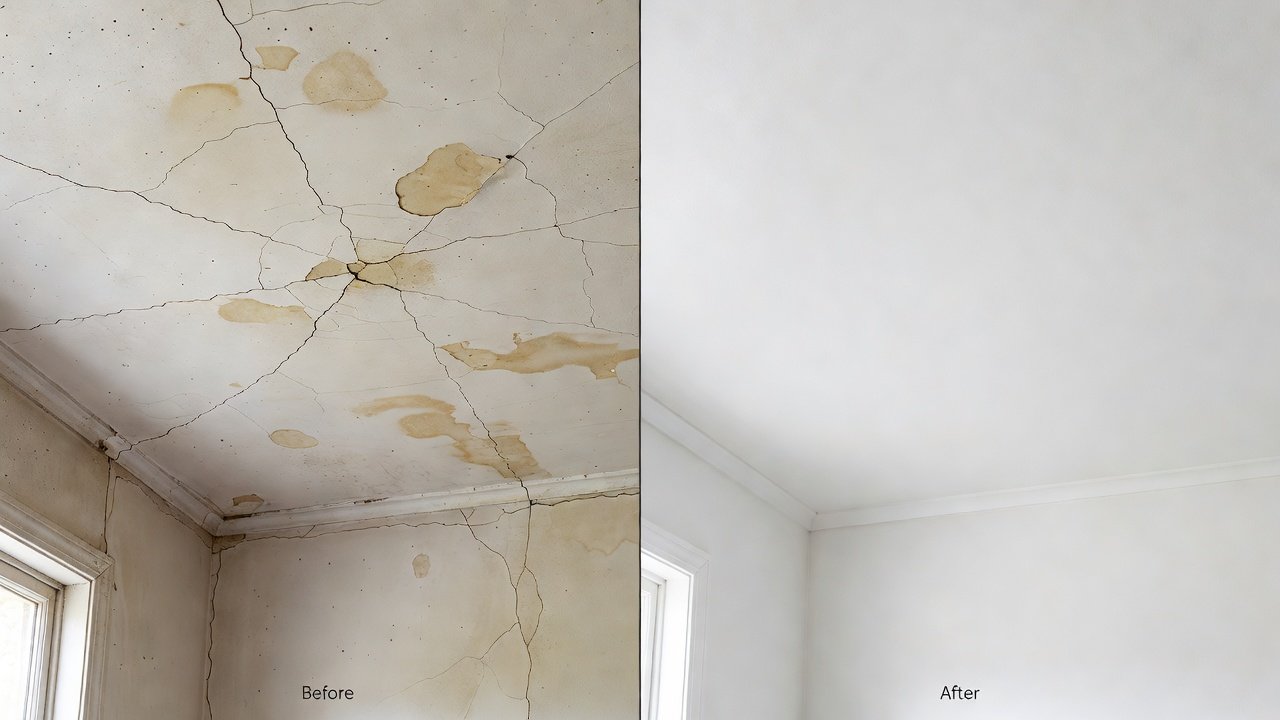
2026 DIY Ceiling Repair Guide for Budget Fixer Uppers
Older homes frequently present ceiling challenges that can disrupt a budget renovation or derail fixer upper ideas. This comprehensive 2026 DIY ceiling repair guide equips homeowners with detailed, beginner-friendly instructions for addressing cracks, water stains, and sagging drywall using affordable approaches. By focusing on practical home improvement techniques and budget reno strategies, you can restore ceilings without professional intervention while integrating these fixes into larger DIY projects around the house.
Understanding Common Ceiling Problems in Older Homes
Ceiling issues in fixer uppers often stem from age-related settling, seasonal temperature shifts, or undetected moisture intrusion. Hairline cracks may indicate minor movement, while wider fissures suggest structural stress. Water stains typically trace back to roof leaks, plumbing problems, or high humidity levels. Sagging drywall occurs when moisture weakens the material or when original installation lacked sufficient support. Recognizing these root causes early prevents recurring damage and supports long-term success in your home improvement efforts. Homeowners tackling budget reno projects should inspect ceilings during daylight hours and after heavy rain to spot subtle signs.
Essential Tools and Materials for Budget-Friendly Repairs
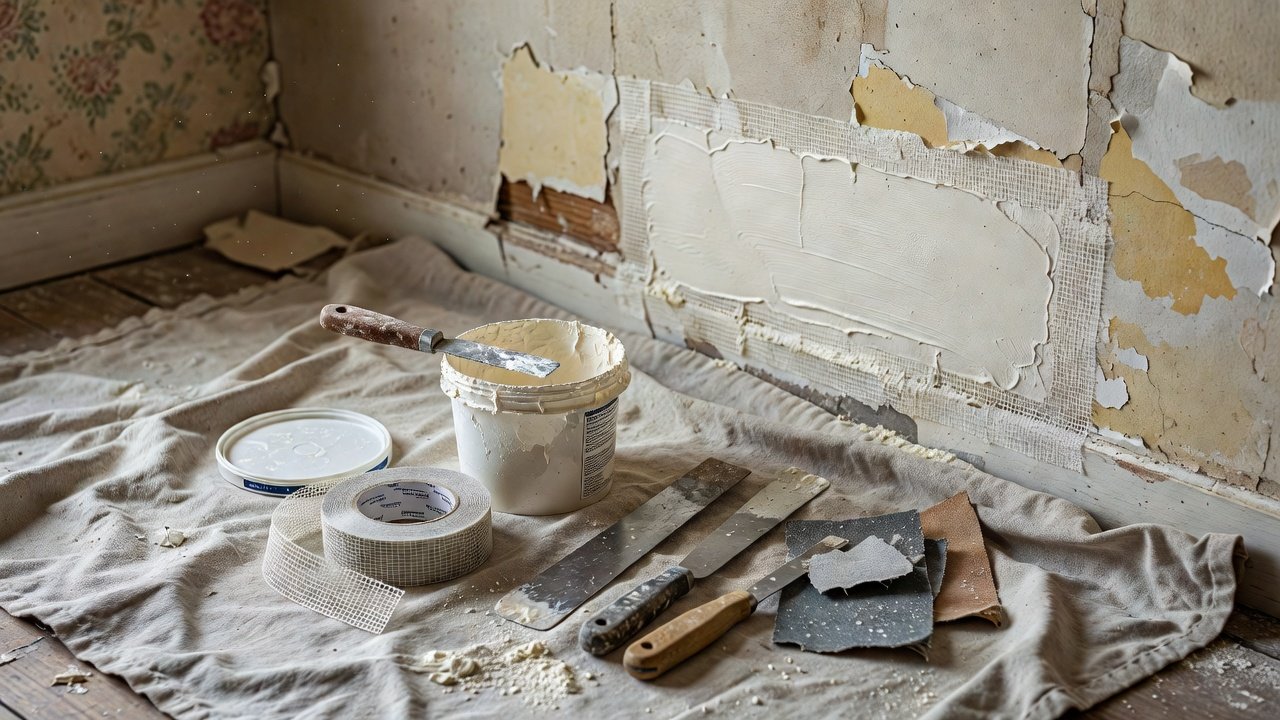
Assembling a starter kit keeps expenses manageable for most DIY projects. Core supplies include all-purpose joint compound, self-adhesive mesh tape, 120-grit and 220-grit sandpaper, 4-inch and 10-inch putty knives, a utility knife with extra blades, a sturdy step ladder, drop cloths, and basic safety equipment such as goggles and a dust mask. Additional helpful items are a drywall saw, paint roller with extension pole, and a shop vacuum for cleanup. These components support multiple repairs across fixer upper homes and remain compatible with ongoing budget reno plans. Store materials in a dry location to maintain usability for future home improvement tasks.
Recommended Tools Breakdown
- Putty knives for applying and smoothing compound in precise layers
- Mesh tape to reinforce seams without bubbling
- Sandpaper progression from coarse to fine for smooth finishes
- Utility knife for clean cuts in damaged sections
- Drop cloths and ventilation fans to protect surrounding areas
Selecting quality basic versions rather than premium brands aligns with budget-conscious fixer upper ideas while delivering reliable results.
Step-by-Step Instructions for Repairing Ceiling Cracks
Begin by clearing loose debris with a vacuum and wiping the surface. Apply mesh tape directly over the crack, pressing firmly to adhere. Mix joint compound to a smooth consistency and spread a thin first coat using the smaller putty knife, feathering edges outward. Allow drying for several hours or overnight, then sand lightly before adding a second wider coat with the larger knife. Repeat sanding and apply a third coat if needed for a level surface. Once fully dry and smooth, prime the area and apply two coats of ceiling paint matched to the existing color. This layered approach ensures durability in homes undergoing multiple DIY projects.
Addressing Water Stains and Preventing Recurrence
Always trace and resolve the moisture source first, such as sealing roof penetrations or improving attic ventilation. Clean the stained area with a mild detergent solution, then apply a stain-blocking primer in thin coats. For persistent discoloration, use an oil-based primer followed by latex topcoats. Monitor nearby areas for mold growth and improve airflow with exhaust fans. Guidance from CDC resources helps homeowners handle related indoor air concerns during repairs. In budget reno scenarios, combining stain treatment with insulation upgrades enhances overall home efficiency.
Repairing Sagging Drywall Sections
Support the sagging area temporarily with braces or jacks to relieve pressure. Mark and cut out the damaged portion using a drywall saw, creating clean edges. Cut a new drywall patch to fit exactly, secure it with drywall screws into joists, and cover seams with mesh tape and multiple compound layers. Feather the compound widely for invisible blending. Allow full drying between coats and sand progressively smoother. This method restores both appearance and strength, proving valuable in older fixer upper homes where similar issues appear in multiple rooms.
Real-World Examples from Fixer Upper Projects
One suburban bungalow project involved a living room ceiling with intersecting cracks from foundation settling. The homeowner followed the tape-and-compound process over two weekends, completing the work within a modest material budget and achieving a seamless finish before new flooring installation. Another kitchen renovation addressed water stains from an upstairs bathroom leak. After fixing the plumbing, the team applied primer and multiple paint layers, transforming the space while coordinating with cabinet updates. A third example in a 1940s home corrected sagging drywall in a hallway by installing new patches and reinforcing joists, resulting in a stable surface that integrated well with fresh wall paint. These cases illustrate how targeted ceiling repairs complement broader DIY projects and budget reno goals.
Common Mistakes to Avoid During Ceiling Repairs
Rushing the drying time between coats leads to cracking or visible seams. Skipping the root cause investigation allows problems to return quickly. Using the wrong primer on water stains causes bleed-through. Over-sanding creates uneven textures that show under paint. Neglecting ventilation increases dust inhalation risks. Reviewing these pitfalls helps beginners achieve professional-looking outcomes in their home improvement work.
Safety Considerations and Long-Term Prevention Strategies
Always wear eye protection and respiratory masks when sanding or cutting. Ensure adequate room ventilation and use drop cloths to contain mess. For mold concerns, follow established protocols outlined by EPA guidelines. Long-term prevention includes annual roof inspections, maintaining consistent indoor humidity below 60 percent, and checking attics for insulation gaps. Installing moisture sensors in high-risk areas provides early alerts. These practices support safer, more sustainable fixer upper ideas across entire properties.
Additional workplace safety practices appear in OSHA residential guidance, helping DIY enthusiasts complete projects responsibly.
Frequently Asked Questions
How long do ceiling repairs typically last?
Properly executed fixes often endure 5 to 10 years or longer when the underlying cause is resolved and regular inspections occur.
Is it safe to live in the home during repairs?
Yes, with proper containment and ventilation, though sensitive individuals should limit exposure to dust and fumes.
What paint works best over repaired areas?
Ceiling-specific flat latex paint provides the best hide and texture match after priming.
Can these methods handle textured ceilings?
Minor repairs blend with careful texturing techniques using a stipple brush or spray, though large areas may require professional matching.
When should a professional be called instead?
Extensive damage covering more than a few square feet, active leaks with structural concerns, or uncertainty about electrical or plumbing proximity warrants expert assistance.
Conclusion
This expanded guide delivers actionable depth for tackling ceiling repairs in budget-conscious DIY projects. By applying these fixer upper ideas and home improvement techniques, homeowners can achieve lasting results that enhance property value and daily comfort while staying aligned with practical budget reno priorities.


No comments yet. Be the first!